Introduction
Artificial intelligence has reached a critical inflection point. While large language models (LLMs) grow more capable by the day, the hardware that runs them has struggled to keep pace. Traditional GPU-based systems, despite their power, often introduce latency that makes real-time conversational AI feel sluggish, stalls agent-based workflows, and limits the speed at which developers can iterate. Cerebras changes this equation fundamentally.
At the heart of the platform is the Wafer-Scale Engine (WSE), a single, massive silicon chip that is 58 times larger than the largest GPU. Instead of stitching together dozens of smaller processors, Cerebras builds one enormous processor. This architectural shift eliminates many of the bottlenecks that plague GPU clusters—memory bandwidth, interconnect overhead, and power inefficiency. The result is inference speeds of up to 1,000 tokens per second, which is up to 15 times faster than comparable GPU-based cloud offerings.
Cerebras is not just for hyperscalers. It supports open models like Llama, Qwen, GLM, and even OpenAI-compatible APIs, making it accessible to individual developers, startups, and enterprise teams alike. Whether you want to serve a model in the cloud, deploy a dedicated instance, or run everything on-premises behind your own firewall, Cerebras provides the infrastructure to do so without sacrificing speed or security.
This tutorial will walk you through everything you need to know to get started with Cerebras. By the end, you will understand how to sign up, choose a deployment model, run your first inference, and optimize your workflows for maximum performance.
Getting Started
Creating an Account
Navigate to cerebras.net and click the “Get Started” button in the upper right corner. You will be prompted to create an account using an email address or a GitHub account. After verifying your email, you will land in the Cerebras Cloud dashboard.
Understanding the Dashboard
The dashboard is your central hub. On the left sidebar, you will see sections for Models, Deployments, API Keys, and Billing. For beginners, the most important area is the API Keys page. Click on it and generate a new API key. Copy this key and store it securely—you will need it to make requests from your code.
Choosing a Model
Cerebras supports a growing list of open-source and custom models. As of this writing, you have access to:
- Llama 3 (7B, 13B, 70B variants)
- Qwen 2.5 (7B, 14B, 72B)
- GLM-4 (9B)
- OpenAI-compatible models (via Cerebras’ compatibility layer)
You can browse the full model catalog in the Models tab. Each model card shows its parameter count, average tokens per second, and pricing per million tokens.
Pricing Overview
Cerebras uses a pay-per-token model. Pricing varies by model size and deployment type. For cloud inference, you typically pay for input and output tokens separately. Dedicated and on-premises deployments use a subscription or flat-rate model. Check the Pricing page for the latest rates, but expect costs to be significantly lower than GPU-based alternatives for equivalent throughput.
Key Features
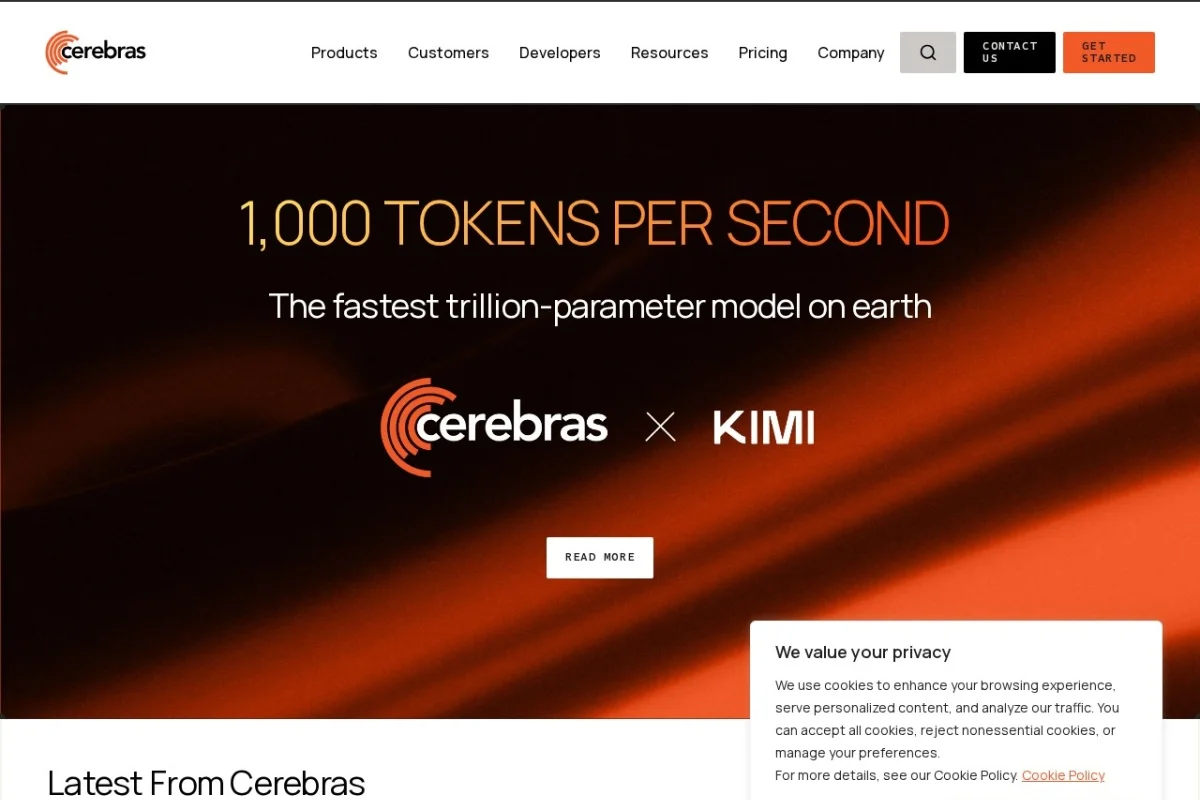
1. 1,000 Tokens Per Second
This is the headline number, and it matters. A standard GPU-based LLM inference might deliver 50–100 tokens per second. Cerebras routinely achieves 800–1,000 tokens per second on models like Llama 3 70B. For a developer, this means you can generate a 500-word response in under a second. For conversational AI, it means zero perceptible delay.
2. Wafer-Scale Engine (WSE)
The WSE is a single 46,225 mm² chip containing 2.6 trillion transistors and 850,000 AI-optimized cores. Because all cores are on one piece of silicon, communication between them happens at nanosecond speeds rather than the microsecond delays you see when GPUs talk to each other over PCIe or network cables. This is why Cerebras can process massive batches or long sequences without slowdown.
3. Three Deployment Options
- Cloud: Pay-as-you-go. Ideal for prototyping, variable workloads, and small teams. You get instant access to the WSE without any hardware commitment.
- Dedicated: A private instance of the WSE allocated to your account. Best for production applications with consistent traffic. You avoid cold starts and noisy-neighbor issues.
- On-Premises: Cerebras installs the hardware inside your own data center. This gives you full control over data residency, security, and compliance. Suitable for regulated industries like healthcare, finance, and defense.
4. Enterprise-Grade Security
Cerebras encrypts all data in transit and at rest. For dedicated and on-premises deployments, your data never leaves your controlled environment. The platform also supports single sign-on (SSO), role-based access control (RBAC), and audit logging.
5. Model Compatibility
You are not locked into a single ecosystem. Cerebras supports PyTorch, TensorFlow, and ONNX. It also provides a compatibility layer that mimics the OpenAI API, so you can swap out your existing OpenAI calls with a simple endpoint change.
How to Use Cerebras
Step 1: Install the Cerebras SDK
Open your terminal and run:
pip install cerebras-cloud-sdkIf you prefer to use the OpenAI-compatible endpoint, you only need the openai Python package:
pip install openaiStep 2: Set Up Authentication
Export your API key as an environment variable:
export CEREBRAS_API_KEY="your-api-key-here"For Windows PowerShell:
$env:CEREBRAS_API_KEY="your-api-key-here"Step 3: Run Your First Inference
Create a Python file called first_inference.py and add the following code:
import os
from cerebras.cloud.sdk import Cerebras

client = Cerebras(api_key=os.environ["CEREBRAS_API_KEY"])

response = client.chat.completions.create(
    model="llama3.1-70b",
    messages=[
        {"role": "user", "content": "Explain quantum computing in one paragraph."}
    ],
    max_tokens=200,
    temperature=0.7
)

print(response.choices[0].message.content)
Run the script:
python first_inference.pyYou should see a response appear almost instantly. Note how fast the output streams—this is the WSE in action.
Step 4: Streaming Responses for Real-Time Applications
For chatbots or agent applications, you will want to stream tokens as they are generated. Modify your script:
import os
from cerebras.cloud.sdk import Cerebras

client = Cerebras(api_key=os.environ["CEREBRAS_API_KEY"])

stream = client.chat.completions.create(
    model="llama3.1-70b",
    messages=[{"role": "user", "content": "Write a haiku about AI."}],
    max_tokens=100,
    stream=True
)

for chunk in stream:
    if chunk.choices[0].delta.content:
        print(chunk.choices[0].delta.content, end="", flush=True)
This will print each token as it arrives, giving the user a natural, low-latency experience.
Step 5: Using the OpenAI-Compatible Endpoint
If you are migrating from OpenAI, you only need to change the base URL and API key:
import os
from openai import OpenAI

client = OpenAI(
    api_key=os.environ["CEREBRAS_API_KEY"],
    base_url="https://api.cerebras.ai/v1"
)

response = client.chat.completions.create(
    model="llama3.1-70b",
    messages=[{"role": "user", "content": "What is the capital of France?"}]
)

print(response.choices[0].message.content)
Your existing codebase works with zero changes to the request format.
Step 6: Deploying a Custom Model
If you have a fine-tuned model, you can upload it to Cerebras. First, convert your model to the Cerebras format using the provided conversion tool:
cerebras convert --input ./my_model --output ./my_model_cerebrasThen upload it:
cerebras deploy --model ./my_model_cerebras --name "my-custom-model"Once deployed, you can call it using the same API, just with your custom model name.
Step 7: Managing Deployments
From the dashboard, you can monitor usage, scale instances, and view logs. For dedicated deployments, you can set auto-scaling rules based on request queue depth. For on-premises, the Cerebras team will provide a local management interface.
Tips for Maximum Performance
1. Batch Your Requests
Cerebras excels at high throughput. If you have multiple independent requests, send them in a single batch instead of one by one. This saturates the WSE and reduces per-request overhead. The SDK supports batching natively:
responses = client.chat.completions.create_batch(
    model="llama3.1-70b",
    messages_batch=[
        [{"role": "user", "content": "Prompt 1"}],
        [{"role": "user", "content": "Prompt 2"}],
        [{"role": "user", "content": "Prompt 3"}]
    ]
)
2. Use the Largest Model You Need
Because Cerebras is so fast, you can often use a 70B parameter model where you previously used a 7B model on GPUs. The speed difference is negligible on Cerebras, but the quality difference is significant. Always benchmark both to see which gives the best results for your use case.
3. Optimize Your Prompt Length
While Cerebras handles long contexts well, you still pay per token. Keep system prompts concise. Use the max_tokens parameter to cap responses and avoid unnecessary generation.
4. Enable Response Caching
For frequently asked questions or deterministic outputs, cache responses at the application layer. Cerebras does not charge for cached results, so this can dramatically reduce costs.
5. Monitor Cold Starts
On the pay-as-you-go cloud tier, the first request after a period of inactivity may have a slight delay (a few seconds) while the WSE is loaded. For latency-sensitive applications, use a dedicated deployment or send a warm-up request every few minutes.
6. Leverage the On-Premises Option for Data Privacy
If you are handling personally identifiable information (PII), medical records, or financial data, choose the on-premises deployment. Cerebras will install the hardware in your data center, and your data never touches the public internet. You get the same speed with full compliance.
7. Use the Cerebras Community Forum
Join the Cerebras community at community.cerebras.net. You will find example notebooks, integration guides, and direct support from the engineering team. Many users share benchmark results and optimization tricks that are not in the official documentation.
8. Combine with Agent Frameworks
Cerebras’ low latency makes it ideal for agent-based systems where an LLM must make multiple sequential calls. Frameworks like LangChain, AutoGen, and CrewAI work seamlessly with Cerebras. Replace the standard LLM backend with Cerebras, and your agents will never stall waiting for a response.
9. Check the Model Update Log
Cerebras regularly adds new models and updates existing ones. Subscribe to the changelog or check the Models page weekly. You might find a model that performs better on your specific task.
10. Start Small, Then Scale
Begin with the cloud pay-as-you-go tier. Run your prototypes and measure latency, throughput, and cost. Once you have a clear picture of your production needs, migrate to a dedicated or on-premises deployment. This iterative approach minimizes upfront investment while letting you validate performance.
Cerebras represents a paradigm shift in AI inference. By removing the bottlenecks inherent in GPU architectures, it unlocks speeds that make real-time, interactive, and agent-based AI truly practical. Whether you are building a customer support chatbot, a code assistant, or a scientific research tool, the platform gives you the infrastructure to think less about hardware and more about your application.
Start with the cloud tier, experiment with different models, and see for yourself what 1,000 tokens per second feels like. Once you experience inference at that speed, you will never want to go back.

Cerebras
Fastest AI inference platform for trillion-parameter models.