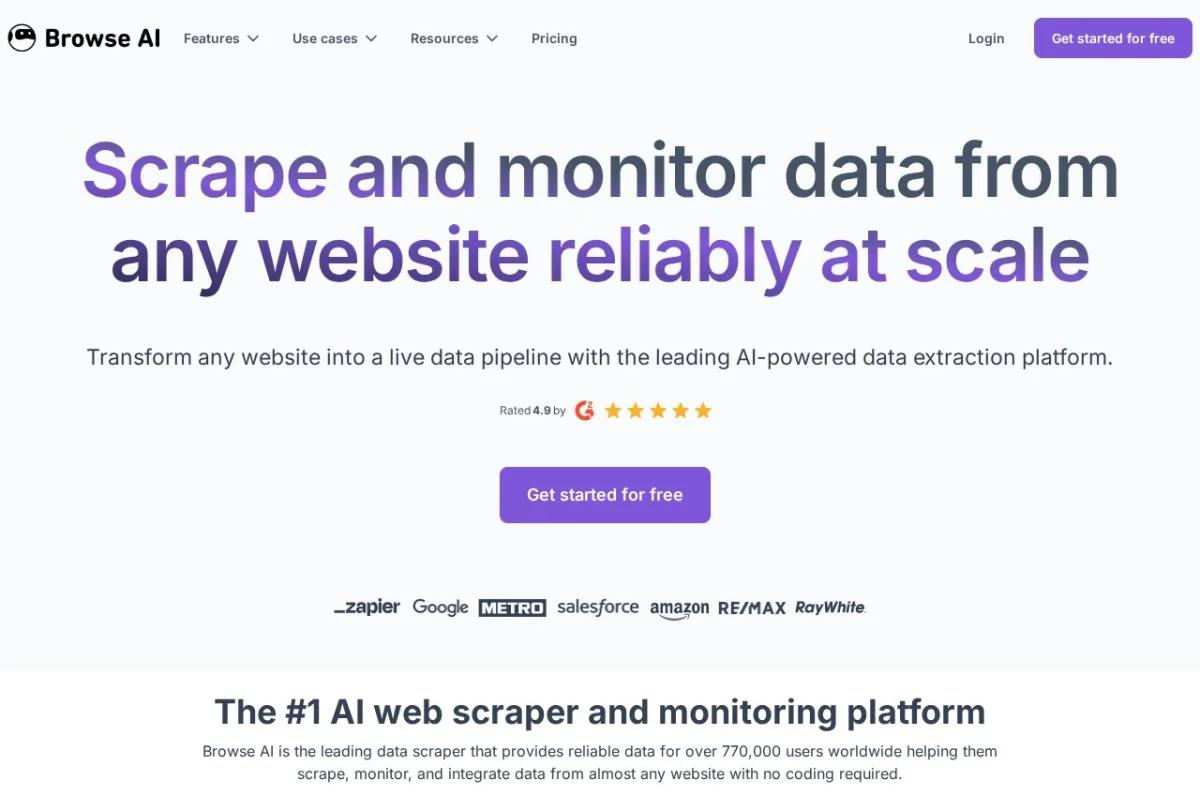
Your Complete Beginner’s Guide to Browse AI: No-Code Web Data Extraction
In today’s data-driven world, information is power. Whether you’re tracking competitor prices, aggregating job postings, monitoring news mentions, or collecting real estate listings, the data you need is often scattered across countless websites. Manually copying and pasting this information is a tedious, error-prone, and unsustainable task. This is where Browse AI comes in.
Browse AI is a powerful yet surprisingly simple no-code platform that empowers anyone—regardless of technical skill—to automate the extraction and monitoring of data from virtually any website. Imagine having a personal robot that can visit websites for you, log in if needed, scroll through pages, pick out the exact information you care about, and deliver it neatly to a spreadsheet or alert you when something changes. That’s the magic of Browse AI. This tutorial will guide you from complete beginner to confident user, showing you how to harness this tool to save hours of manual work.
Getting Started with Browse AI
Your journey to automating web data collection begins with a few simple steps. The barrier to entry is wonderfully low.
Creating Your Account
Head to the Browse AI website. Click on “Sign Up” – you can typically start with a free plan that offers a limited number of tasks and robots, which is perfect for learning and testing the platform. Sign up using your Google account or an email address. Once you confirm your account, you’ll be greeted by the clean, intuitive dashboard.
Understanding the Dashboard
The dashboard is your mission control. Here’s a quick breakdown of what you’ll see:
- Robots: This is the core of Browse AI. A “robot” is an automated task you create. Each robot is trained to do one specific thing on one specific website (e.g., “Extract all products from page 1 of Amazon search for ‘bluetooth headphones'”).
- Tasks & Results: Every time a robot runs, it’s called a “task.” This section shows the history of your robot’s runs and the data it captured each time.
- Integrations: This is where you connect Browse AI to other tools like Google Sheets, Airtable, or Zapier to send your extracted data automatically.
- Monitoring: For robots set to watch for changes, this area shows alerts and updates.
Key Features and Capabilities
Before we dive into creating a robot, let’s explore what makes Browse AI so capable. Understanding these features will help you envision the possibilities for your own projects.
Two-Minute Robot Training
The flagship feature is as straightforward as it sounds. Using a point-and-click interface, you can teach a robot what data to collect in just a couple of minutes. You show it an example on a live webpage, and it learns the pattern.
Monitoring and Instant Alerts
Browse AI isn’t just for one-time data pulls. You can set robots to check a website daily, hourly, or even every 5 minutes. If the data changes—a price drops, a new listing appears, an article is published—you can receive an email notification, a Slack message, or see the change logged in your dashboard.
Handling Complex Websites
Many modern websites pose challenges for simple scrapers. Browse AI elegantly handles these:
- Logins: You can record a step where the robot enters your username and password (stored securely) to access data behind a login wall.
- Infinite Scroll: The robot can automatically scroll down a page to load and capture all items, just like a human would.
- JavaScript & Dynamic Content: It interacts with pages that load content dynamically, waiting for elements to appear before capturing data.
- Pagination: It can click “Next Page” and continue extracting data across an entire catalog or search result set.
Flexible Data Export and Integration
Once captured, your data needs a home. Browse AI offers multiple pathways:
- Google Sheets & Airtable: Send data directly to a new or existing spreadsheet with a single click.
- Zapier: Connect to thousands of other apps (like Notion, Mailchimp, or Discord) to trigger complex workflows.
- API & Webhooks: For developers, you can access the raw extracted data via API or have it sent to a custom endpoint.
- CSV Download: Manually download any result as a CSV file for use in Excel or other tools.
Scheduling and Automation
True hands-off automation is achieved through scheduling. You can set any robot to run on a custom schedule—every day at 9 AM, every hour, every Monday—ensuring your dataset is always up-to-date without you lifting a finger.
How to Use Browse AI: A Step-by-Step Walkthrough
Let’s create a practical robot together. Our example: Extracting the top stories from a news website’s homepage.
Step 1: Create a New Robot
From your dashboard, click the big “Create Robot” button. You’ll be presented with two main options: “Extract data from a website” or “Monitor a website for changes.” For our first robot, choose Extract data.
Step 2: Enter the Target URL and Train the Robot
In the box that appears, paste the URL of the news website’s homepage. Click “Start Training.” A new browser window (the training panel) will open, showing the live website.
Now, you teach the robot. Let’s say we want the headline and the URL of each top story. Simply click on the first headline on the page. Browse AI will highlight it and ask, “What is this?” A sidebar will open. Name this data point something clear, like “Headline.” The robot will then scan the page and try to find all similar elements—it will highlight every other headline it thinks matches. Check to see if it correctly identified all of them.
Next, we need the link. Click on the same first headline again, but this time, in the sidebar, look for an option to select an attribute. Choose “href” (the HTML attribute for a link). Name this data point “Article URL.” The robot will now learn to capture both the text and the link for each item.
Step 3: Configure Pagination or Scrolling (If Needed)
If the news site has a “Load More” button or infinite scroll, you can now add that step. In the training panel, look for buttons to “Add step.” You can add a “Scroll down the page” step or a “Click button” step (and then click the “Load More” button on the page). This allows the robot to gather more data than what’s initially visible.
Step 4: Test and Save Your Robot
Once you’ve selected all the data points you want, click the “Test” button in the training panel. Browse AI will run a quick test and show you a preview of the extracted data in a table format. Verify that the information looks correct. If something is missing or wrong, you can go back and adjust your training selections. When you’re satisfied, click “Save Robot.” Give it a descriptive name like “News Homepage Top Stories” and save it.
Step 5: Run the Robot and Export Your Data
Back on the robot’s management page, you can now click “Run.” The robot will execute its task. Once finished, you’ll see the results. Here, you’ll find the “Export” button. Click it and choose your destination—for example, “Google Sheets.” Follow the prompts to authenticate and select a specific sheet. The data will be sent instantly.
Step 6: Set Up Scheduling and Monitoring (Optional)
To make this robot fully automatic, click on the “Schedule” tab. Choose how often you want it to run (e.g., every 6 hours). You can also go to the “Notifications” tab to set up an alert to be emailed whenever new, unique headlines are detected (a “change monitoring” feature).
Pro Tips for Browse AI Success
To move from basic use to power user, keep these practical tips in mind:
Start Simple, Then Iterate
Build your first robot for the simplest version of your task. Get it working perfectly on one page before adding complexities like pagination or logins. Success with a simple robot builds confidence.
Use Precise Data Point Selection
When training, click on the specific HTML element that contains only the data you want. For a price, click directly on the price number, not a large container around it. This improves accuracy.
Leverage Pre-Trained Robots
Browse AI offers a library of pre-trained robots for popular sites like LinkedIn, Amazon, Google Search, and more. Before building from scratch, check if a template already exists—it can save you significant time.
Respect Website Terms and Robots.txt
Always use Browse AI ethically and legally. Do not overwhelm websites with excessively frequent requests (stick to reasonable schedules like once a day). Check the website’s `robots.txt` file and terms of service to ensure compliance with their data collection policies.
Combine with Zapier for Supercharged Automation
Think beyond the spreadsheet. Use Zapier to connect your Browse AI robot to other apps. For example: “When Browse AI extracts a new job listing from a board, automatically create a card in Trello and send a digest email every Friday.”
Utilize the API for Custom Applications
If you have a developer on your team, the Browse AI API allows you to integrate extracted data directly into your own software, dashboards, or internal tools, creating seamless data pipelines.
Conclusion
Browse AI democratizes access to web data, turning a technically complex process into a visual, click-driven experience. From market research and price monitoring to lead generation and content aggregation, the applications are limited only by your imagination. By following this guide, you’ve learned how to create, train, run, and automate your own data extraction robots. Start with a small project that currently wastes your time, build your first robot, and experience the satisfaction of watching manual work become automated insight. The world’s data is now at your fingertips—no code required.

Browse AI
A no-code tool to scrape and monitor data from any website automatically.