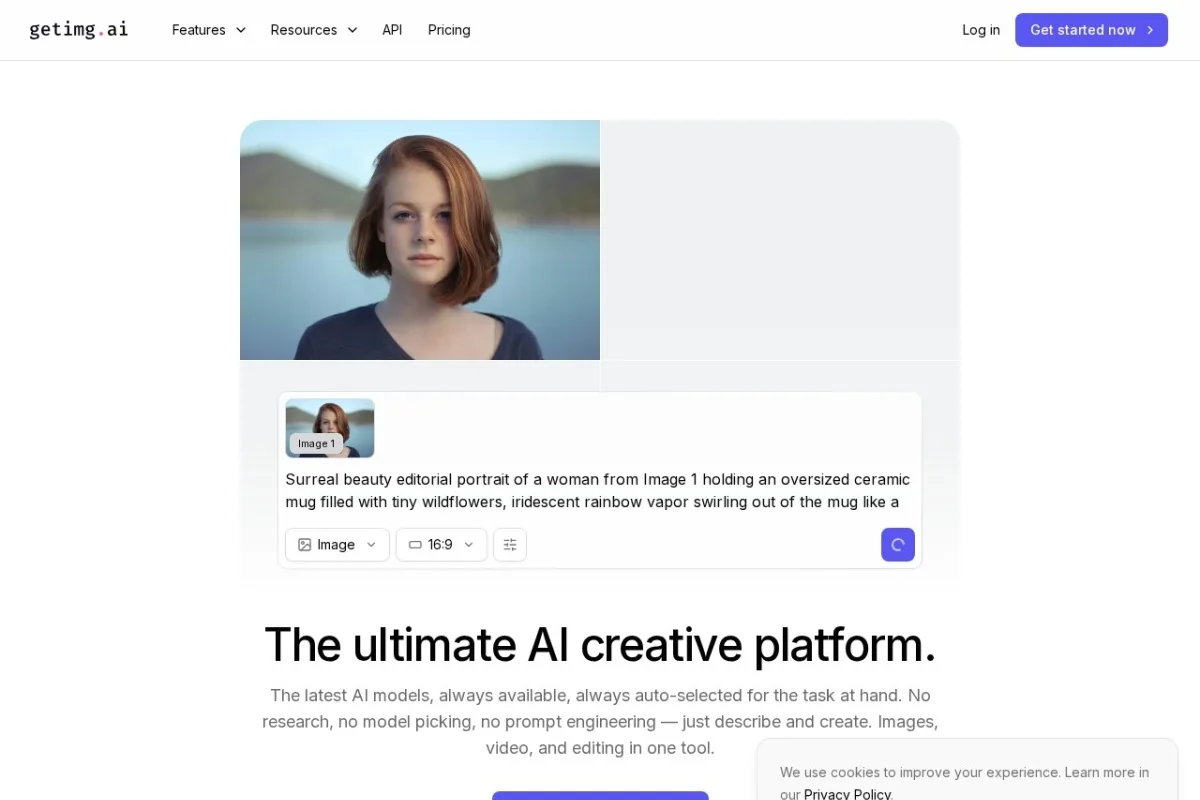
Unlock Your Creativity: A Beginner’s Guide to getimg.ai
In today’s digital world, creating stunning visual content is essential, but it can also be time-consuming and require specialized skills. What if you could describe an image or a scene in plain language and have it appear before your eyes? Welcome to the world of AI-powered creativity. getimg.ai is a revolutionary platform designed to make professional-grade visual content creation accessible to everyone. Whether you’re a marketer needing social media graphics, a writer visualizing a book cover, a game developer creating concept art, or just someone with a vivid imagination, getimg.ai provides the tools to bring your ideas to life with unprecedented ease and speed.
This comprehensive platform stands out by removing the two biggest hurdles in AI art: complexity and choice. Instead of learning the intricacies of dozens of different AI models, getimg.ai acts as your intelligent assistant. You simply provide your creative vision, and the platform automatically selects the best model from its library of over 29 leading AI engines—including powerhouses like FLUX, Google Veo, and Sora—to execute your task. Combine this with a full suite of editing tools, and you have an all-in-one creative studio in your browser. This tutorial will guide you from your first login to creating and refining your own AI-generated masterpieces.
Getting Started with getimg.ai
Beginning your journey with getimg.ai is a straightforward process designed to get you creating in minutes.
Creating Your Account
First, navigate to the getimg.ai website. Click on the “Sign Up” button, typically found in the top right corner. You can register using your email address or through convenient social login options like Google. After a quick verification step, you’ll be ready to explore.
Understanding the Interface
Upon logging in, you’ll be greeted by a clean, user-friendly dashboard. The main navigation is usually found on the left side or top of the screen. Key areas you’ll see include:
- Create/Generate: The core hub for starting new images or videos from text.
- My Assets: Your personal library where all your generated and uploaded images are stored and organized.
- Edit Tools: A section dedicated to utilities like upscaling, background removal, and resizing.
- Team Workspace: (For team plans) A collaborative space to share and work on projects with colleagues.
- Settings & Account: Where you can manage your subscription, API keys, and preferences.
Choosing a Plan
getimg.ai offers a free tier, which is perfect for testing the platform’s capabilities. Free users typically receive a limited number of credits per month to generate images. For more frequent use, explore their paid plans (Starter, Pro, Business), which offer more credits, faster generation, access to premium models like video generators, and advanced features like style consistency. Start with the free plan to get a feel for the platform before upgrading.
Exploring the Key Features
getimg.ai packs a powerful set of features into one cohesive platform. Understanding these will help you harness its full potential.
Text to Image: Your Imagination, Visualized
This is the flagship feature. You describe anything you can think of in a text prompt, and the AI generates a corresponding image. The platform’s magic lies in its automatic model selection, choosing the best AI (like FLUX for realism or a specific model for anime style) to match your request without you needing to be an expert.
Image to Image: Transform and Reimagine
Have an existing image you want to alter? Upload a photo, sketch, or previous AI generation and use a text prompt to guide its transformation. You can change the style, add elements, or completely re-envision the scene while maintaining the original composition.
AI Video Generation: Bringing Motion to Ideas
One of the most exciting capabilities, this allows you to create short video clips. Using Text to Video, describe a dynamic scene. With Image to Video, upload an image and animate it. This feature often utilizes cutting-edge models like Google Veo or Sora (when available) to produce smooth, coherent motion.
The Built-In Editing Toolkit
Instead of exporting to another app, you can refine your creations right inside getimg.ai.
- AI Upscaler: Increase the resolution of your images by 2x or 4x without losing quality, making them print-ready or perfect for high-definition displays.
- Background Remover: Instantly delete the background from any image with a single click, ideal for product photos or creating composite images.
- Smart Resizer: Change your image dimensions, with AI intelligently filling in or adapting the content to fit the new aspect ratio.
Style Consistency & Asset Management
For branding or serial projects, the style consistency features help you generate multiple images that share a common visual theme, character likeness, or artistic feel. All your outputs are automatically saved in “My Assets,” a searchable library where you can organize, tag, and manage your growing collection of visuals.
How to Use getimg.ai: A Step-by-Step Workflow
Let’s walk through a practical example of creating a social media graphic from start to finish.
Step 1: Generating Your Base Image
Click on “Create” or “Text to Image.” In the prompt box, write a clear, descriptive sentence. For example: “A futuristic robot barista serving coffee in a neon-lit, rainy cyberpunk cafe, cinematic lighting, detailed, 4k.” You don’t need to specify a model. The platform will analyze your prompt and choose the best one automatically. You can adjust basic parameters like image dimensions (e.g., square for Instagram) and the number of variations. Click “Generate.” In seconds, you’ll see multiple options. Select your favorite.
Step 2: Refining with Image to Image
Let’s say you love the scene but want the robot to have a friendlier, more cartoonish style. Click on your chosen image and look for the “Edit” or “Image to Image” option. Upload your selected image. In the new prompt, write: “Pixar-style 3D cartoon character robot, smiling, friendly, vibrant colors.” Adjust the “creativity” or “strength” slider to control how much it changes. Generate again to see your transformed, friendlier barista.
Step 3: Editing and Finalizing
Now, let’s prepare the image for use. First, remove the background. Navigate to the editing tools, select “Background Remover,” and upload your cartoon robot image. Download the PNG with a transparent background. Next, maybe the image is a bit small. Use the AI Upscaler to increase its resolution by 4x for crystal clarity. Finally, use the Resizer to crop it perfectly to your social media platform’s required dimensions.
Step 4: Creating a Matching Video Clip (Optional)
To make a dynamic post, let’s animate a version. Go to the AI Video section. Use the “Image to Video” feature and upload your final cartoon robot image. For the prompt, try something simple like: “The robot barista waves hello, steam rises from the coffee cup, gentle camera movement.” Generate the short clip. Now you have a still image and a matching video for a multi-content campaign!
Step 5: Organizing and Exporting
All your creations—the original images, the edited PNG, and the video—are saved in “My Assets.” You can create a project folder named “Cyberpunk Cafe” and add them to it. From here, you can easily download your files in high quality, share them via link, or (in team plans) collaborate with others by adding them to the project.
Pro Tips for Mastering getimg.ai
To elevate your results from good to extraordinary, keep these practical tips in mind.
Crafting Effective Prompts
Be specific and descriptive. Instead of “a dog,” try “a fluffy Samoyed dog running through a field of sunflowers at golden hour, wide-angle lens, photorealistic.” Use style keywords: cinematic, oil painting, digital art, studio ghibli style, minimalist vector logo. Mention lighting: dramatic backlighting, soft morning light, neon glow. Include composition: close-up, wide shot, overhead view.
Leverage the Multi-Language Support
Don’t feel constrained to English. You can write your prompts in over 20 languages. If you think more naturally in Spanish, Japanese, French, or another supported language, use it. The AI will understand and generate accordingly.
Iterate and Experiment
AI generation is iterative. Your first result might be 80% there. Use the “Image to Image” feature to make small tweaks. Change one word in your prompt and regenerate. Try the “Variations” option on an image you almost like. Experimentation is key to discovering unique and perfect results.
Use Editing Tools Strategically
Think of the editing suite as your post-production studio. Generate a good base image first, then use the tools to perfect it. Upscale only your final selected image to save credits. Use background removal to easily place subjects into new contexts or templates.
Explore for Inspiration
Many AI platforms, including getimg.ai, have community galleries or inspiration sections. Browse what others have created and see the prompts they used. This is an excellent way to learn new prompt techniques and discover the platform’s capabilities.
getimg.ai democratizes high-end visual creation by combining powerful AI with a simple, intuitive interface. By following this guide, you’re now equipped to start translating your thoughts into stunning images and videos. Remember, the most important step is to begin. Log in, write your first prompt, and watch as your imagination becomes reality. Happy creating!

getimg.ai AI Creative Platform
An all-in-one AI platform for generating and editing images and videos using multiple leading AI models.