Your Complete Beginner’s Guide to Rytr: AI Writing Assistant and Content Generator
In today’s fast-paced digital world, creating consistent, high-quality written content can feel like a full-time job. Whether you’re a marketer, entrepreneur, blogger, or student, the pressure to produce engaging copy is constant. This is where AI writing assistants come in, and Rytr stands out as a powerful, user-friendly option designed to make writing faster, easier, and more effective.
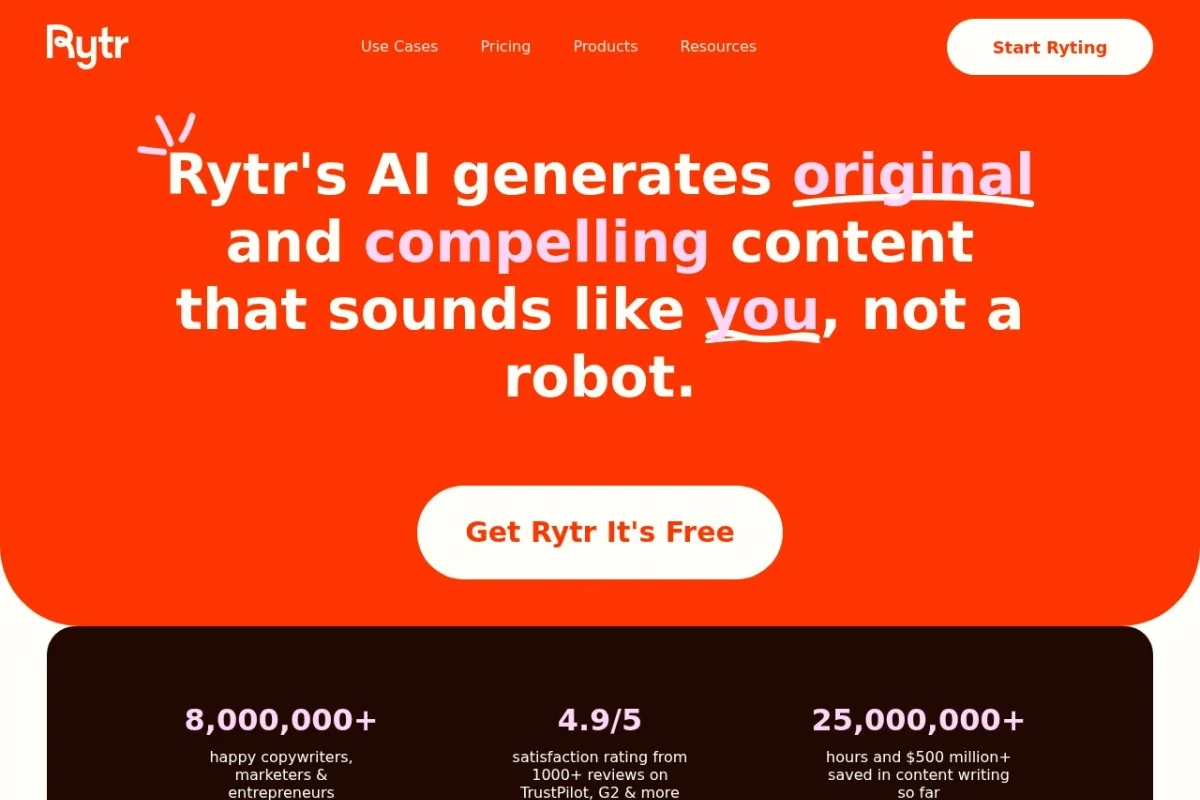
Rytr is an AI-powered writing assistant that helps you generate original, human-like text for virtually any need. From crafting compelling blog introductions and social media captions to writing professional emails and detailed product descriptions, Rytr acts as your creative partner. It goes beyond simple text generation by allowing you to tailor the tone, style, and structure of the output, ensuring the content sounds like you wrote it, not a robot. This detailed tutorial will walk you through everything you need to know to start using Rytr like a pro.
What Makes Rytr Special?
Unlike some AI tools that produce generic or repetitive text, Rytr focuses on generating content that is natural and adaptable. Its key strength lies in its simplicity and breadth. With support for over 40 specific use cases and templates, a built-in plagiarism checker, and even a browser extension, it provides a comprehensive writing toolkit in one clean, intuitive interface. It’s built for everyone, regardless of technical skill.
Getting Started with Rytr
Beginning your journey with Rytr is a straightforward process that takes just a few minutes.
Step 1: Sign Up for an Account
Head to the official Rytr website at https://rytr.me. Click on the “Get Started” or “Sign Up” button, typically found in the top right corner. You can register using your email address, or through a convenient Google or Facebook account. Rytr offers a free plan with generous limits (typically 5,000 characters per month), which is perfect for testing the tool’s core capabilities without any financial commitment.
Step 2: Explore the Dashboard
Once you log in, you’ll be greeted by the clean Rytr dashboard. The main areas you’ll see are:
- New Document: The central button to start a fresh writing project.
- My Documents: A folder where all your past projects are automatically saved, allowing you to revisit and edit them anytime.
- Templates/Use Cases: A menu or dropdown showcasing the vast library of content types Rytr can help with.
- Account & Settings: Where you can manage your subscription, view usage, and access advanced features like the plagiarism checker.
Step 3: Choose Your Plan
While the free plan is great for starters, if you find yourself needing more content, you can upgrade to a “Saver” or “Unlimited” plan. These paid plans offer higher monthly character limits, access to premium features like the plagiarism checker and priority support, and the ability to create custom tones of voice. You can change your plan at any time from your account settings.
Key Features of Rytr AI
Rytr packs a powerful set of features into its platform. Understanding these will help you leverage the tool to its full potential.
1. 40+ Use Cases and Templates
This is the heart of Rytr. Instead of a blank page, you start with a purpose. Need a YouTube video description? A persuasive AIDA (Attention, Interest, Desire, Action) sales email? A catchy startup name? Simply select the relevant template. Each use case is pre-engineered with the best prompts to guide the AI, saving you time and ensuring the structure of the output is appropriate for your goal.
2. Tone of Voice Customization
One size does not fit all in writing. Rytr allows you to apply a specific tone to your generated text. Choose from options like Convincing, Passionate, Humorous, Formal, or Casual. This ensures your blog post is friendly, your business email is professional, and your ad copy is persuasive. Premium users can even define and save their own unique brand voice.
3. AI Autocomplete (RytrSE)
Hit a writer’s block in the middle of a sentence or paragraph? Rytr’s AI autocomplete feature, called RytrSE, acts like a supercharged text predictor. Simply click the icon or use a keyboard shortcut, and Rytr will suggest how to finish your thought, helping you maintain flow and momentum in your original writing.
4. Grammar Checking and Text Improver
Rytr isn’t just for generating new text; it’s also a powerful editing assistant. Paste your own writing into the editor and use the “Improve” or “Rephrase” commands. Rytr will fix grammatical errors, enhance clarity, and suggest more impactful phrasing, making your existing content stronger.
5. Plagiarism Checker
Originality is crucial. For users on paid plans, Rytr includes an integrated plagiarism checker. After generating content, you can run a quick scan to ensure the text is unique and not duplicated from existing sources online, giving you peace of mind before you publish.
6. Browser Extension
This is a game-changer for productivity. Install the Rytr browser extension (available for Chrome and other Chromium-based browsers) to access the AI’s power anywhere you write on the web—in your Gmail compose window, a Google Doc, a social media post box, or a CMS like WordPress. Highlight text and use the Rytr pop-up to rewrite, expand, or summarize without ever leaving your tab.
How to Use Rytr: A Step-by-Step Walkthrough
Let’s go through a practical example: writing a blog post introduction.
Step 1: Start a New Document
From your dashboard, click the New Document button.
Step 2: Select Your Use Case
In the document editor, find the “Use Case” dropdown menu. Scroll through the list or search for “Blog.” You’ll find specific options like “Blog Idea & Outline” and “Blog Section Writing.” For an introduction, select “Blog Section Writing.”
Step 3: Define Your Inputs (The Magic Formula)
This is where you guide the AI. The input panel will appear. Fill in the fields carefully:
- Language: Choose your output language (e.g., English).
- Tone: Select a tone, e.g., “Engaging” or “Informative.”
- Use Case: This should already be set to “Blog Section Writing.”
- Blog Section: From the new dropdown, select “Introduction.”
- Topic/Keyword: Enter the main subject of your blog post. Be specific. Instead of “gardening,” try “organic vegetable gardening for beginners in small spaces.”
- Keywords (Optional): Add a few key phrases you’d like the AI to naturally include, like “container gardening,” “easy vegetables,” “soil health.”
- Number of Variants: Choose how many different introductions you want Rytr to generate (e.g., 3). This gives you options to choose from or blend together.
Step 4: Generate and Refine
Click the Ryte for me button. In seconds, you’ll see multiple versions of a blog introduction. Read through them. You can:
- Select your favorite: Click on the one you like best to insert it into the main editor.
- Generate more: If you’re not fully satisfied, click “Ryte for me” again for fresh ideas.
- Edit manually: Treat the AI output as a first draft. Click into the text in the editor and tweak it, add personal anecdotes, or insert specific facts.
- Use AI tools: Highlight a sentence and use the context menu to “Rephrase,” “Expand,” or “Shorten” it further.
Step 5: Save, Export, or Use
Your work is automatically saved in “My Documents.” You can copy the text directly to your clipboard or use the export options. If you have the browser extension installed, you could now open your WordPress editor and use Rytr directly there to write the next section.
Pro Tips for Getting the Best Results from Rytr
To move from a basic user to a power user, keep these practical tips in mind.
Tip 1: Be Specific in Your Inputs
The quality of the AI’s output is directly related to the quality of your input. Vague prompts lead to generic text. Instead of “write an ad for shoes,” try “write a persuasive Facebook ad for waterproof hiking boots for women, highlighting durability and comfort for long trails, in a passionate tone.” The more context you give, the better the result.
Tip 2: Use the “Continue Ryting” Feature
If you generate a paragraph you like but need it to be longer, place your cursor at the end of the text and look for the “Continue Ryting” option or use the AI autocomplete. This allows you to build out content seamlessly, section by section.
Tip 3: Combine Templates for Complex Projects
For a full blog post, don’t just use one template. Use the “Blog Idea & Outline” first to get a structure. Then, use “Blog Section Writing” separately for the introduction, key points, and conclusion. This modular approach gives you more control.
Tip 4: Always Edit and Humanize
Think of Rytr as your brainstorming assistant, not a replacement for your expertise. Always read through the generated text, add your own unique insights, correct any subtle factual errors the AI might make, and ensure it aligns perfectly with your brand voice. This human touch is essential for authenticity.
Tip 5: Leverage the Browser Extension Daily
Make the extension your secret weapon. Use it to quickly draft replies to difficult emails, spruce up your LinkedIn posts, or come up with comments on the fly. It dramatically reduces the friction of writing across all your daily tasks.
Tip 6: Experiment with Different Tones
If a piece of content isn’t resonating, try regenerating it with a different tone. A “Humorous” version of a product description might work better for social media, while a “Formal” one might be better for a website datasheet.
Conclusion: Unleash Your Writing Potential
Rytr AI is more than just a text generator; it’s a versatile writing companion that can dramatically accelerate your content creation process while helping you overcome creative blocks. By following this guide, you now know how to navigate its interface, harness its powerful features like templates and tone customization, and apply practical tips to get high-quality, original content. Remember, the key to success with any AI tool is the synergy between human creativity and machine efficiency. Start with the free plan, practice with different use cases, and discover how Rytr can help you write faster, better, and with more confidence in everything you do.

Rytr AI Writing Assistant and Content Generator
An AI-powered tool that generates original, compelling written content in various tones and formats.