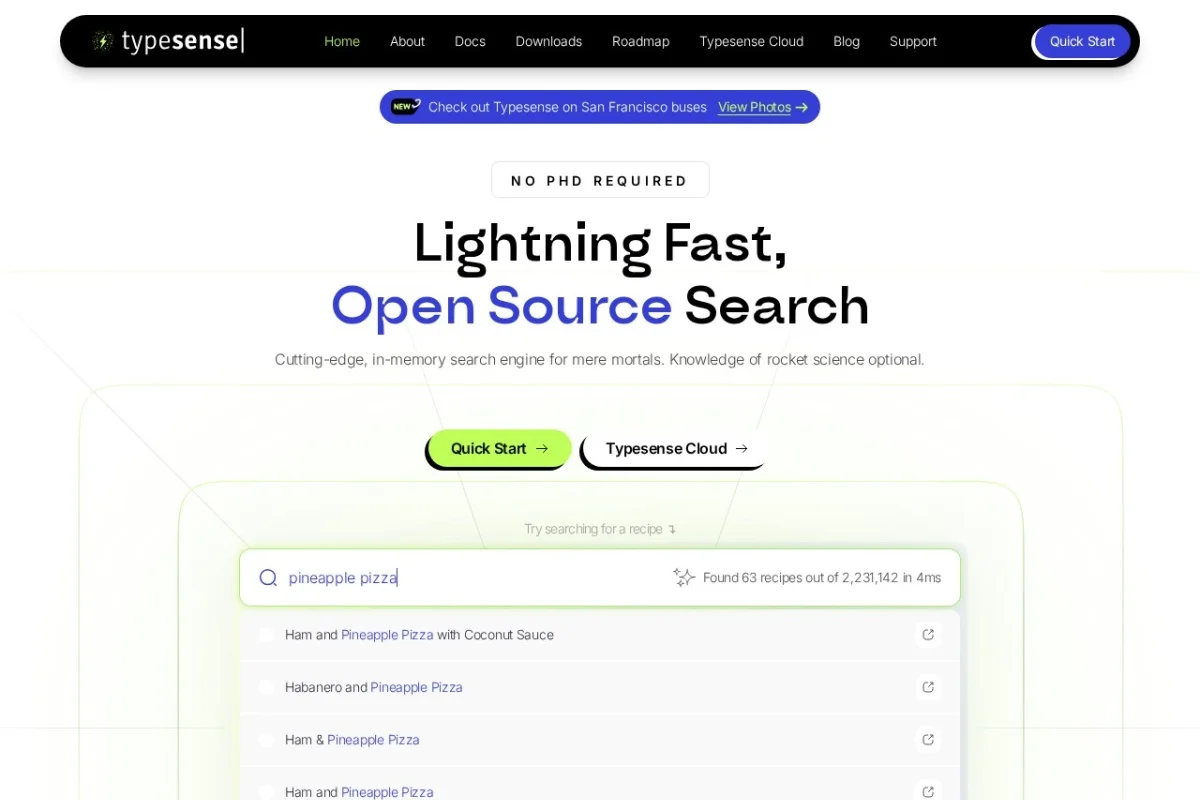
Your Guide to Typesense: The Open Source Search Engine Powerhouse
In today’s digital world, users expect fast, relevant, and intelligent search. Whether you’re building an e-commerce site, a documentation portal, or a content-rich application, a clunky search bar can ruin the experience. Enter Typesense: a powerful, open-source search engine designed to be the modern, developer-friendly answer to this critical need. This tutorial will guide you from complete beginner to confidently implementing Typesense in your projects.
What is Typesense?
Typesense is an open-source, high-performance search engine. Think of it as a modern, self-hosted alternative to proprietary services like Algolia or a simpler, more focused counterpart to Elasticsearch. It’s built with a clear philosophy: powerful search made simple. You get features like typo-tolerant “search-as-you-type,” hybrid vector search, and powerful filtering without the operational complexity often associated with search infrastructure. It’s a single binary, which means setup is a breeze, and it offers a clean, intuitive HTTP API that feels natural to use.
Getting Started with Typesense
Let’s get Typesense up and running. You have two primary paths: running it locally for development or using their managed cloud service. We’ll start locally, as it’s the best way to learn.
Option 1: Local Installation (Quickest Start)
For macOS and Linux users, the easiest method is using Docker. If you have Docker installed, you can launch a Typesense server with one command:
- Open your terminal and run the following command. This pulls the latest Typesense image and starts it on port 8108.
docker run -p 8108:8108 -v/tmp/typesense-data:/data typesense/typesense:latest --data-dir /data --api-key=xyz --enable-cors
- Let’s break down the command:
-p 8108:8108: Maps the container’s port to your local machine.-v/tmp/typesense-data:/data: Persists your search data to your local disk.--api-key=xyz: Sets a pre-shared API key for security (use a stronger key in production!).--enable-cors: Allows your frontend applications to talk to the server.
- In seconds, you’ll have a production-grade search engine running on your machine. You can verify it’s working by visiting
http://localhost:8108/healthin your browser.
Option 2: Using Typesense Cloud
If you prefer not to manage servers, Typesense Cloud offers a fully managed service. Simply sign up for an account, create a cluster (they have a generous free tier), and you’ll get a hostname and API key. The API you use from that point on is identical to the self-hosted version, making migration seamless.
Option 3: Other Installation Methods
Typesense can also be installed via package managers (like brew install typesense on macOS), by downloading the binary directly, or via orchestration tools like Kubernetes. Check their documentation for detailed instructions.
Key Features That Make Typesense Shine
Before we dive into code, let’s understand what makes Typesense special. These aren’t just checkboxes; they are thoughtfully implemented features that solve real problems.
Blazing Fast and Typo-Tolerant Search
Typesense is built for speed, delivering results in single-digit milliseconds. More importantly, it has world-class typo tolerance built-in. If a user searches for “jeans,” results for “jeens” or “jeanss” will still appear. This “fuzzy” matching happens automatically, drastically improving user experience.
Hybrid Search: Keywords Meet Vectors
This is a standout feature. Typesense seamlessly combines traditional keyword search with modern vector search (semantic search). This means you can search for “comfortable running shoes” and get results that understand the concept of “comfort” and “running,” even if those exact words aren’t in the product description. You get the precision of keywords with the intelligence of AI-powered semantics.
Simple and Intuitive API
Unlike some search engines with complex JSON query DSLs, Typesense uses a clean, RESTful API with straightforward parameters. You perform searches by simply adding query parameters to a URL (e.g., q=running&query_by=name,description). It feels natural and is easy to debug.
Built-in Synonyms, Filtering, and Faceting
Need “TV” to also mean “television”? Define synonym rules in a simple JSON schema. Need to let users filter search results by price, brand, or color? Typesense has powerful filtering and faceting built right in, allowing you to build sophisticated search UIs with sliders and checkboxes with minimal effort.
How to Use Typesense: A Practical Walkthrough
Now, let’s interact with our running Typesense server. We’ll use curl commands in the terminal, but you can easily translate these to any programming language like JavaScript, Python, or PHP.
Step 1: Create a Collection (Your Search Index)
A “collection” is like a database table. Let’s create one for a simple book catalog. We define the schema, which are the fields we want to search and filter on.
curl -X POST "http://localhost:8108/collections"

      -H "X-TYPESENSE-API-KEY: xyz"

      -H "Content-Type: application/json"

      -d '{

        "name": "books",

        "fields": [

          {"name": "title", "type": "string" },

          {"name": "authors", "type": "string[]" },

          {"name": "publication_year", "type": "int32" },

          {"name": "categories", "type": "string[]" },

          {"name": "rating", "type": "float" }

        ],

        "default_sorting_field": "rating"

      }'
This creates a collection named “books” with fields for title, authors (an array of strings), year, categories, and rating. We’ve also set the default sorting to be by rating.
Step 2: Add Documents (Your Data)
Documents are the individual records in your collection. Let’s add a couple of books.
curl -X POST "http://localhost:8108/collections/books/documents"

      -H "X-TYPESENSE-API-KEY: xyz"

      -H "Content-Type: application/json"

      -d '[

        {"id": "1", "title": "The Great Gatsby", "authors": ["F. Scott Fitzgerald"], "publication_year": 1925, "categories": ["Fiction", "Classic"], "rating": 4.5},

        {"id": "2", "title": "The Hitchhikers Guide to the Galaxy", "authors": ["Douglas Adams"], "publication_year": 1979, "categories": ["Science Fiction", "Comedy"], "rating": 4.7}

      ]'
Step 3: Perform Your First Search
Let’s search for books related to “galaxy.” We’ll search in the `title` and `authors` fields.
curl -X GET "http://localhost:8108/collections/books/documents/search?q=galaxy&query_by=title,authors"

      -H "X-TYPESENSE-API-KEY: xyz"
You’ll get a JSON response containing “The Hitchhikers Guide to the Galaxy,” beautifully formatted with metadata like highlighting and search weight.
Step 4: Implement Filtering and Faceting
Now, let’s make our search smarter. Say we only want Science Fiction books published after 1970.
curl -X GET "http://localhost:8108/collections/books/documents/search?q=*&query_by=title,authors&filter_by=categories:Science Fiction&&publication_year:>1970"

      -H "X-TYPESENSE-API-KEY: xyz"
To get facets (counts for each category to build filters in your UI), add:
&facet_by=categories
Step 5: Integrate with a Frontend (JavaScript Example)
While you can query Typesense directly from a frontend (if CORS is enabled), for production, you should route searches through a backend API you control for security. Here’s a conceptual frontend-focused example using the official JavaScript client:
// Install via npm: npm install typesense
import Typesense from 'typesense';
let client = new Typesense.Client({
nodes: [{ host: 'localhost', port: '8108', protocol: 'http' }],
apiKey: 'xyz', // Use a search-only key from your backend in real apps
connectionTimeoutSeconds: 5
});
let searchResults = await client
.collections('books')
.documents()
.search({
q: 'galaxy',
query_by: 'title,authors',
filter_by: 'rating:>=4.0',
sort_by: 'rating:desc'
});
console.log(searchResults);
Pro Tips for Using Typesense Effectively
- Secure Your API Keys: The master API key (like the ‘xyz’ we used) is powerful. For frontend applications, generate a “search-only” API key from the Typesense server with restricted permissions. Always keep the master key on your backend server.
- Schema Design is Key: Think carefully about your schema. Fields you want to filter or facet on (like `price`, `category`) should have appropriate types (`int32`, `string[]`). Fields for search (`title`, `description`) should be of type `string`.
- Leverage Synonyms Early: If your domain has specific jargon or common misspellings, setting up synonym rules during development will save time later and instantly improve search quality.
- Start with Cloud, Consider Self-Hosting: For prototyping and small-to-medium projects, Typesense Cloud is fantastic. As you grow, the self-hosted option gives you full control and can be more cost-effective. The API compatibility means you can switch without code changes.
- Explore the Clients and Tools: The Typesense community provides official clients for JavaScript, Python, Ruby, PHP, and more. Also, check out tools like the Typesense Dashboard for a GUI to manage your data.
- Combine Keyword and Vector Search: Don’t be intimidated by “hybrid search.” Start with keyword search, then gradually enrich your data with vector embeddings (using OpenAI, Cohere, etc.) and add the `vector_query` parameter to your searches to unlock semantic understanding.
Typesense successfully demystifies high-performance search. It removes the traditional barriers of complexity and cost, allowing developers to focus on building great search experiences for their users. By following this tutorial, you’ve taken the first steps into a world of fast, typo-tolerant, and intelligent search for your applications. Now, go index some data and make your search bar magical!

Typesense: Open Source Search Engine
An open-source, high-performance search engine alternative to Algolia and Pinecone.