Mastering Vector Art with Recraft AI: A Comprehensive Beginner’s Tutorial
In the world of digital design, vector graphics are the gold standard for logos, icons, and illustrations. Unlike regular images made of pixels, vectors are built with mathematical paths, meaning they can be scaled to any size without ever becoming blurry or losing quality. For years, creating professional vector art required deep expertise in complex software like Adobe Illustrator. Enter Recraft AI, a revolutionary tool that democratizes vector design by harnessing the power of artificial intelligence. This tutorial will guide you, step-by-step, through everything you need to know to start creating stunning, scalable artwork with Recraft.
Introduction: What is Recraft AI?
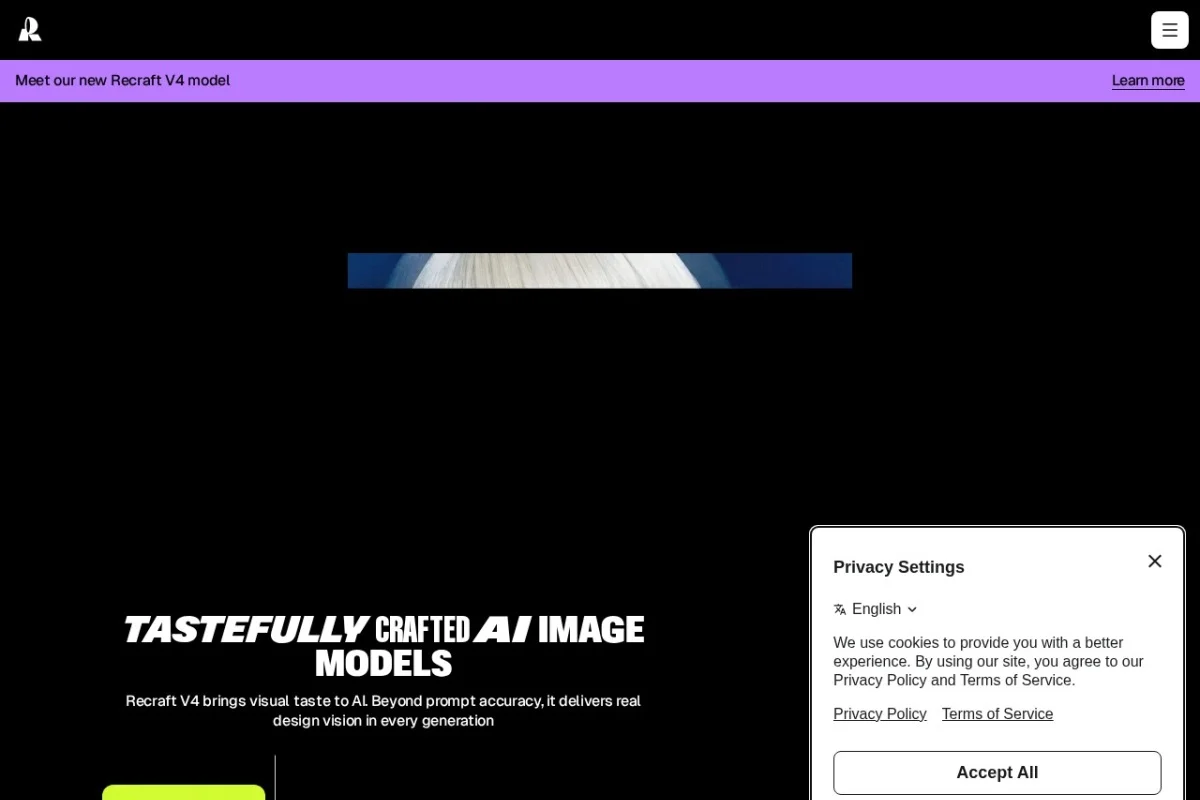
Recraft AI is a specialized generative AI tool designed exclusively for creating and editing vector graphics, illustrations, and icons. Think of it as a dedicated AI artist that understands the rules of vector art. Its core mission is to allow anyone—from complete beginners to seasoned professionals—to generate resolution-independent artwork using simple text prompts and intuitive editing tools. Whether you need a set of cohesive icons for your mobile app, a custom illustration for a blog post, or a complete brand identity kit with consistent styling, Recraft is built to handle it. By outputting files in formats like SVG, it ensures your creations are perfectly suited for everything from business cards to billboards.
Getting Started with Recraft AI
Beginning your vector art journey with Recraft is a straightforward process.
Creating Your Account
First, navigate to the official Recraft website at https://recraft.ai/. Look for a “Sign Up” or “Get Started” button. You can typically register using an email address or through convenient social login options like Google. Once registered, you’ll likely have access to a free tier with a generous number of initial generations, which is perfect for exploring the tool’s capabilities.
Understanding the Dashboard
After logging in, you’ll be greeted by the Recraft dashboard. This clean interface is your command center. Key areas you’ll notice include:
- The Creation Panel: This is usually front and center, featuring a prominent text box for entering your prompts.
- Style and Parameter Selectors: Drop-down menus and buttons to choose your art style (e.g., flat, outline, 3D), color palette, and canvas orientation before you even generate.
- Your Project Library: A gallery where all your created and edited images are saved, organized into projects for easy access.
- Editing Tools: Once an image is generated, a toolbar with options to edit, refine, recolor, and more will become available.
Take a moment to click around and familiarize yourself with this layout before diving into your first creation.
Key Features of Recraft AI
Recraft packs a powerful set of features tailored for vector creation. Understanding these will help you leverage the tool to its full potential.
- Text-to-Vector Generation: The heart of Recraft. Describe what you want in plain English, and the AI generates a fully editable vector image. For example, typing “a minimalist icon of a rocket taking off” will produce a clean, scalable graphic.
- Vector Editing and Refinement: Unlike many AI image generators, Recraft doesn’t leave you with a static picture. You can select individual elements, change their colors, adjust shapes, delete parts, or add new elements with text prompts, all while staying in the vector format.
- Style Consistency Engine: This is a game-changer for branding. You can create a “style” by generating or selecting a reference image. Recraft will then apply the same color scheme, line weight, and artistic approach to all subsequent generations, ensuring your icons and illustrations look like they belong to the same family.
- Icon and Illustration-Specific Modes: Recraft offers dedicated modes for creating icons (simpler, symbolic graphics) and more detailed illustrations, optimizing its AI model for each task.
- Image Upscaling to Vector: Have a low-resolution logo or a pixel-based sketch? You can upload it, and Recraft will trace and convert it into a clean, scalable vector graphic, effectively “upscaling” it to infinity.
- Brand-Centric Asset Management: Create project boards to keep all assets for a specific brand or client together. Define and lock in brand colors to use across all designs automatically.
- Export in Scalable Formats: Download your finished work as an SVG (the standard for web and vector graphics), PNG, or even as code (React component), making it ready for developers, printers, or your own design projects.
How to Use Recraft AI: A Step-by-Step Workflow
Let’s walk through a practical example: creating a set of three consistent icons for a fictional eco-friendly gardening app called “GreenSprout.”
Step 1: Generating Your First Icon
Click the main prompt input field. Start with a clear, descriptive prompt. For our first icon, we might type: “A simple flat design icon of a watering can with a small plant sprout, in friendly green and blue colors.” Before generating, use the style selector to choose “Flat Illustration” and set the aspect ratio to “Square” for an icon. Click “Generate.” Recraft will produce several variations. Choose the one that best matches your vision.
Step 2: Editing and Refining
Click on your chosen icon to open it in the editing canvas. Notice the layers panel or selection tool. Perhaps you want the plant sprout to be larger. Use the select tool to click on the sprout and scale it up. Maybe the blue is too dark. Select the watering can body and use the color picker to choose a softer sky blue. You can even use the text prompt within the editor to add elements, like typing “add a few water droplets” to enhance the icon.
Step 3: Creating a Consistent Style
This is where Recraft shines. With your first icon selected, look for an option like “Create Style from this Image” or “Save Style.” This will lock in the specific flat aesthetic, line thickness, and color palette. Name this style “GreenSprout App Icons.”
Step 4: Generating the Icon Set
Now, with the “GreenSprout App Icons” style active, generate your next icons using new prompts. For example: “A gardening glove icon” and “A sun with a happy face icon.” Because the style is locked in, these new icons will automatically adopt the same visual language as your watering can, creating a perfectly harmonious set with minimal effort.
Step 5: Exporting Your Work
Select all three icons in your project library. Look for the “Export” button. You’ll be presented with format options. For icons intended for a website or app, choose SVG to ensure they remain crisp on all screen resolutions. You can export them individually or as a bundled zip file, ready to hand off to your developer or import into your design software.
Pro Tips for Effective Use of Recraft AI
To elevate your results from good to exceptional, keep these practical tips in mind.
- Be Specific in Your Prompts: Instead of “a dog,” try “a cartoon-style silhouette of a sitting corgi dog, thick outline, single color.” Specify style (flat, outline, 3D), subject details, color, and composition.
- Leverage the Style Reference for Branding: When starting a brand project, design one key logo or icon to perfection first. Then, use it to create a style. This ensures your entire visual identity—from social media graphics to product labels—feels unified.
- Iterate and Combine: Use the initial generations as a starting point. Don’t be afraid to generate multiple batches, pick the best elements from each, and use the editing tools to combine them into your ideal graphic.
- Master the Edit Tools for Perfection: Spend time learning the selection, recolor, and transformation tools. The ability to tweak minor details after generation is what makes Recraft truly powerful for professional work.
- Use the Upscaler for Legacy Assets: Got an old, blurry company logo that only exists as a small JPG? Run it through Recraft’s image-to-vector feature to get a fresh, infinitely scalable version you can modernize.
- Organize with Projects Early: Start using the project folders from day one. Create a new project for each client, personal endeavor, or category (e.g., “Website Icons,” “Marketing Illustrations”) to keep your library manageable.
- Explore Community Styles: Recraft often features a library of pre-made styles. Browsing these can provide incredible inspiration and a quick starting point for your own creations.
Recraft AI fundamentally changes the accessibility of professional vector design. By following this tutorial, you’ve learned how to navigate the platform, harness its core features for generation and editing, and apply pro techniques to maintain style consistency. The key now is to practice. Start with a simple idea, experiment with prompts, play with the editing tools, and build a small project. As you grow more comfortable, you’ll discover that Recraft is not just a tool for making pictures—it’s a partner in bringing your visual ideas to life, with precision and scale that was once reserved for expert designers. Happy creating!

Recraft AI Vector Art and Illustration Generator
An AI-powered tool for generating and editing vector graphics, icons, and illustrations in a scalable format.