Introduction
Artificial intelligence has revolutionized the way we create and interact with visual art. Among the many tools available today, Prompt Hunt stands out as a fast, intuitive, and powerful platform designed to make AI-generated art accessible to everyone—from complete beginners to seasoned creatives. Whether you want to generate a stunning photograph, a whimsical illustration, a sleek logo, or a nostalgic pixel art piece, Prompt Hunt delivers high-quality results in seconds.
At its core, Prompt Hunt is built around the concept of prompts—short text descriptions that guide the AI in generating an image. The platform uses a proprietary model called Chroma, which is specifically optimized for creative work. This means you get vibrant, detailed, and coherent visuals without needing to understand complex technical parameters. The interface is clean, the workflow is streamlined, and the entire experience is designed to let you focus on your creativity.
In this tutorial, you will learn everything you need to know to start using Prompt Hunt effectively. We will cover how to sign up, navigate the dashboard, create your first piece of AI art, save prompts as reusable templates, manage your privacy, and explore the rich library of categories. By the end, you will be able to generate professional-looking visuals with just a few clicks.
Getting Started
Creating an Account
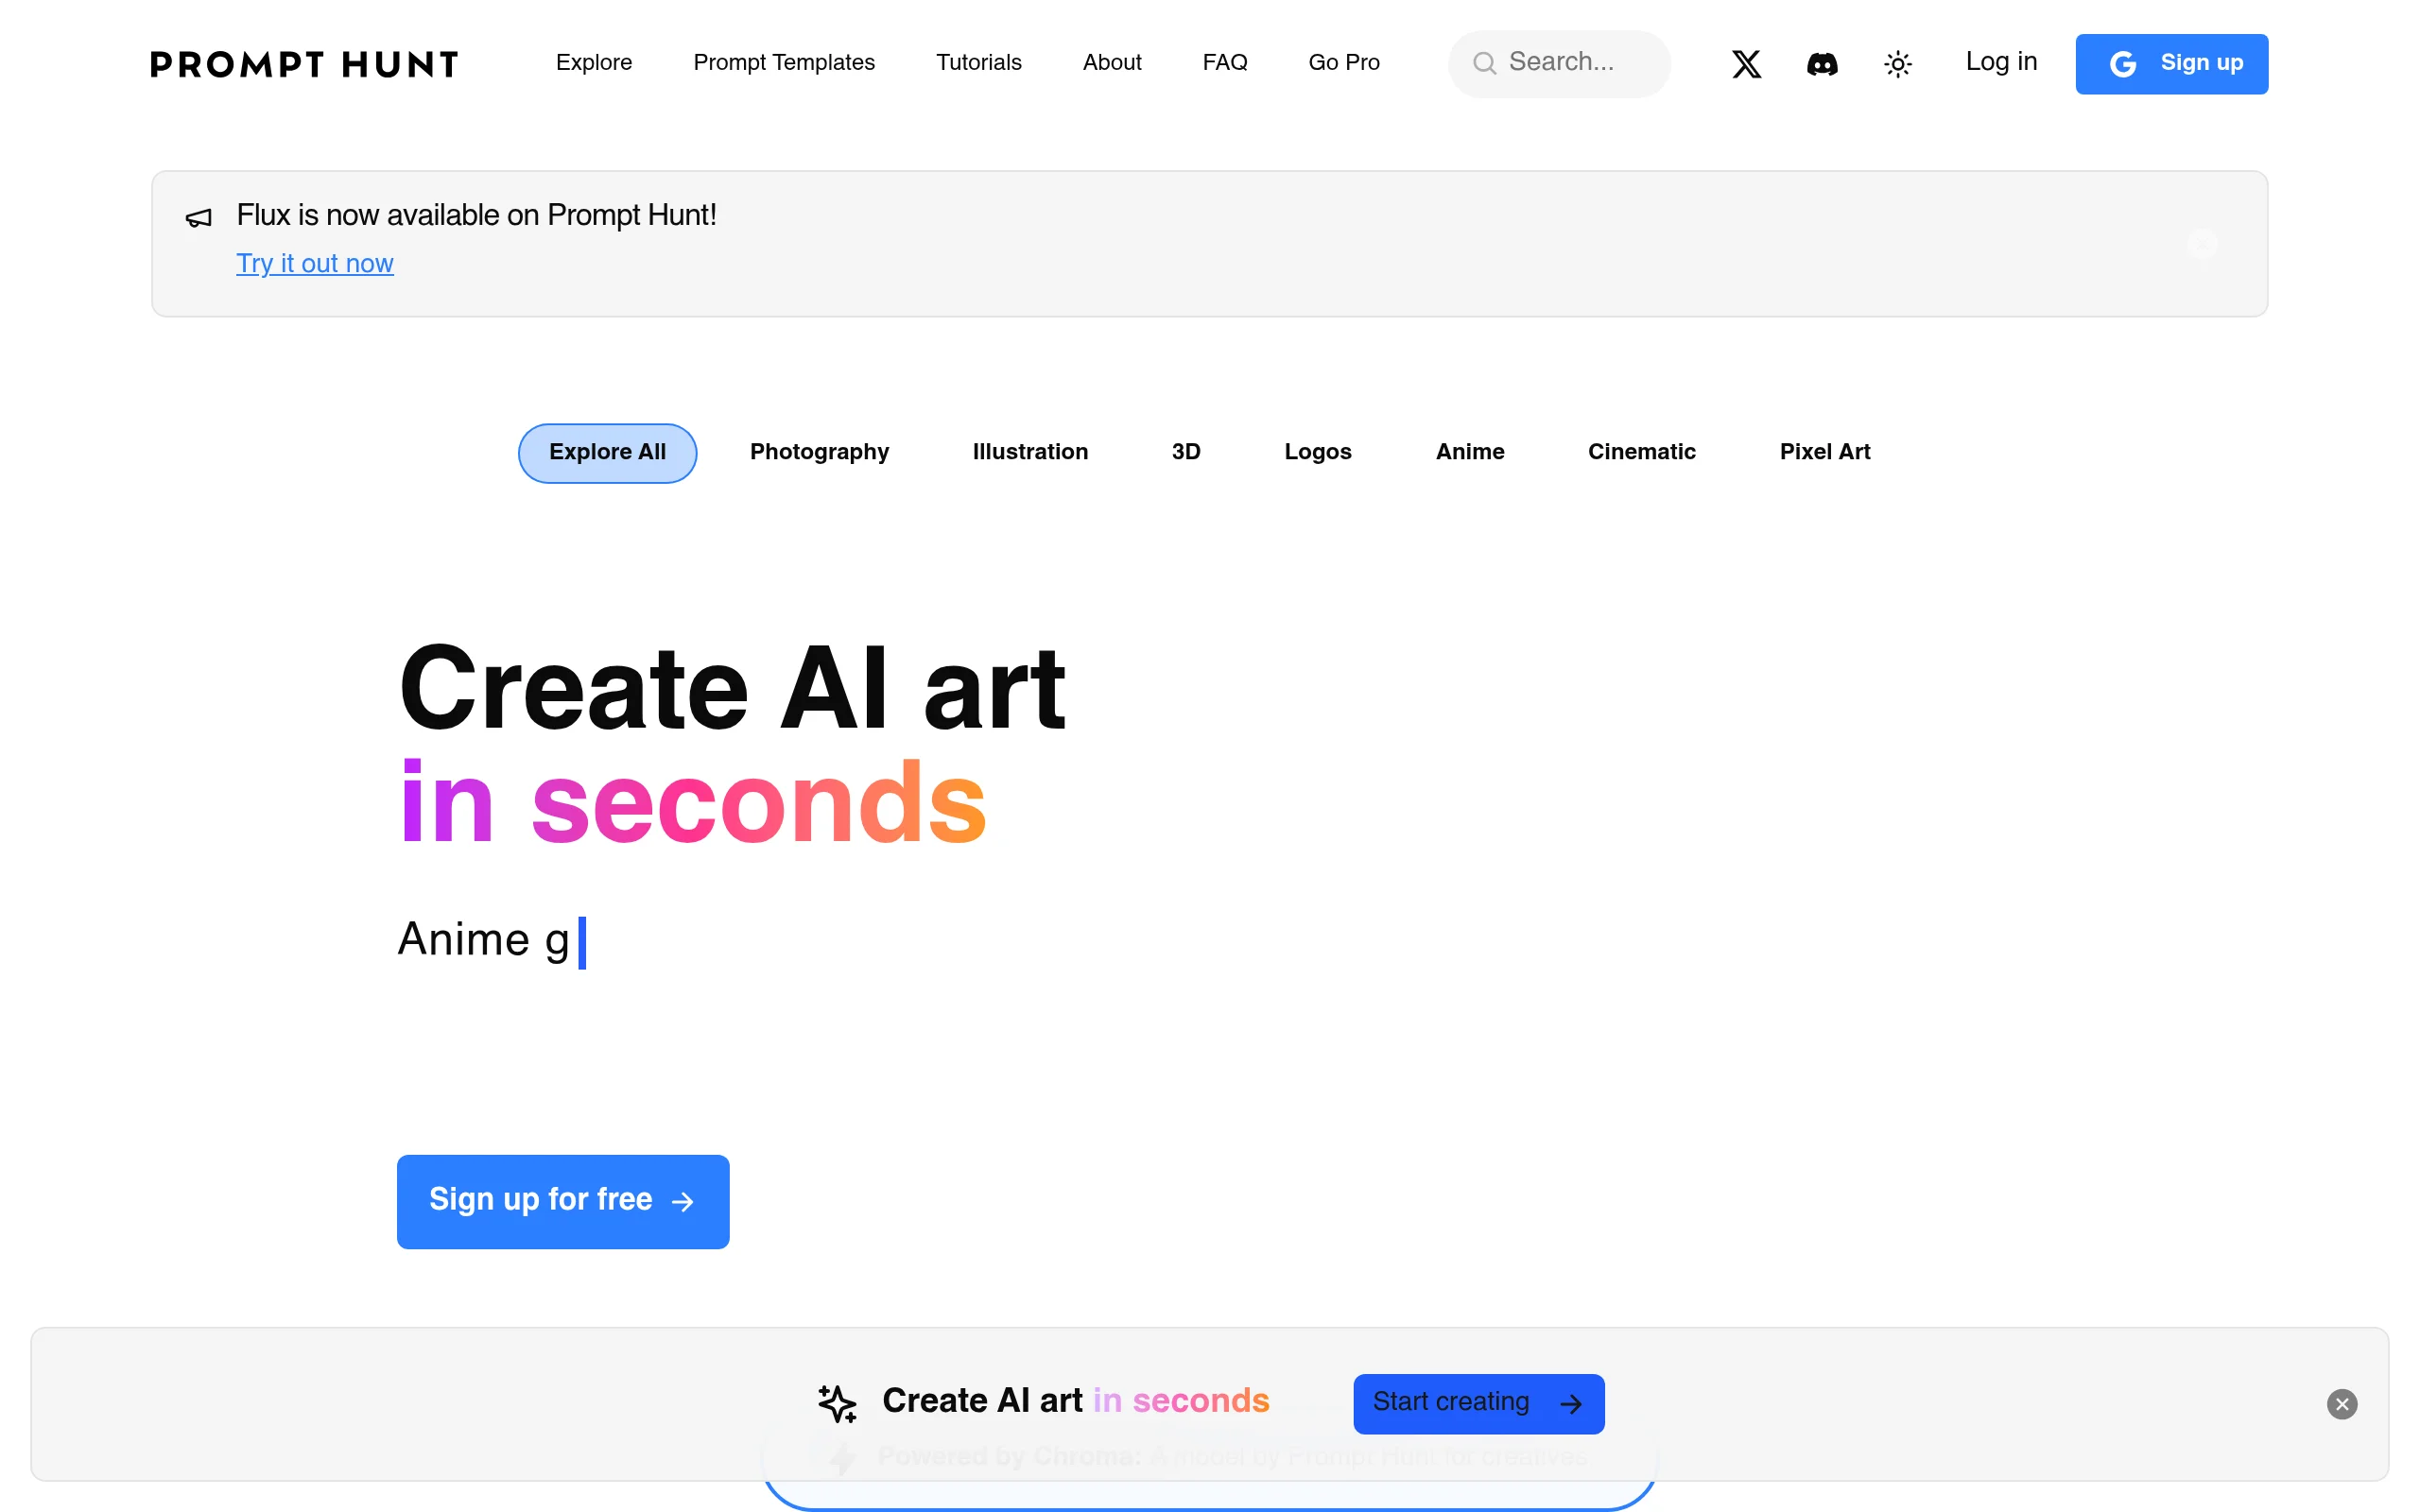
To begin using Prompt Hunt, navigate to https://prompthunt.com. You will see a clean landing page with a prominent Sign Up or Get Started button. Click it, and you will be prompted to create an account using your email address. Alternatively, you can sign up using your Google or GitHub account for a faster process. After confirming your email, you will be logged into the main dashboard.
Dashboard Overview
Once logged in, the dashboard is your central hub. The layout is minimal and intuitive:
- Top Navigation Bar: Contains links to “Create,” “Explore,” “My Templates,” and your profile settings.
- Main Workspace: This is where you will write your prompt and generate images. It includes a large text input field and a “Generate” button.
- Category Pills: Below the input field, you will find clickable tags like Photography, Illustration, 3D, Logos, Anime, Cinematic, and Pixel Art. These help the AI understand the style you want.
- Sidebar (optional): On the left, you may see a collapsible menu with additional options like “Saved Prompts” and “Privacy Settings.”
Understanding the Chroma AI Model
Prompt Hunt is powered by Chroma, a custom AI model built specifically for creatives. Unlike generic models, Chroma is fine-tuned to produce high-quality, aesthetically pleasing images with accurate colors, good composition, and stylistic coherence. It handles a wide range of visual genres, from realistic photography to abstract art. You do not need to understand how it works internally—just know that it is optimized for speed and quality.
Key Features
Create AI Art in Seconds with a Few Clicks
The primary feature of Prompt Hunt is its ability to turn a simple text prompt into a finished image almost instantly. You do not need to adjust sliders, set seed values, or modify complex parameters. Just type what you want, select a category, and click generate. The AI does the heavy lifting.
Save and Share Favorite Prompts as Templates
One of the most powerful features is the ability to save your successful prompts as templates. This means you can reuse a prompt later, tweak it slightly, or share it with other users. Templates are stored in your personal library under “My Templates.” You can also make them public so the community can discover and use them.
Enhanced Privacy Mode
Privacy is a major concern for many creators, especially when working on personal or commercial projects. Prompt Hunt offers an Enhanced Privacy Mode that ensures your generated images and prompts are not visible to other users. When this mode is active, your creations remain completely private. This is perfect for artists who want to keep their work confidential until they are ready to share it.
Explore Categories
The platform organizes content into distinct categories, making it easy to find inspiration or narrow down your style. The main categories include:
- Photography: Realistic images mimicking camera shots, including portraits, landscapes, and macro shots.
- Illustration: Hand-drawn or digital art styles, from flat vector art to detailed fantasy illustrations.
- 3D: Rendered three-dimensional objects and scenes, often with lighting and texture details.
- Logos: Simple, clean designs suitable for branding, icons, and corporate identity.
- Anime: Japanese-style artwork with characteristic eyes, hair, and vibrant colors.
- Cinematic: Dramatic, film-like compositions with strong lighting, depth of field, and mood.
- Pixel Art: Retro 8-bit or 16-bit style graphics, ideal for game assets or nostalgic art.
Each category influences how Chroma interprets your prompt, so choosing the right one is key to getting the desired result.
How to Use Prompt Hunt
Step 1: Write a Clear Prompt
The most important part of using Prompt Hunt is crafting a good prompt. A prompt is simply a description of what you want to see. For best results, be specific. Instead of writing “a cat,” write “a fluffy orange cat sitting on a wooden table, soft sunlight coming through a window, photorealistic.” The more details you provide about the subject, setting, lighting, mood, and style, the better the AI will understand your vision.
Step 2: Select a Category
After writing your prompt, click on one of the category pills below the input field. For example, if you want a realistic image, choose Photography. If you want a cartoonish look, choose Illustration. If you are unsure, you can leave it on the default setting, but selecting a category significantly improves the consistency of the output.
Step 3: Generate the Image
Click the Generate button. The AI will process your request, and within a few seconds, the image will appear in the main workspace. You will see a loading animation while it works. Once complete, the image is displayed at full resolution. You can click on it to view it in a larger lightbox.
Step 4: Refine or Regenerate
If the result is not exactly what you wanted, you have a few options:
- Edit the prompt: Add more details or change the wording. For instance, if the colors are too dark, add “bright and vibrant” to your prompt.
- Change the category: Sometimes switching from “Photography” to “Cinematic” can give a more dramatic effect.
- Generate again: Simply click the Generate button again with the same prompt. Chroma will produce a new variation.
Step 5: Save as a Template
When you are happy with an image, you can save the prompt as a template for future use. Click the Save as Template button (usually located below the image or in the options menu). Give your template a name, add optional tags or a description, and choose whether to make it public or private. The template is now stored in your “My Templates” section.
Step 6: Download or Share
To download the image, click the Download icon. The image will be saved to your device in PNG or JPG format, depending on your settings. You can also share a direct link to the image or to the prompt template with others. If you are using Enhanced Privacy Mode, the link will only work for you.
Step 7: Explore the Community Gallery
Click on the Explore tab in the top navigation bar. Here you can browse images and prompts created by other users. This is a great way to find inspiration, see what styles are popular, and discover new techniques. You can filter by category, popularity, or recency. If you see a prompt you like, you can click on it to view the exact text used, and optionally copy it to your own workspace or save it as a template.
Tips for Getting the Best Results
Be Descriptive but Concise
While details are important, extremely long prompts can sometimes confuse the AI. Aim for 10 to 30 words. Focus on the subject, the environment, the lighting, and the style. For example: “A lone astronaut standing on a red desert planet, two moons in the sky, cinematic lighting, ultra-detailed” is much better than a paragraph of disjointed ideas.
Use Artistic Keywords
Certain keywords consistently produce high-quality results. Consider adding terms like “award-winning photography,” “trending on ArtStation,” “hyperrealistic,” “octane render,” “studio lighting,” or “concept art.” These words help Chroma understand the level of detail and polish you expect.
Experiment with Categories
Do not assume that a prompt works best in only one category. For example, a prompt about a “steampunk city” might look amazing in both “3D” and “Illustration.” Try the same prompt in different categories to see which interpretation you prefer. You might be surprised by the variety.
Use Negative Prompts (If Available)
Some versions of Prompt Hunt allow you to add negative prompts—things you do not want in the image. For instance, if you want a portrait without a blurry background, you could add “no bokeh, sharp focus.” Check the settings or advanced options to see if this feature is enabled for your account.
Build a Library of Templates
As you create more images, save the prompts that work well. Over time, you will build a personal library of reliable templates. You can then use these as starting points for new projects. For example, if you frequently need product mockups, save a template like “minimalist product photography, white background, soft shadows.” Then, for each new product, you only need to change the subject.
Take Advantage of Privacy Mode
If you are working on a client project or a sensitive concept, enable Enhanced Privacy Mode before generating. This ensures that no one else can see your work or your prompts. You can toggle this setting in your profile or in the sidebar. Remember that when privacy mode is on, your images will not appear in the public Explore feed.
Iterate Quickly
Do not expect perfection on the first try. The beauty of Prompt Hunt is its speed. Generate multiple versions of the same prompt, make small adjustments, and compare the results. Often, the best image comes from the third or fourth attempt. Use the “Generate” button liberally.
Study Community Prompts
When you browse the Explore section, pay attention to the exact wording of popular prompts. Notice how users structure their descriptions and which keywords they include. You can learn a lot about effective prompt engineering by observing what works for others. Do not just copy—adapt and combine ideas to create something unique.
Keep Your Prompts Organized
If you create many templates, use tags and descriptive names to keep them organized. For example, name a template “Fantasy Landscape – Sunset” and tag it with “landscape,” “fantasy,” and “sunset.” This makes it easy to find later when you need a specific style.
Conclusion
Prompt Hunt is a remarkable tool that democratizes AI art creation. With its simple interface, powerful Chroma model, and thoughtful features like template saving and privacy mode, it empowers anyone to produce stunning visuals without technical expertise. Whether you are a designer looking for quick concept art, a marketer needing eye-catching graphics, or a hobbyist exploring digital creativity, Prompt Hunt provides a fast and enjoyable path from idea to image.
Start by writing your first prompt, choose a category, and click generate. Experiment, save your favorites, and explore what the community has created. The more you use it, the more you will understand how to communicate your vision to the AI. Remember that every great AI artist started with a single prompt—so begin your journey today at prompthunt.com.
