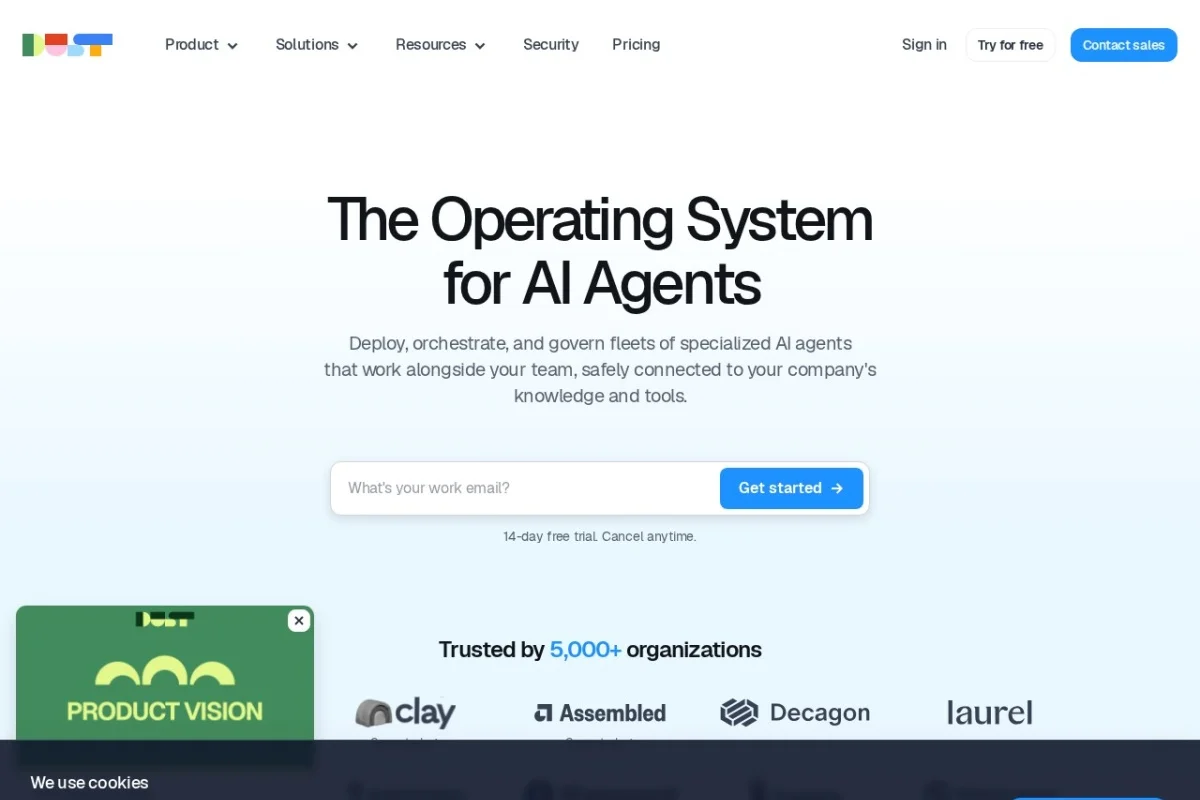
Introduction to Dust: Build Custom AI Agents for Your Organization
In today’s fast-paced business environment, organizations are constantly seeking ways to automate repetitive tasks, streamline workflows, and provide instant access to information. Dust (https://dust.tt/) is a powerful platform that allows you to build custom AI agents tailored specifically to your organization’s needs. Unlike generic chatbots, Dust agents can be programmed to understand your company’s data, integrate with your existing tools, and perform complex tasks autonomously. Whether you need an agent to answer HR questions, summarize meeting notes, or pull data from your CRM, Dust provides a no-code and low-code environment to make it happen.
This tutorial is designed for beginners with no prior AI development experience. By the end, you will understand how to create, deploy, and manage your own Dust agents, all while benefiting from enterprise-grade security and team collaboration features.
Getting Started with Dust
Creating Your Account and Workspace
To begin, navigate to https://dust.tt/ and click on the “Get Started” button. You can sign up using your email address or through a single sign-on (SSO) provider like Google or Microsoft. Dust offers a free tier that allows you to experiment with basic agents before committing to a paid plan.
Once logged in, you will be prompted to create a workspace. A workspace is a shared environment where your team can collaborate on building and managing agents. Give your workspace a name (e.g., “Marketing Team” or “Company Name”) and invite your colleagues by entering their email addresses. Dust’s collaborative features allow multiple users to edit agents simultaneously, making it ideal for cross-departmental projects.
Navigating the Dashboard
After setting up your workspace, you will land on the main dashboard. The dashboard is divided into three primary sections:
- Agents: This is where you create, view, and manage all your custom AI agents. Each agent appears as a card with its name, description, and status (active, draft, or paused).
- Data Sources: Here you can connect external data sources such as databases, cloud storage (e.g., Google Drive, Dropbox), APIs, or even upload documents (PDFs, CSV files, Word docs). Dust uses these sources to train your agents or provide them with real-time context.
- Settings: Manage workspace permissions, billing, and security configurations. You can also set up global variables that all agents in your workspace can access.
Key Features of Dust
Build Custom AI Agents
Dust allows you to create agents that are not limited to simple Q&A. You can define their personality, knowledge base, and action capabilities. For example, you can build an agent that acts as a customer support representative, a data analyst, or a project manager. The platform uses advanced large language models (LLMs) like GPT-4 and Claude, but you can also fine-tune the behavior using your own instructions and data.
Integrate with Various Data Sources and Tools
One of Dust’s standout features is its ability to connect to over 50 external services and data sources. You can link your agent to:
- Cloud storage: Google Drive, Dropbox, OneDrive
- Communication tools: Slack, Microsoft Teams, email
- Databases: PostgreSQL, MySQL, Snowflake, BigQuery
- CRMs: Salesforce, HubSpot
- APIs: Connect any REST or GraphQL API
Once integrated, your agent can pull real-time data, update records, or send messages on your behalf.
Deploy Agents Across Departments
After building an agent, you can deploy it to specific users, teams, or the entire organization. Dust supports role-based access control (RBAC), meaning you can decide who can interact with each agent. For instance, you can create a “HR Assistant” agent that only HR team members can edit, but all employees can query for information about company policies.
Enterprise-Grade Security and Privacy
Security is a top priority for Dust. All data is encrypted at rest and in transit. The platform is SOC 2 Type II certified and complies with GDPR and CCPA regulations. Additionally, Dust offers private cloud deployment for organizations with strict data residency requirements. Your data is never used to train public models, ensuring that your proprietary information remains confidential.
Collaborative Agent Management
Multiple team members can work on the same agent simultaneously. Dust provides a version history feature, allowing you to roll back to previous versions if needed. You can also leave comments on specific parts of an agent’s configuration, making it easy to iterate and improve.
How to Use Dust: A Step-by-Step Guide
Step 1: Create Your First Agent
From the dashboard, click on “Create Agent”. You will be asked to provide the following:
- Agent Name: Choose a descriptive name, e.g., “Customer Support Bot” or “Sales Assistant.”
- Description: Briefly explain what the agent does. This helps your team understand its purpose.
- Instructions (System Prompt): This is the most critical part. Write clear, specific instructions for the agent. For example: “You are a helpful HR assistant. You can answer questions about company policies, vacation days, and payroll. If you don’t know the answer, say ‘I’ll need to check with the HR team.’ Never share personal employee data.”
You can also set the agent’s temperature (creativity level) and max tokens (response length). For factual tasks, keep temperature low (0.2); for creative tasks, you can increase it to 0.8.
Step 2: Connect Data Sources
Go to the “Data Sources” tab and click “Add Source.” Dust supports two types of connections:
- Static Data: Upload documents (PDFs, Word, CSV) or paste text. The agent will use this as a reference.
- Dynamic Data: Connect to live APIs or databases. For example, you can connect your company’s internal knowledge base or a Slack channel.
Once connected, you can specify which data sources each agent can access. This ensures that the agent only uses approved information.
Step 3: Add Actions (Skills)
Actions are the tasks your agent can perform beyond answering questions. Click on the “Actions” tab while editing your agent. Here you can add:
- Send Email: Configure the agent to draft and send emails via Gmail or Outlook.
- Create Slack Message: Let the agent post messages to specific channels.
- Update Database: Write SQL queries to modify records in your database.
- Call External API: Define custom API calls (e.g., to fetch weather data or update a CRM).
For each action, you must define the permissions (e.g., “this agent can only read from the database, not write”). Dust uses a secure OAuth flow for authentication, so you never need to share passwords.
Step 4: Test Your Agent
Before deploying, use the built-in “Test” panel. Type sample questions or commands to see how the agent responds. You can adjust the instructions or data sources based on the test results. Dust also provides a “Logs” feature that shows every interaction, including the exact prompt and response. This is invaluable for debugging.
Step 5: Deploy and Share
Once satisfied, click “Deploy.” You can share the agent with your workspace in several ways:
- Embedded Chat Widget: Add the agent to your company intranet or website.
- Slack Bot: Integrate the agent as a Slack bot so team members can interact with it directly in channels or DMs.
- API Access: Generate an API key to integrate the agent into your own applications.
To share with specific users, go to the agent’s settings and manage “Permissions.” You can set roles such as Admin, Editor, or Viewer.
Tips for Getting the Most Out of Dust
1. Start with a Simple Use Case
If you’re new to AI agents, begin with a straightforward task like an FAQ bot for your team. For example, create an agent that answers questions about your company’s vacation policy using a single PDF document. Once you’re comfortable, gradually add more data sources and actions.
2. Write Clear and Specific Instructions
The quality of your agent depends heavily on the instructions you give. Use examples to show the agent how to respond. For instance:
“If a user asks ‘How many vacation days do I have?’, reply with: ‘Please check our HR portal at [link]. If you need help, let me know your employee ID and I can look it up.’”
Avoid vague language like “be helpful.” Instead, define exactly what “helpful” means in your context.
3. Use Version Control
Dust automatically saves versions of your agent. Before making major changes, create a “snapshot” by clicking the three dots next to the agent name and selecting “Save as Version.” This allows you to revert if something breaks.
4. Leverage Team Collaboration
Invite colleagues from different departments to test your agent. For example, have a marketing person test a sales agent to ensure the language is friendly, while a security expert checks data permissions. Use the comment feature to leave feedback directly on the agent’s configuration.
5. Monitor and Iterate
After deployment, regularly check the “Analytics” tab. Dust provides metrics like number of queries, average response time, and user satisfaction ratings. If you notice users asking similar questions that your agent answers poorly, update the instructions or add new data sources.
6. Optimize for Security
Always follow the principle of least privilege when granting permissions. For example, if your agent only needs to read data from a database, do not grant write access. Use Dust’s “Data Access Policies” to restrict which sources each agent can see. Periodically review the logs to ensure no unauthorized data is being accessed.
7. Combine Multiple Agents for Complex Workflows
Dust allows you to chain agents together. For example, you can create a “Lead Qualification Agent” that passes information to a “Sales Follow-Up Agent.” To do this, use the “Agent-to-Agent” action in the Actions tab. This is an advanced feature, but it can dramatically automate multi-step processes.
8. Take Advantage of Templates
If you’re unsure where to start, check Dust’s “Template Library” (accessible from the dashboard). You’ll find pre-built agents for common use cases like “IT Helpdesk,” “Meeting Scheduler,” and “Data Analyst.” You can clone these templates and customize them for your needs.
Conclusion
Dust is a versatile and powerful platform that democratizes AI agent creation for organizations of all sizes. By following this tutorial, you’ve learned how to set up your workspace, create a custom agent, connect data sources, and deploy it to your team. Remember that building effective AI agents is an iterative process—start small, test often, and collaborate with your colleagues to refine the experience. With Dust’s enterprise-grade security and intuitive interface, you can unlock new levels of productivity and automation across your organization. Visit https://dust.tt/ to get started today.

Dust - Build Custom AI Agents
Build custom AI agents for your organization.