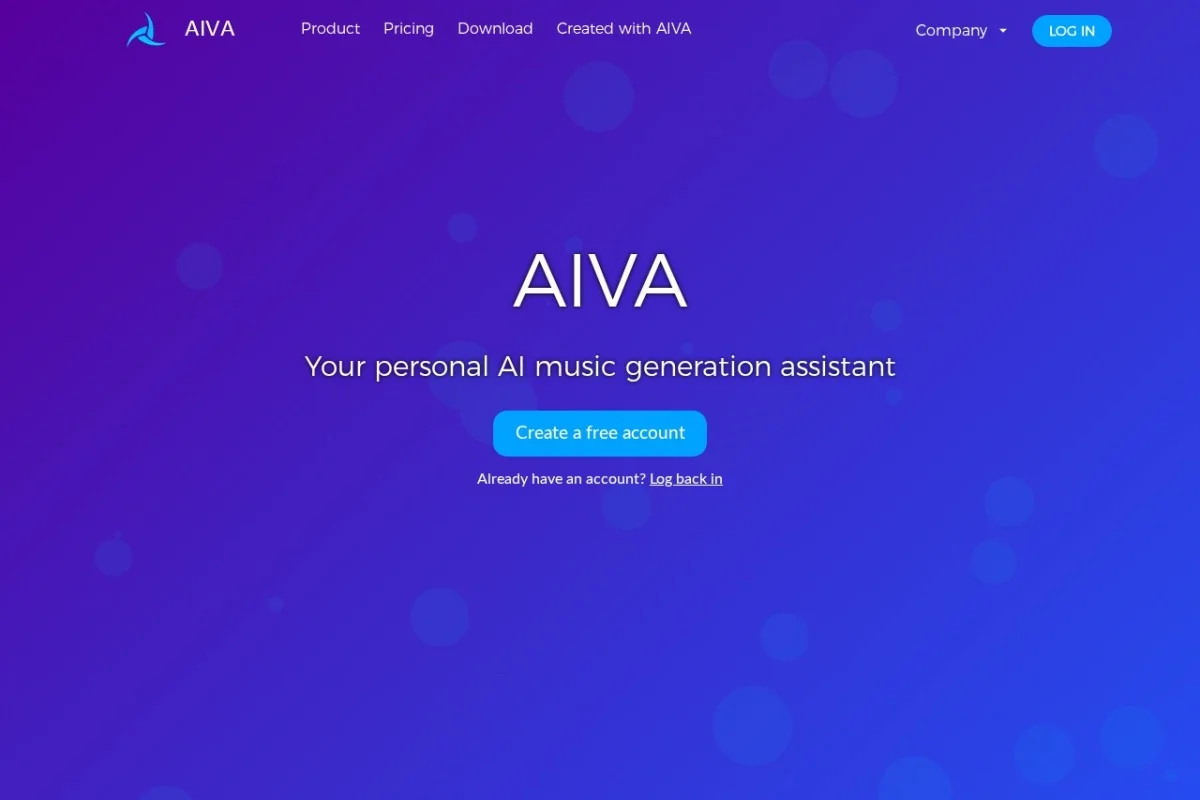
Introduction to AIVA: Your AI Music Composition Partner
Music creation has traditionally been a complex craft requiring years of training, expensive software, and access to studio equipment. AIVA (Artificial Intelligence Virtual Artist) changes this paradigm entirely. Launched in 2016, AIVA is an AI-powered music generation assistant that allows anyone—from complete beginners to professional composers—to create original songs in over 250 distinct styles within seconds. Whether you need a cinematic orchestral piece, a jazz improvisation, an electronic dance track, or a classical sonata, AIVA can generate it based on your input.
What makes AIVA particularly powerful is its ability to learn from your influences. You can upload audio files or MIDI sequences, and the AI will analyze their structure, harmony, and style to create new compositions that capture the essence of your reference material. The platform supports both quick generation for rapid prototyping and detailed editing for polished final products. With licensing options that include full copyright ownership on the Pro plan, AIVA is not just a creative toy—it is a legitimate tool for monetizable music production.
This tutorial will guide you through everything you need to know to start using AIVA effectively, from setting up your account to exporting professional-grade tracks for personal or commercial use.
Getting Started with AIVA
Creating Your Account
To begin using AIVA, navigate to https://aiva.ai and click the “Sign Up” button in the top-right corner. You can register using your email address or through Google and Facebook accounts for quicker access. After verification, you will be directed to your dashboard—the central hub for all your music projects.
Understanding the Dashboard
The dashboard presents a clean interface with the following key areas:
- My Tracks: A library of all songs you have generated, saved, or edited.
- Create New Track: The primary button to start a new composition.
- Style Library: Browse the 250+ available styles, organized by genre and mood.
- Account Settings: Manage your subscription plan, downloads, and licensing preferences.
- Usage Meter: Displays how many downloads you have remaining (free plan offers 3 per month).
Choosing Your Plan
AIVA offers tiered pricing to suit different needs:
- Free Plan: 3 downloads per month, MP3 and MIDI export formats, access to all styles. Ideal for experimentation.
- Pro Plan: Unlimited downloads, full copyright ownership, WAV export, and the ability to monetize your tracks. Best for professionals and content creators.
You can start with the free plan and upgrade later—your generated tracks remain saved in your account regardless of your plan.
Key Features of AIVA
1. Generation in 250+ Styles
AIVA’s style library is vast and continuously expanding. Styles are categorized into genres such as:
- Classical: Baroque, Romantic, Contemporary, Minimalist
- Cinematic: Epic, Suspenseful, Emotional, Adventure, Horror
- Electronic: House, Techno, Ambient, Chillstep, Synthwave
- Jazz & Blues: Swing, Bebop, Smooth Jazz, Delta Blues
- World Music: Traditional Asian, Celtic, African rhythms, Latin
- Pop & Rock: Indie, Alternative, Funk, Ballad
Each style is trained on thousands of musical examples, ensuring authenticity and variety. You can preview a style before generating to hear its typical characteristics.
2. Upload Audio or MIDI Influence
This feature allows you to inject your personal taste into the AI generation process. You can upload:
- Audio files (MP3, WAV): AIVA analyzes the melody, harmony, rhythm, and texture to create a new track inspired by your upload. The result is not a copy but an original composition that captures the “feel” of your reference.
- MIDI files: The AI reads the note data, chord progressions, and tempo, then generates variations or completions. This is excellent for expanding a simple melody into a full arrangement.
After uploading, you can adjust the “influence strength” slider to control how closely the output follows your reference—from subtle inspiration to strong adherence.
3. Track Editing and Customization
Generated tracks are not final; you can modify them extensively within AIVA’s built-in editor:
- Structure Editing: Rearrange sections (intro, verse, chorus, bridge) by dragging and dropping.
- Instrument Selection: Swap instruments for specific parts. For example, change a piano melody to a violin or a synth pad.
- Tempo and Key Changes: Adjust the BPM or transpose the key of the entire track or individual sections.
- Volume Automation: Create dynamic swells and fades for a more polished sound.
- Regenerate Specific Sections: If you dislike a particular part, you can select it and ask the AI to regenerate only that segment.
4. Download in Multiple Formats
Once satisfied, export your track in the format that suits your workflow:
- MP3 (128kbps or 320kbps): Standard compressed format for quick sharing, streaming, or social media.
- WAV (44.1kHz, 16-bit): Uncompressed, high-quality audio for professional use, mastering, or physical media.
- MIDI: The note data, allowing you to import the composition into any DAW (Digital Audio Workstation) like Ableton Live, FL Studio, or Logic Pro for further editing.
- Stem Files (Pro plan): Individual instrument tracks (e.g., drums separate from strings) for maximum mixing flexibility.
5. Monetization and Licensing
This is a critical feature for content creators, YouTubers, filmmakers, and game developers. On the Pro plan, you receive full copyright ownership of every track you generate. This means:
- You can sell the music on stock audio websites.
- You can use it in commercial projects without paying royalties.
- You can register the composition with performance rights organizations (PROs) like ASCAP or BMI.
- No attribution to AIVA is required.
The free plan grants a personal use license, meaning you can use the music in your own non-commercial projects but cannot monetize it directly.
How to Use AIVA: A Step-by-Step Guide
Step 1: Create a New Track
From your dashboard, click the “Create New Track” button. You will be presented with two main paths:
- Quick Generation: Select a style and click “Generate” to get a track immediately.
- Custom Generation: Choose a style, then set parameters like duration (30 seconds to 5 minutes), tempo, and mood (e.g., happy, sad, tense). You can also upload an influence file here.
Step 2: Choose Your Style and Parameters
Browse the style library or use the search bar to find a specific genre. For beginners, it is recommended to start with a broad style like “Cinematic Emotional” or “Electronic Ambient” as these are forgiving and sound impressive quickly.
Set your desired length. A good starting point is 1 to 2 minutes, as this gives the AI enough room to develop musical ideas without being overwhelming.
Step 3: Upload Influence (Optional but Recommended)
To make your track more personal, upload an audio file or MIDI. For example:
- If you have a melody you hummed into your phone, upload that recording.
- If you have a favorite song that inspires you, upload a 30-second clip (be mindful of copyright—this is only for inspiration, not distribution).
- If you have a MIDI chord progression from your DAW, upload it to see how AIVA builds an arrangement around it.
Adjust the influence strength. A setting of 50-70% usually produces a good balance between your input and the AI’s creativity.
Step 4: Generate and Preview
Click the “Generate” button. AIVA will process your request, which typically takes 10 to 30 seconds depending on the track length and complexity. A waveform will appear, and you can press play to preview the result.
If you are not satisfied, click “Generate Again” to get a new variation. You can do this as many times as you like before downloading. Each generation is unique—the AI rarely produces the same track twice.
Step 5: Edit Your Track
Once you have a base track you like, enter the Editor by clicking the “Edit” button. Here you can:
- Trim or extend sections by dragging the edges of the waveform.
- Click on individual instrument tracks (displayed as colored lanes) to mute, solo, or replace them.
- Use the “Regenerate Section” tool: select a portion of the timeline (e.g., the bridge) and ask the AI to rewrite only that part with a different mood or instrument.
- Adjust the global volume and add fades at the beginning and end for a professional finish.
Step 6: Download Your Track
When you are happy with the result, click the “Download” button. Choose your format:
- For social media or quick demos: MP3 128kbps.
- For professional use or mastering: WAV 44.1kHz.
- For further editing in a DAW: MIDI (note data only) or Stems (multiple audio files).
Each download counts against your monthly limit (free plan: 3 downloads). You can always re-download a previously generated track without using another download slot, as long as it remains in your “My Tracks” library.
Step 7: Manage Licensing
If you are on the Pro plan, your license is automatically applied to every track you generate. You do not need to do anything extra. For free plan users, check the license terms in your account settings to understand usage limitations.
Tips for Getting the Best Results from AIVA
Tip 1: Start with a Clear Style Selection
AIVA performs best when you give it a focused direction. Instead of selecting a broad category like “Electronic,” try “Deep House with Ambient Pad” or “Synthwave with Arpeggios.” The more specific the style, the more coherent the output will be.
Tip 2: Use Short Audio Influences
When uploading an influence file, keep it between 15 and 45 seconds. Longer files can confuse the AI, as it tries to incorporate too many elements. A short, clear reference—like a distinctive chord progression or a rhythmic loop—yields much better results.
Tip 3: Embrace the “Generate Again” Button
Do not settle for the first generation. AIVA’s strength is its ability to produce numerous variations. Generate 5 to 10 versions of the same style and parameters, then pick the best one. You can also combine elements from different generations by editing them together in the timeline.
Tip 4: Edit in Layers
Use the stem export feature (Pro plan) to download individual instrument tracks. Import these into your DAW and apply your own effects, EQ, and reverb. This gives you professional-grade control while leveraging AIVA’s compositional skills.
Tip 5: Experiment with Unusual Style Combinations
One of AIVA’s hidden strengths is cross-genre fusion. Try generating a track with a “Classical Piano” style but upload a MIDI file of a hip-hop beat. The result can be surprisingly innovative—a classical piece with modern rhythmic sensibilities.
Tip 6: Save Your Work Frequently
AIVA auto-saves your projects, but it is good practice to manually save after significant edits. Use the “Save” button in the editor to ensure your changes are stored. You can also duplicate a track before making radical edits, preserving the original as a backup.
Tip 7: Understand the Free Plan Limitations
If you are on the free plan, use your 3 downloads strategically. Generate multiple versions of a track, preview them all, and only download the best one. You can also use the “Share” feature to send a private link to collaborators for feedback before committing a download.
Tip 8: Monetize Strategically
If you are using AIVA for commercial projects, invest in the Pro plan. The full copyright ownership is essential for selling music on platforms like AudioJungle, Pond5, or Artlist. Additionally, always keep a copy of your generated MIDI and WAV files as proof of creation in case of any licensing disputes.
Tip 9: Use MIDI Export for DAW Integration
The MIDI export is arguably AIVA’s most powerful feature for professionals. Even if the audio rendering is not perfect, the MIDI data provides a complete arrangement of notes, chords, and rhythms. You can replace the virtual instruments with your own high-quality sample libraries, giving you the best of both worlds: AI-generated composition and human-controlled sound design.
Tip 10: Stay Updated on New Styles
AIVA regularly adds new styles based on user requests and emerging music trends. Check the “What’s New” section on the dashboard monthly. You might discover a style that perfectly fits your next project, saving you hours of manual composition work.
Final Thoughts
AIVA is not a replacement for human creativity—it is an accelerator. By handling the technical heavy lifting of composition, arrangement, and orchestration, it frees you to focus on the artistic decisions that truly matter: mood, emotion, and storytelling. Whether you are scoring a short film, producing background music for a podcast, or simply exploring your musical ideas, AIVA provides a powerful, accessible, and increasingly sophisticated platform.
Start with the free plan, experiment fearlessly, and when you are ready to take your music to the next level—commercially or creatively—the Pro plan is a worthwhile investment. The future of music creation is collaborative, and AIVA is your AI partner in that journey.

AIVA AI Music Generation Assistant
Generate original songs in over 250 styles in seconds using AI.