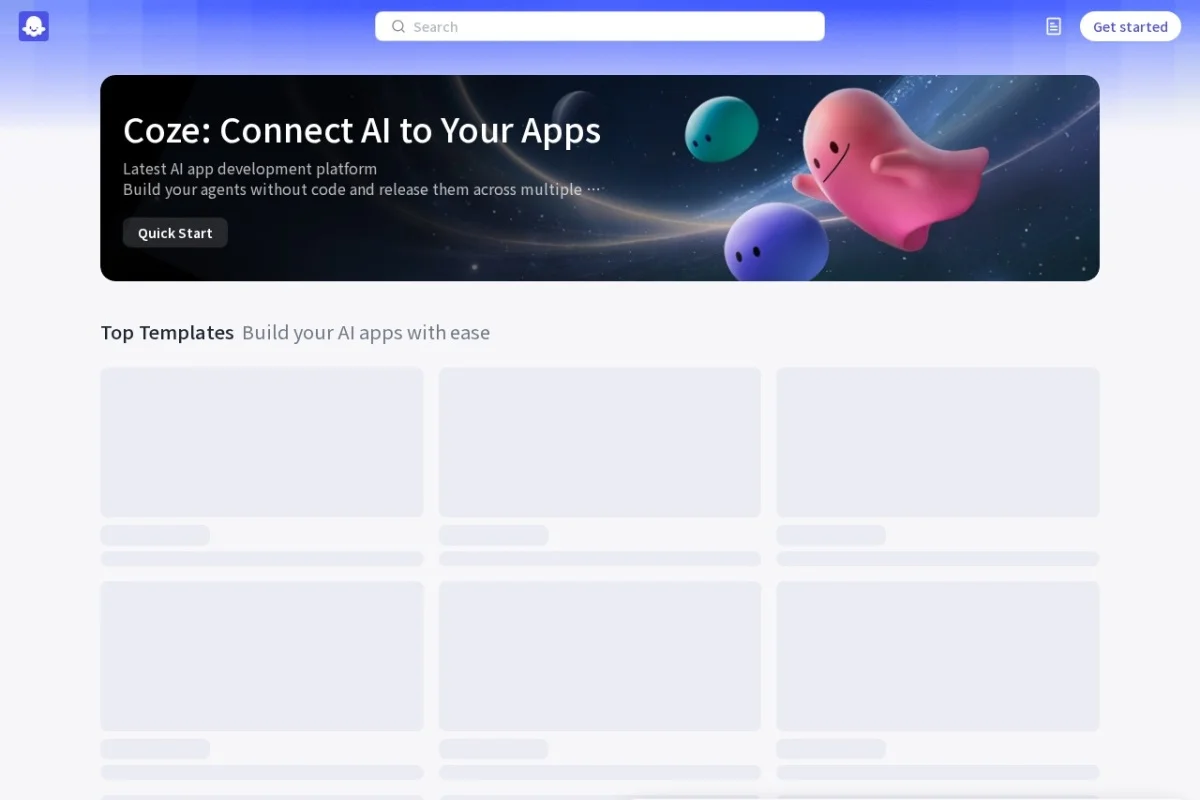
Introduction to Coze: Building AI Bots Without Code
Artificial intelligence is no longer the exclusive domain of software engineers and data scientists. With the emergence of no-code AI platforms, anyone with a creative idea can build, customize, and deploy intelligent bots. Coze is one of the most powerful and accessible platforms in this new wave. Designed for beginners and professionals alike, Coze enables you to create AI assistants that can answer questions, generate content, automate workflows, and even interact with external applications—all without writing a single line of code.
Whether you want a customer support bot for your e-commerce store, a personal research assistant that summarizes articles, or a creative writing companion, Coze provides the building blocks. You can combine different AI models (like GPT-4 and Claude), feed your bot a custom knowledge base, and connect it to tools like Google Sheets, Slack, or your own website. The best part? You can publish your bot to multiple channels, including web apps and popular messaging platforms, reaching users where they already are.
This tutorial will walk you through everything you need to know to get started with Coze, explore its key features, build your first bot, and apply practical tips to make your AI assistant truly useful.
Getting Started with Coze
Creating Your Account
To begin, navigate to the official Coze website at https://www.coze.com/. Click on the “Sign Up” button located in the top right corner. You can register using your email address or through a Google account. After verifying your email, you will be taken to the main dashboard—a clean, intuitive interface where all your bot-building activity happens.
Understanding the Dashboard
The Coze dashboard is your command center. On the left sidebar, you will find the following main sections:
- Bots: This is where you create, view, and manage all your AI bots.
- Knowledge: Here you can upload documents, websites, or text that your bot will use as a reference.
- Plugins: A marketplace of pre-built integrations (e.g., search engines, databases, APIs) that you can add to your bots.
- Workflows: For creating multi-step automated processes that your bot can trigger.
- Publish: Manage where and how your bot is deployed.
Take a few minutes to click through these sections. You will notice that the layout is designed with simplicity in mind. Even if you have never built a bot before, the labels and icons are self-explanatory.
Your First Bot: The “Hello World” of AI Assistants
Let’s create a simple bot to get familiar with the process. Click on the “Bots” tab, then select “Create Bot.” You will be asked to give your bot a name and a short description. For this example, name it “Quick Assistant” and describe it as “A helpful bot that answers general questions.”
After clicking “Create,” you will enter the bot editor. This is where you define your bot’s personality, knowledge, and capabilities. The editor is divided into several sections:
- Persona & Prompt: Write instructions that define how your bot behaves.
- Knowledge: Attach files or data sources.
- Plugins: Add tools like web search or image generation.
- Preview: Test your bot in real-time.
For now, leave everything as default and go directly to the “Preview” panel on the right side of the screen. Type a simple question, such as “What is the capital of France?” The bot will respond using the default AI model. Congratulations—you have just built your first AI bot!
Key Features of Coze
1. No-Code AI Bot Builder
The core of Coze is its visual bot builder. You do not need to write any code to create sophisticated AI assistants. Instead, you configure your bot using a combination of natural language prompts, toggle switches, and dropdown menus. This makes it accessible to entrepreneurs, marketers, educators, and hobbyists who have ideas but lack programming skills.
2. Customizable Bot Personality and Knowledge
Every bot you create can have a unique personality. You can instruct your bot to be formal, friendly, humorous, or technical. More importantly, you can give your bot specialized knowledge by uploading documents (PDFs, Word files, plain text) or connecting it to a website URL. For example, if you run a pet store, you can upload your product catalog and care guides. Your bot will then answer customer questions using only the information you provided, ensuring accuracy and brand consistency.
3. Multi-Model Support
Coze is not locked into a single AI engine. You can choose from multiple large language models, including OpenAI’s GPT-4, Anthropic’s Claude, and others. This flexibility allows you to select the model that best fits your use case. For instance, GPT-4 might be ideal for creative writing, while Claude could be better for analytical tasks. You can even switch models for different bots or for different tasks within the same bot.
4. Plugin and Workflow Integration
Your bot does not have to live in isolation. Coze offers a rich plugin marketplace where you can add capabilities like web search, image generation (DALL-E, Stable Diffusion), weather data, stock market information, and more. Additionally, the Workflow feature lets you create multi-step processes. For example, you could build a workflow that: (1) receives a user request, (2) searches a database, (3) formats the result, and (4) sends an email. All of this is done through a visual drag-and-drop interface.
5. Multi-Channel Deployment
Once your bot is ready, you can publish it to various channels. Coze supports deployment as a standalone web app (with a unique URL), integration with messaging platforms like Telegram and Discord, or embedding directly into your own website via an iframe or JavaScript snippet. This means you can build one bot and use it everywhere your audience is present.
How to Use Coze: A Step-by-Step Guide
Step 1: Define Your Bot’s Purpose
Before you start clicking buttons, take five minutes to think about what you want your bot to do. Ask yourself:
- Who is the target audience?
- What kind of questions will they ask?
- What tone should the bot use?
- What information does the bot need to know?
Write down a few sentences that describe your bot’s role. For this guide, let’s imagine we are building a “Travel Advisor Bot” that helps users plan trips, recommends destinations, and provides packing tips.
Step 2: Configure the Bot’s Persona
In the bot editor, locate the “Persona & Prompt” section. This is where you give your bot its instructions. A good prompt is specific and structured. Here is an example for our travel bot:
“You are a friendly and knowledgeable travel advisor named Wander. You help users plan vacations by suggesting destinations based on their preferences, budget, and travel dates. You provide practical tips on packing, local customs, and must-see attractions. Always ask clarifying questions if the user’s request is vague. Keep your responses concise but informative. Never make up information—if you do not know something, say so.”
You can also set the bot’s name and add an opening message, such as “Hello! I’m Wander, your personal travel guide. Where would you like to go today?”
Step 3: Add Knowledge
Now, let’s make your bot smarter by giving it specific data. Click on the “Knowledge” tab within the editor. You can upload files or add text. For a travel bot, you might upload:
- A PDF document with your top 50 travel destinations.
- A text file containing packing checklists for different climates.
- A link to a blog post about budget travel tips.
Coze will process this information and make it searchable by your bot. When a user asks a question, the bot will first look into its knowledge base before generating a response. This ensures that your answers are accurate and aligned with your content.
Step 4: Integrate Plugins
To make your bot more powerful, add plugins. Click on the “Plugins” tab and browse the marketplace. For a travel bot, consider adding:
- Web Search: Allows the bot to look up current flight prices or weather forecasts.
- Currency Converter: Helps users understand costs in their local currency.
- Maps: Provides directions or landmark information.
To add a plugin, simply click “Add” next to the one you want. Some plugins may require you to connect an external account (like a Google or OpenWeatherMap API key), but many work out of the box.
Step 5: Test Your Bot
Use the “Preview” panel on the right side of the editor to test your bot. Ask questions that your target audience might ask. For example:
- “What are the best budget-friendly destinations in Europe for July?”
- “Do I need a visa for Japan?”
- “What should I pack for a beach vacation?”
Observe how the bot responds. Does it use the knowledge you provided? Is the tone consistent with your instructions? If something is off, go back to the Persona & Prompt section and refine your instructions. Testing is an iterative process—do not expect perfection on the first try.
Step 6: Publish Your Bot
Once you are satisfied with your bot’s performance, it is time to share it with the world. Click the “Publish” button in the top right corner of the editor. You will see several deployment options:
- Web App: Coze generates a public URL for your bot. Anyone with the link can interact with it.
- Telegram: Connect your bot to a Telegram channel or group.
- Discord: Add your bot to a Discord server.
- API: For developers who want to integrate the bot into their own applications.
Select the channel that suits your needs. For most beginners, the “Web App” option is the easiest. Coze will provide you with a link that you can share via email, social media, or embed on your website.
Tips for Creating Effective Bots on Coze
1. Write Clear and Specific Prompts
The quality of your bot’s responses depends heavily on the instructions you give it. Avoid vague prompts like “Be helpful.” Instead, be explicit: “Answer in three bullet points maximum. If the user asks about pricing, direct them to the pricing page at example.com/pricing.” The more context you provide, the better your bot will perform.
2. Use Knowledge Bases Strategically
Do not upload irrelevant or duplicate information. Your knowledge base should be a curated collection of high-quality, relevant content. For a customer support bot, upload your FAQ, product manuals, and return policy. For a content creation bot, upload your brand guidelines and style sheets. Clean, organized data leads to accurate, consistent answers.
3. Leverage Workflows for Complex Tasks
If your bot needs to perform multi-step actions (e.g., collect user information, validate it, then send a confirmation email), use the Workflow feature. You can design these workflows visually, connecting nodes like “Input,” “Condition,” “API Call,” and “Output.” This turns your bot from a simple Q&A tool into a powerful automation assistant.
4. Test with Real Users
After you publish your bot, share it with a small group of trusted users before launching it widely. Ask them to try to “break” the bot by asking unusual or tricky questions. Their feedback will help you identify gaps in your knowledge base or ambiguities in your prompts.
5. Monitor and Iterate
Coze provides analytics for your published bots, showing you how many conversations have occurred, what questions are most common, and where users drop off. Use this data to continuously improve your bot. Add new knowledge, tweak your prompts, or integrate new plugins based on real usage patterns.
6. Keep Privacy in Mind
If your bot handles sensitive information (e.g., customer names, addresses, payment details), be mindful of data privacy. Coze allows you to configure data retention policies and disable conversation logging. Review these settings carefully, especially if you are deploying the bot in a regulated industry like healthcare or finance.
7. Start Simple, Then Expand
Do not try to build a perfect, all-knowing bot on your first attempt. Start with a narrow use case—like answering FAQs about a single product—and then gradually add more capabilities. This approach reduces complexity and makes it easier to troubleshoot problems.
Conclusion
Coze democratizes AI bot creation, putting powerful technology into the hands of anyone with a vision. By following this tutorial, you have learned how to set up an account, navigate the dashboard, configure a bot’s personality and knowledge, integrate plugins, and deploy your creation to multiple channels. The platform’s no-code approach means you can focus on what matters most: designing a helpful, engaging, and intelligent assistant for your users.
As you gain confidence, explore the more advanced features like custom workflows and multi-model orchestration. The possibilities are vast—from personal productivity bots to enterprise-grade customer service agents. Start building today, and discover how easy it is to bring your AI ideas to life with Coze.

Coze
Coze is an AI bot building platform for creating custom assistants.