Introduction
In the world of audio production, achieving professional-grade sound has traditionally required expensive equipment, soundproof studios, and years of engineering experience. Auphonic changes that paradigm entirely. Auphonic is an AI-driven audio engineering platform that automatically levels, filters, reduces noise, and enhances speech in audio and video files. Whether you are a podcaster recording in a home office, an educator creating online courses, a video creator on YouTube, or an audiobook producer working with raw narration, Auphonic takes the heavy lifting out of post-production.
The platform uses sophisticated machine learning algorithms to analyze your audio and apply corrections that would normally take a skilled engineer hours to perform. It supports multitrack algorithms, loudness normalization to international broadcast standards, speech-to-text transcription, automatic show notes generation, and direct publishing to platforms like YouTube, SoundCloud, and Libsyn. Best of all, you don’t need to understand compression ratios, equalization curves, or noise gates. Auphonic handles all of that automatically, giving you consistent, broadcast-ready results every time.
This tutorial will walk you through everything you need to know to get started with Auphonic, from creating your first account to publishing your finished audio. By the end, you will understand the key features, how to use them, and practical tips to get the best possible results.
Getting Started
Creating an Account and Understanding Pricing
To begin using Auphonic, navigate to https://auphonic.com/ and click the “Sign Up” button. You can register using your email address or your Google account. Auphonic offers a free tier that gives you two hours of audio processing per month, which is perfect for testing the platform. Paid plans start at around $11 per month for 6 hours, with higher tiers available for professional users who need more processing time. Each plan includes access to all features, so you are only limited by the amount of audio you can process.
Understanding the Dashboard
Once you log in, you will see the main dashboard. This is your command center. On the left side, you will find navigation links to “New Production,” “Productions” (your processed files), “Presets,” and “Services.” The dashboard also displays your remaining processing time for the current month. Take a moment to familiarize yourself with the layout. The design is clean and intuitive, but we will walk through each section in detail.
Setting Up Your First Preset
Before you process any audio, it is wise to create a preset. A preset saves all your settings so you can apply them consistently to future files. Click on “Presets” in the left menu, then click “Create Preset.” Give your preset a name, such as “My Podcast Standard.” Here you can configure all the settings we will discuss in the next section. For now, simply select “Podcast” from the “Input Type” dropdown. This sets sensible defaults. Click “Save Preset” at the bottom.
Key Features
Noise and Reverb Reduction
Auphonic’s AI engine excels at cleaning up audio. The Noise Reduction filter automatically identifies background hums, fan noise, traffic, and other constant sounds, then removes them without affecting the clarity of your voice. The Reverb Reduction feature is a lifesaver for recordings made in rooms with hard surfaces, such as bathrooms or empty offices. It analyzes the echo in your audio and suppresses it, making your voice sound close and intimate. You can adjust the strength of both filters in the preset settings, but the default values work well for most situations.
Intelligent Leveler
One of the most frustrating aspects of audio editing is inconsistent volume. A speaker might whisper one moment and laugh loudly the next. Auphonic’s Intelligent Leveler solves this by automatically adjusting the gain throughout your file. It brings up quiet sections and tames loud peaks, creating a smooth, uniform volume level. This is not a simple compressor; it uses adaptive algorithms that understand the difference between speech and silence, ensuring natural dynamics are preserved.
Filtering, AutoEQ, and BWE
Auphonic includes a suite of filters to shape your sound. The High-Pass Filter removes low-frequency rumble like footsteps or air conditioning. The Low-Pass Filter can reduce high-frequency hiss. More advanced is the AutoEQ feature, which analyzes your voice and applies a custom equalization curve to make it sound warmer, clearer, and more professional. BWE stands for Bandwidth Expansion. This clever tool artificially adds high-frequency detail to voices that sound muffled, often from cheap microphones or telephone recordings. It can make a recording from a headset sound almost like it was captured on a studio microphone.
Cut Filler Words, Coughs, and Silence
This is a feature that podcasters and video creators love. Auphonic can automatically detect and remove filler words like “um,” “uh,” “like,” and “you know.” It can also cut out coughs, throat clears, and lip smacks. Additionally, it will trim excessive silence from pauses in conversation, tightening the pacing of your audio. You can enable these features individually in the preset settings and adjust the sensitivity. For example, you can choose to remove only long silences over one second, or be more aggressive and cut anything over half a second.
Multitrack Algorithms
If you record a podcast with multiple people on separate tracks, Auphonic’s Multitrack Algorithms are a game-changer. Instead of processing a single mixed-down file, you can upload each person’s individual track. Auphonic will process each track separately, applying noise reduction and leveling tailored to that specific voice. Then it mixes them together into a final stereo file. This prevents the common problem where processing one track negatively affects another. For example, a loud guest won’t trigger noise reduction on the host’s track.
Loudness Specifications
Different platforms have different loudness standards. YouTube, Spotify, Apple Podcasts, and broadcast television each require specific loudness levels. Auphonic makes compliance effortless. In the preset settings, you can choose from presets like Podcast (-16 LUFS), YouTube (-14 LUFS), Broadcast (-23 LUFS), or set a custom target. The platform will automatically adjust your audio to meet the chosen standard, ensuring your content sounds consistent with other professional media on the same platform.
Speech2Text and Automatic Show Notes
Auphonic can generate a transcript of your audio using its Speech2Text engine. It supports over 20 languages. The transcript is time-coded, meaning each word is linked to its position in the audio. This transcript can then be used to create automatic show notes. The AI analyzes the transcript to extract key topics, names, and important phrases, then formats them into readable notes. You can also generate chapter markers based on topic changes, which is perfect for long-form content like lectures or audiobooks.
Video Support with Metadata and Chapters
Auphonic is not limited to audio files. It accepts video files as well. When you upload a video, Auphonic extracts the audio track, processes it, and then re-embeds the enhanced audio back into the video. You can also add metadata such as title, description, and tags. The chapter markers generated from the transcript can be embedded directly into the video file, allowing viewers to skip between sections. This is incredibly useful for tutorial videos, long interviews, or conference recordings.
How to Use Auphonic
Step 1: Upload Your File
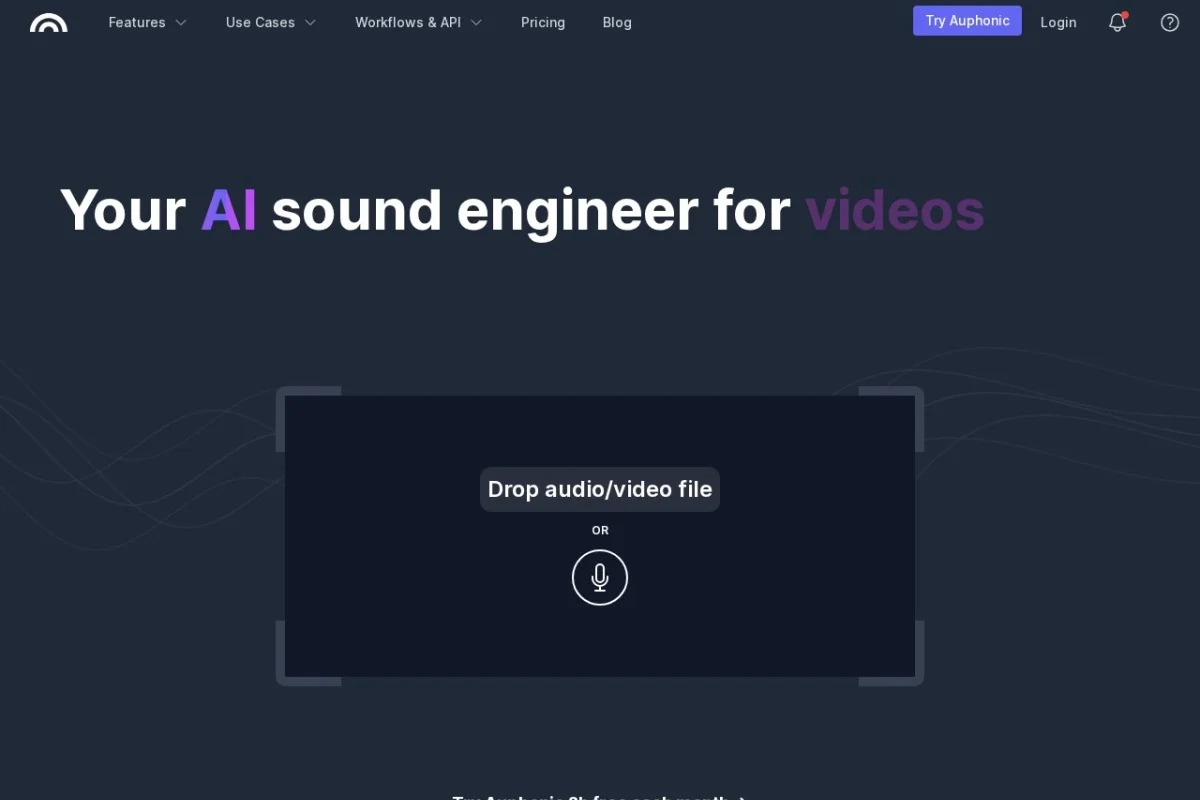
From the dashboard, click “New Production.” You will see a file upload area. You can drag and drop audio files (WAV, MP3, FLAC, AIFF) or video files (MP4, MOV, AVI). Auphonic supports files up to 2GB in size. If you have multiple tracks for a multitrack production, upload them all at once. The platform will detect them and ask if you want to process them as separate tracks or mix them first.
Step 2: Choose or Create a Preset
On the right side of the production page, you will see a “Preset” dropdown. Select the preset you created earlier, or choose one of Auphonic’s built-in presets like “Podcast” or “Audiobook.” If you need to make adjustments, click “Edit Preset” to modify the settings for this specific production without changing your saved preset.
Step 3: Configure Output Settings
Scroll down to the “Output” section. Here you choose your output format. For podcasts, MP3 at 128 kbps is standard. For audiobooks, you might prefer AAC or WAV. You can also select the loudness target from the dropdown. The “Podcast” preset automatically sets this to -16 LUFS, which is perfect for most platforms.
Step 4: Enable Speech2Text and Show Notes
If you want a transcript or show notes, scroll to the “Speech Recognition & Show Notes” section. Toggle “Generate Speech Recognition” on. Select the language of your audio. You can also enable “Generate Chapters” and “Generate Show Notes.” Note that Speech2Text uses additional processing time, so it will count against your monthly minutes.
Step 5: Add Metadata and Publishing
In the “Metadata” section, you can enter a title, description, and tags for your file. If you plan to publish directly from Auphonic, scroll to the “Publishing” section. Here you can connect services like YouTube, SoundCloud, Libsyn, or Dropbox. Auphonic will automatically upload the finished file to these services. You need to authorize each service once by logging in through Auphonic.
Step 6: Start Processing
When everything is configured, click the “Start Processing” button at the bottom. Auphonic will begin analyzing and processing your file. The time required depends on the length of your audio and the complexity of the processing. A 30-minute podcast typically takes 5 to 10 minutes. You can leave the page and come back later; Auphonic will send you an email when processing is complete.
Step 7: Download and Review
Once processing is finished, you will see the production in your “Productions” list. Click on it to view details. You can download the processed audio or video file, the transcript (as SRT, VTT, or plain text), the show notes, and a detailed report showing exactly what changes were made. Listen to a portion of the output to ensure you are satisfied with the quality. If not, you can adjust your preset and reprocess the original file without starting over.
Tips for Best Results
Start with the Best Source File You Can
Auphonic is powerful, but it cannot perform miracles. Always try to record in a quiet environment with a decent microphone. Avoid recording with built-in laptop microphones if possible. The cleaner your source, the better the final result will be. Auphonic works best when it has to make small corrections, not when it has to fix a recording made in a windstorm.
Use Multitrack for Interviews
If you record interviews or panel discussions, always record each person on a separate track. Auphonic’s multitrack processing is far superior to processing a mixed file. It prevents cross-talk artifacts and allows each voice to be optimized individually. Most recording software like Audacity, GarageBand, or Riverside.fm can record multitrack files.
Adjust Noise Reduction Sensitivity Carefully
The default noise reduction settings work well for most situations, but if you have a particularly noisy environment, you can increase the “Noise Reduction Amount” slider. Be careful, though. Too much noise reduction can make your voice sound robotic or “watery.” A good test is to listen to a section of silence in your processed audio. If you hear a strange warbling sound, you have applied too much reduction. Back it off slightly.
Use AutoEQ Sparingly
AutoEQ can make a thin voice sound full and rich, but it can also exaggerate sibilance (harsh “s” and “t” sounds) if applied too aggressively. Start with the default setting and listen carefully. If you hear excessive hissing on consonants, reduce the AutoEQ strength or turn it off and use a gentle high-pass filter instead.
Always Check the Transcript
Auphonic’s speech recognition is very accurate, but it is not perfect. If you plan to use the transcript for show notes or captions, always review it for errors. Misheard words, especially names or technical terms, can make you look unprofessional. Auphonic provides a web-based editor where you can correct the transcript before downloading it.
Save Multiple Presets for Different Content
You will likely find that different types of content require different settings. Create one preset for your solo podcast, another for interviews, and another for video voiceovers. This saves time and ensures consistent quality across your entire catalog. You can also create presets for specific microphones if you use different ones for different projects.
Monitor Your Processing Time
Your monthly processing minutes are a finite resource. Speech2Text and multitrack processing consume more minutes than simple leveling. Keep an eye on your usage in the dashboard. If you are running low, you can temporarily disable Speech2Text or reduce the number of output formats to conserve minutes. Alternatively, upgrade your plan if you find yourself consistently needing more time.
Auphonic is one of the most accessible and powerful AI audio tools available today. It democratizes professional audio quality, allowing anyone with a microphone and an internet connection to produce content that sounds like it was made in a million-dollar studio. By following this tutorial and experimenting with the features, you will quickly develop a workflow that saves you hours of manual editing while delivering superior results. Start with a simple podcast episode, and you will be amazed at the transformation.

Auphonic
AI-powered audio post-production tool for podcasts, videos, and broadcasts.