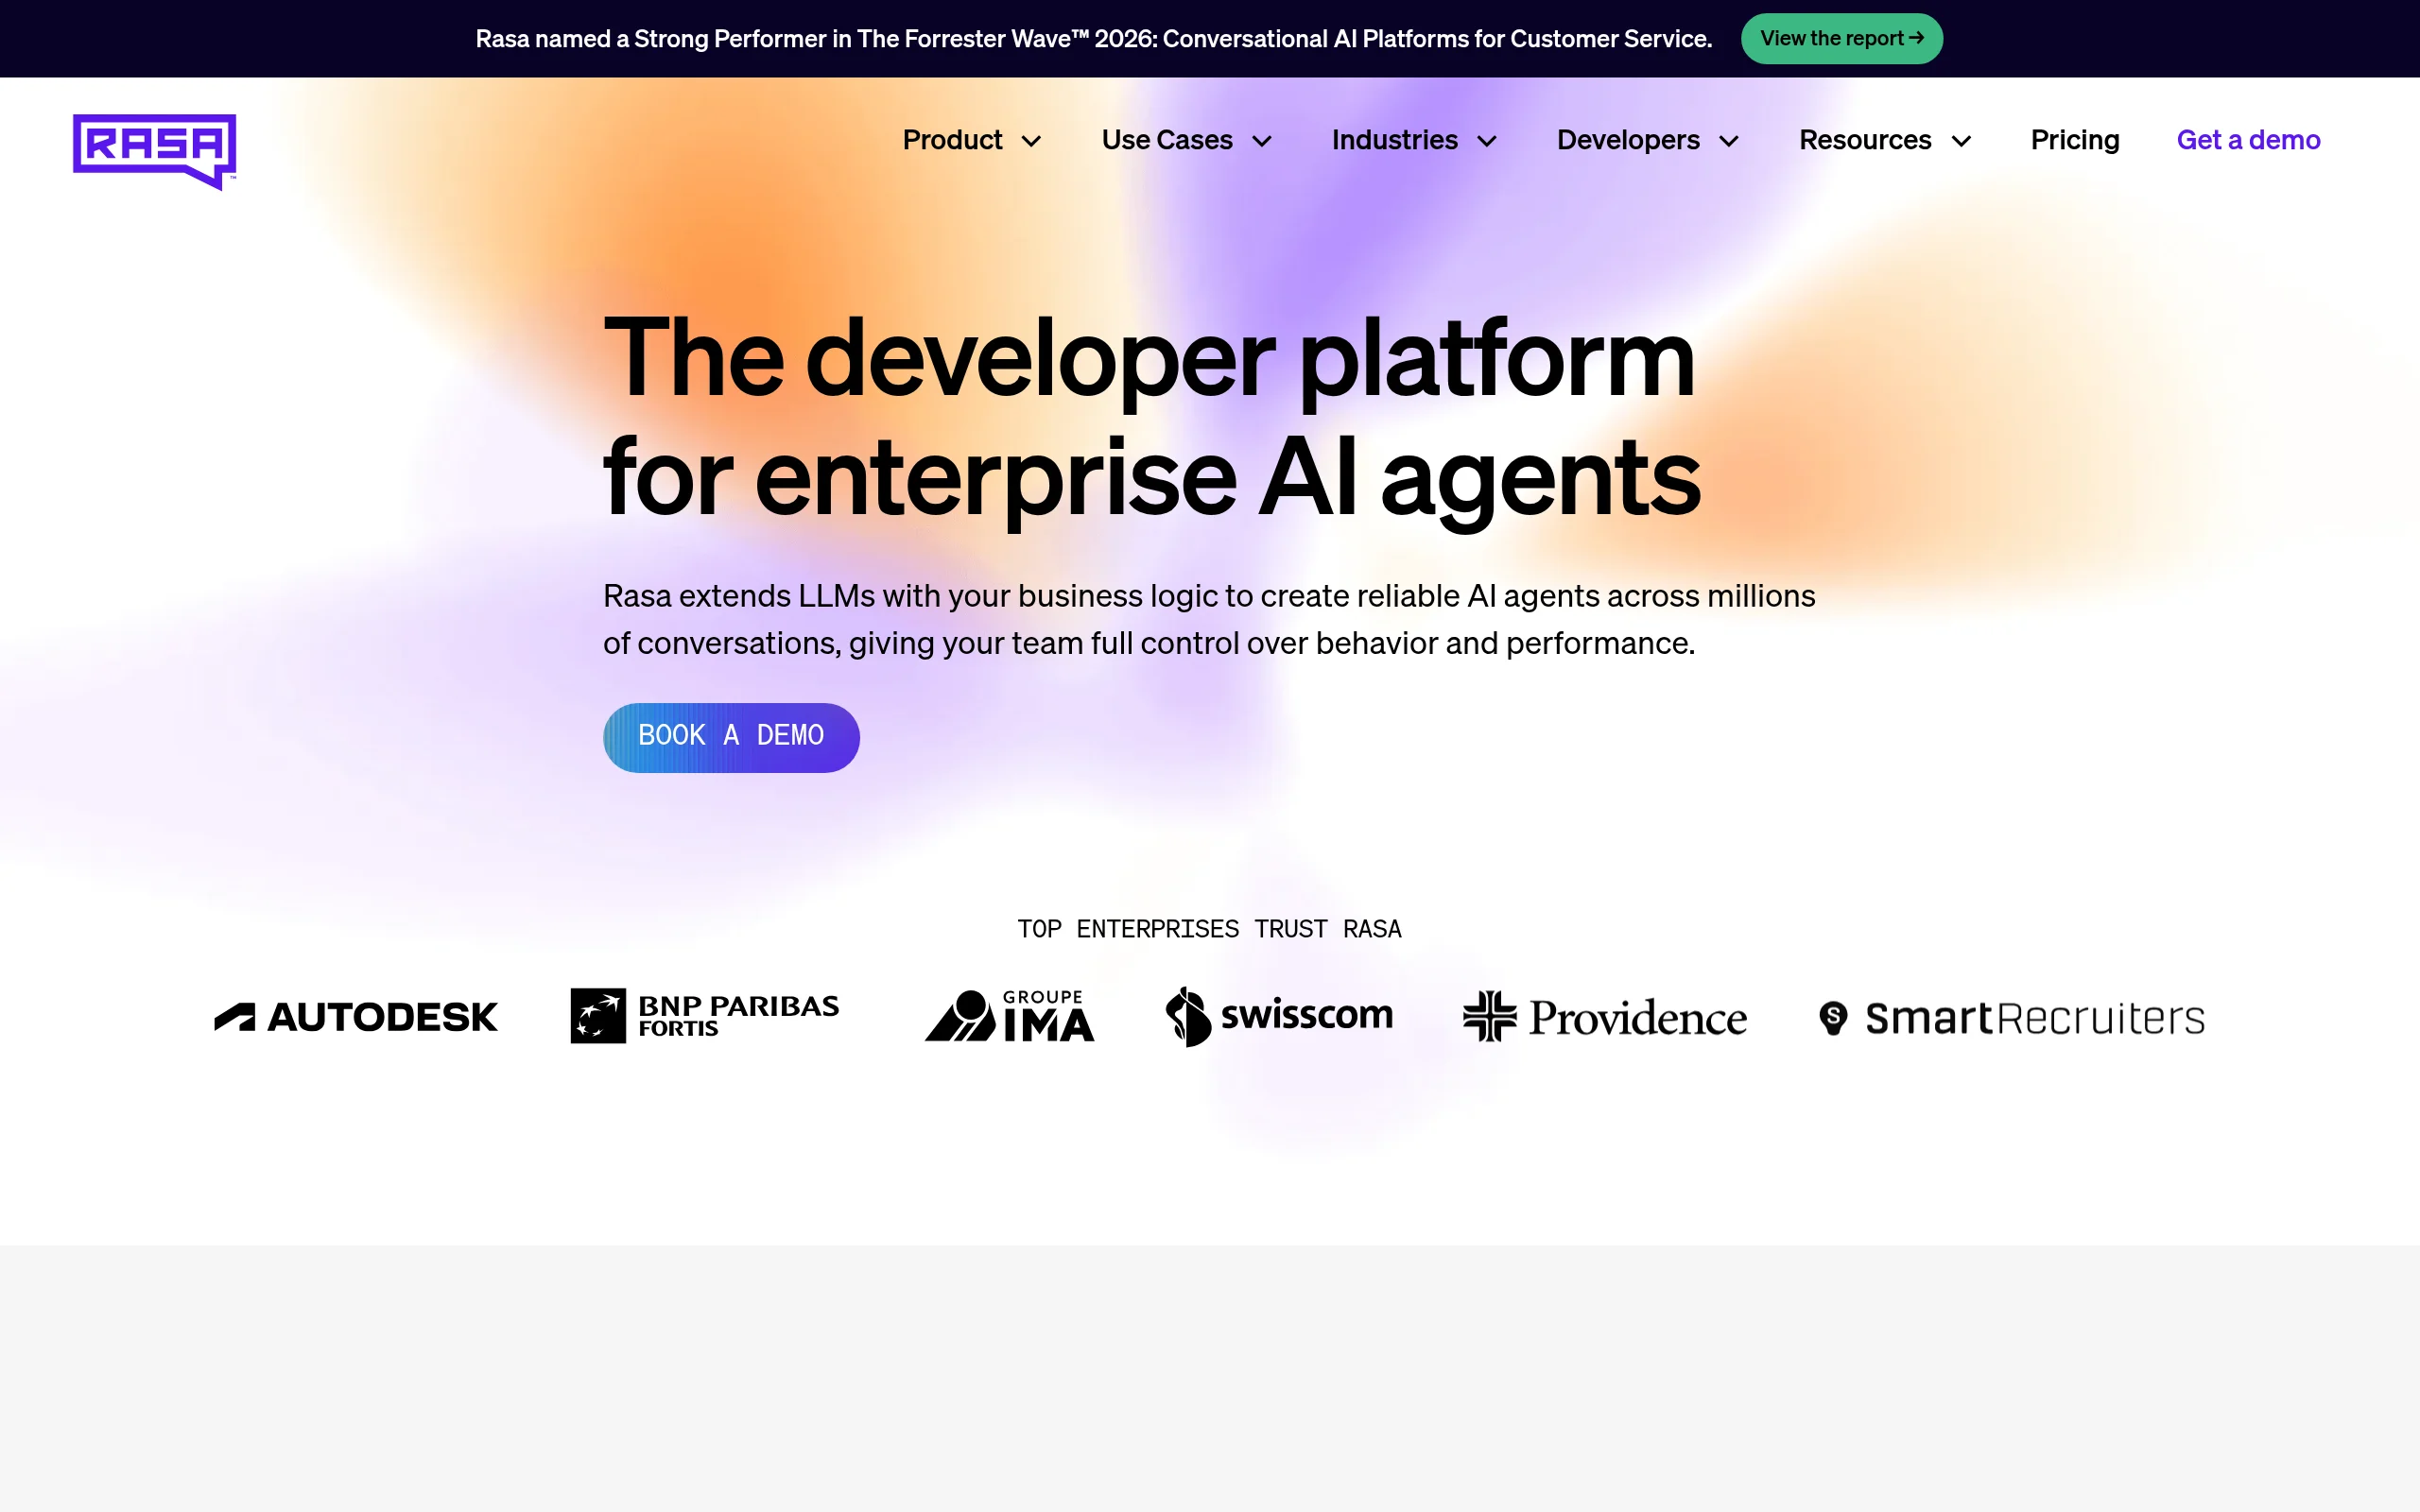
Introduction to Rasa: Building Reliable AI Agents with Full Control
In the rapidly evolving landscape of conversational AI, many teams find themselves caught between two extremes. On one side, there are large language models (LLMs) that offer impressive generative capabilities but often lack the structure and reliability needed for business-critical interactions. On the other side, there are rigid, rule-based chatbots that are predictable but unable to handle the nuance of human language. Rasa, an open-source platform, bridges this gap by extending LLMs with custom business logic, allowing teams to build, deploy, and improve AI agents that are both intelligent and dependable.
Unlike proprietary, closed-source solutions, Rasa gives you full control over your agent’s behavior, data, and performance. You are not locked into a specific cloud provider or forced to send your user data to a third-party API. This makes Rasa an ideal choice for enterprises with strict data privacy requirements, as well as for developers who want to understand and customize every aspect of their conversational AI. Whether you are building a customer support bot, a lead qualification assistant, or an internal HR tool, Rasa provides the foundation to handle millions of conversations reliably, all while maintaining complete ownership of your system.
Getting Started with Rasa
Prerequisites and Installation
Before you begin, ensure you have Python 3.8, 3.9, or 3.10 installed on your machine. Rasa is a Python-based framework, and using a virtual environment is highly recommended to avoid dependency conflicts. You can install Rasa using pip, the Python package installer:
- Create a virtual environment:
python -m venv rasa_env - Activate it: On Windows:
rasa_envScriptsactivate| On macOS/Linux:source rasa_env/bin/activate - Install Rasa:
pip install rasa
This command installs the core Rasa framework along with all necessary dependencies. To verify the installation, run rasa --version in your terminal. You should see the version number printed, confirming that the installation was successful.
Creating Your First Project
Rasa provides a convenient command to scaffold a new project with a standard directory structure. Open your terminal, navigate to the folder where you want your project to live, and run:
rasa init
This command will prompt you to name your project and will automatically create the essential files and folders, including:
- data/nlu.yml: This file contains your training data for Natural Language Understanding (NLU), including example user messages and their intents.
- data/stories.yml: This file defines the conversational flows, or “stories,” that your assistant should follow.
- data/rules.yml: This file contains rules that dictate specific, unchanging behaviors, like always saying goodbye when a user says “bye.”
- domain.yml: This is the heart of your assistant, defining the intents, entities, slots, responses, and actions your bot can use.
- config.yml: This configuration file specifies the pipeline components (like the NLU model and dialogue policy) that Rasa will use.
- actions/actions.py: This Python file is where you write custom server-side logic, such as calling an external API or querying a database.
Once the project is created, you can train your first model by running rasa train. After training, you can test the assistant in the terminal using rasa shell.
Key Features of Rasa
Open-Source Framework for Building AI Agents
Rasa is fully open-source, meaning you have access to the entire codebase. This transparency allows you to inspect how the algorithms work, contribute improvements, and customize the framework to fit your specific needs. There are no hidden costs, usage limits, or surprise API changes. You own your model and your data, which is a critical advantage for compliance with regulations like GDPR and HIPAA.
Extends LLMs with Custom Business Logic
While Rasa can integrate with large language models for natural response generation, it does not rely on them for core dialogue management. Instead, Rasa uses a “hybrid” approach. It uses an LLM for understanding user input and generating fluent text, but it uses a deterministic or machine-learned dialogue policy to decide what the bot should do next. This means you can enforce business rules—such as “always verify the user’s identity before processing a refund”—while still leveraging the LLM’s ability to handle paraphrasing and complex language. This combination gives you the best of both worlds: flexibility and reliability.
Full Control Over Agent Behavior and Performance
With Rasa, you are not just configuring a chatbot; you are engineering a system. You can define exactly how your assistant should respond to specific intents, what information it should collect (slots), and how it should handle unexpected user inputs. You can also fine-tune the machine learning models, adjust the confidence thresholds for intent classification, and implement custom validation logic. This level of control ensures that your assistant behaves predictably in production, which is essential for customer-facing applications.
Handles Millions of Conversations Reliably
Rasa is designed for scale. The platform is built on a microservice architecture, where the NLU server, dialogue server, and action server can be scaled independently. You can deploy Rasa on Kubernetes, Docker Swarm, or any other orchestration platform to handle high traffic volumes. Furthermore, Rasa’s dialogue management is stateful, meaning it can track complex conversations across multiple turns without losing context. This makes it suitable for long, multi-step workflows like booking a flight or troubleshooting a technical issue.
Supports Deployment in Any Environment
Because Rasa is open-source and containerized, you can deploy it anywhere: on-premises, in a private cloud, on a public cloud like AWS or GCP, or even on a Raspberry Pi. This flexibility is a major differentiator from cloud-only AI services. If your company has a “cloud-first” policy, you can deploy Rasa on Kubernetes. If you need to run everything on an air-gapped server for security reasons, you can do that too. The choice is entirely yours.
How to Use Rasa: A Step-by-Step Guide
Step 1: Define Your Domain
The domain.yml file is your assistant’s blueprint. Open it and define the intents (what users want to do), entities (specific pieces of information like dates or product names), slots (data you want to store during a conversation), and responses (what your bot says). For a simple pizza ordering bot, your domain might look like this:
- Intents: greet, order_pizza, provide_size, confirm_order
- Entities: pizza_size, pizza_type
- Slots: size, type
- Responses: utter_greet, utter_ask_size, utter_ask_type, utter_confirm
Step 2: Train Your NLU Model
In the data/nlu.yml file, add example user messages for each intent. The more examples you provide, the better your model will understand user input. For example:
- intent: greet – “hello”, “hi”, “good morning”
- intent: order_pizza – “I want to order a pizza”, “Can I get a pizza please?”
- intent: provide_size – “Large”, “Medium”, “Small please”
You also need to annotate entities within your examples. For instance, in “I want a large pepperoni pizza,” you would mark “large” as a pizza_size entity and “pepperoni” as a pizza_type entity.
Step 3: Write Stories and Rules
Stories are sample dialogues that teach your assistant how to handle a conversation. In data/stories.yml, you write a sequence of intents and actions. For example:
- User says “hello” (intent: greet) → Bot responds with “utter_greet”
- User says “I want a pizza” (intent: order_pizza) → Bot asks for size (action: utter_ask_size)
- User says “Large” (intent: provide_size) → Bot asks for type (action: utter_ask_type)
- User says “Pepperoni” (intent: provide_type) → Bot confirms (action: utter_confirm)
Rules, stored in data/rules.yml, are for fixed behaviors that should not change. For example, you can create a rule that always triggers a “goodbye” response when the user says “bye.”
Step 4: Implement Custom Actions
For actions that require external logic—like checking inventory, processing a payment, or looking up a user’s account—you write custom actions in the actions/actions.py file. Each custom action is a Python class that inherits from Action. Inside, you define a name method and a run method. The run method receives a Dispatcher object (to send messages back to the user) and a Tracker object (to access the conversation history and slots). You can then call any external API or database from within this method.
Step 5: Train and Test
Run rasa train to train your model. This process combines your NLU data, stories, and domain configuration into a single model file. After training, use rasa shell to test your assistant in the terminal. Type messages as a user would, and observe how your bot responds. If the bot misunderstands an intent or follows the wrong path, go back and add more training examples or adjust your stories.
Step 6: Deploy
For production, you typically run three separate servers: the Rasa server (rasa run), the action server (rasa run actions), and a custom channel connector (like a webhook for your website or a connector for Slack, Telegram, or Facebook Messenger). Rasa provides libraries for these integrations. You can containerize each component using Docker and orchestrate them with Kubernetes or Docker Compose for high availability.
Tips for Building Effective Rasa Assistants
Start Small and Iterate
It is tempting to try to build a fully-featured assistant from day one. Instead, focus on a single, well-defined use case—like “password reset” or “order status check.” Get that flow working perfectly, test it with real users, and then expand to other features. This iterative approach helps you avoid overwhelming complexity and ensures you have a solid foundation.
Use Conversation-Driven Development (CDD)
Rasa strongly recommends a process called Conversation-Driven Development. This means you should regularly review real conversations that your bot has had with users. Identify where the bot failed—was it an incorrect intent classification? A missing story? Use these insights to add new training data and improve your model. Tools like Rasa X or the open-source Rasa SDK can help you log and analyze these conversations.
Balance Stories and Rules
Stories are great for teaching the bot common paths, but they are probabilistic—the bot might not always follow the exact path you trained. Rules are deterministic; they always fire when the conditions are met. Use rules for mandatory, non-negotiable behaviors (e.g., “always ask for confirmation before a destructive action”). Use stories for the main flow of the conversation. Over-relying on rules can make your bot brittle, while over-relying on stories can make it unpredictable.
Optimize Your NLU Data
The quality of your NLU data directly impacts the performance of your assistant. Ensure you have at least 10-20 examples per intent, and make sure the examples are diverse. Avoid using the same phrasing repeatedly. For example, if you have an intent called “check_balance,” include examples like “What is my balance?”, “How much money do I have?”, “Show my account balance,” and “Check my funds.” Also, use the “intent conflict” report in Rasa to find and resolve intents that are too similar to each other.
Leverage Slots for Context
Slots are your assistant’s memory. Use them to store information gathered during the conversation, such as a user’s name, a product ID, or a date. You can set slots to influence the dialogue flow. For example, if a slot called “authenticated” is false, you can force the bot to ask for a password before proceeding. Slots can be “text” (free text), “categorical” (a fixed list of options), “bool” (true/false), or “any” (any data type). Using slots correctly is the key to handling complex, multi-turn conversations.
Monitor and Log Everything
In production, logging is your best friend. Rasa provides detailed logs for every prediction it makes, including the confidence scores for intents and entities. Monitor these logs to identify edge cases and low-confidence predictions. Set up alerts for when the bot’s confidence drops below a certain threshold, so you can manually review those interactions and improve your model. This proactive monitoring will save you from many user-facing issues.
By following these guidelines and leveraging Rasa’s open-source power, you can build a conversational AI assistant that is not only intelligent and engaging but also reliable, scalable, and fully under your control. Start with a simple project, experiment with the different components, and gradually increase the complexity as you become more comfortable with the framework. The Rasa community is large and active, so do not hesitate to consult the official documentation and forums when you encounter challenges.
