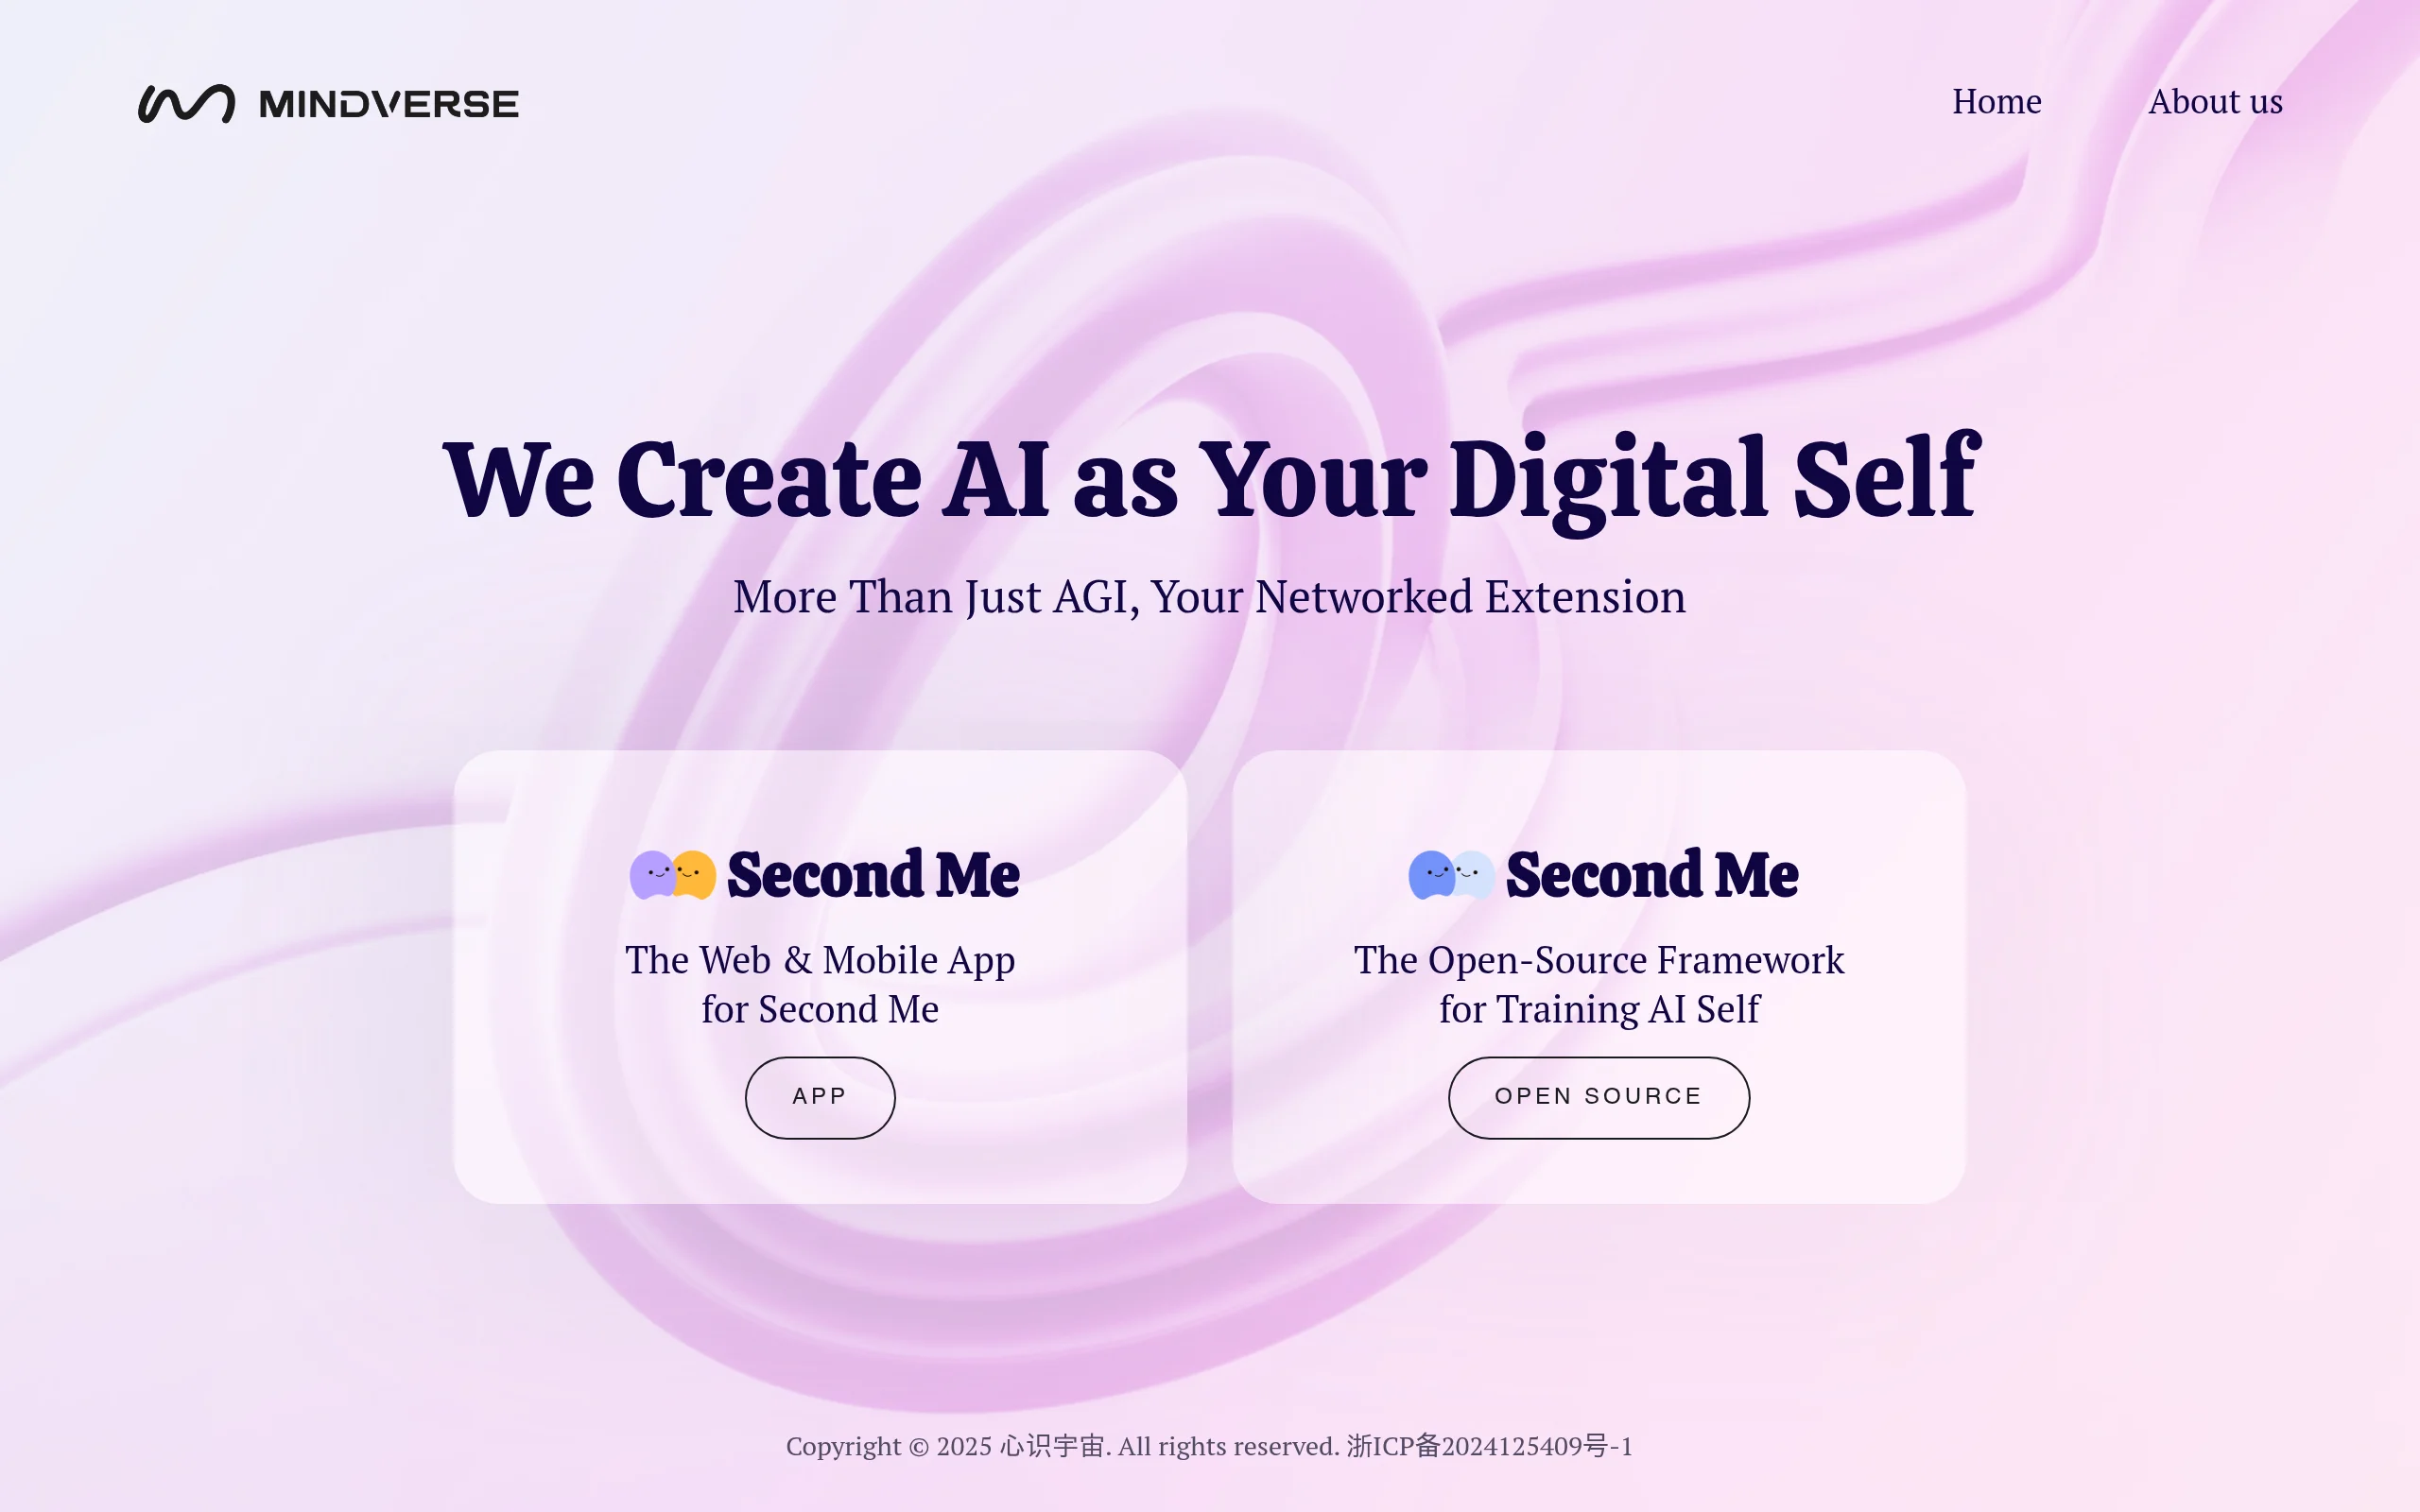
Introduction to MindOS: Your Personal AI Agent Builder
In the rapidly evolving world of artificial intelligence, the ability to create custom AI assistants has become increasingly accessible. MindOS stands at the forefront of this revolution, offering a powerful no-code platform that empowers anyone—from business owners to hobbyists—to build, customize, and deploy intelligent AI agents. Unlike generic chatbots, MindOS allows you to create agents with distinct personalities, specialized knowledge, and the ability to perform complex tasks through integrations with external tools and APIs.
Whether you need a customer support agent that knows your product catalog inside out, a personal productivity assistant that manages your calendar and emails, or a creative writing partner that adopts a specific tone and style, MindOS provides the infrastructure to bring your vision to life. This tutorial will guide you through every step of the process, from your first login to deploying a fully functional AI agent. By the end, you will have the practical knowledge to create, customize, and interact with your own intelligent assistant.
Getting Started with MindOS
Creating Your Account and First Workspace
Begin by navigating to https://mindos.com/. You will be greeted with a clean interface that prompts you to sign up. You can register using your email address or through a Google or GitHub account for faster access. After confirming your email, you will land on your dashboard. The dashboard is your command center, displaying your existing agents and providing options to create new ones.
Before building an agent, MindOS organizes your projects into “Workspaces.” Think of a workspace as a folder for related agents. For example, you might have a workspace for “Customer Support,” another for “Personal Assistant,” and a third for “Content Creation.” To create your first workspace:
- Click on the “Workspaces” tab on the left sidebar.
- Select “Create New Workspace.”
- Give it a descriptive name, such as “My First AI Agent.”
- Optionally, add a brief description to remind yourself of its purpose.
- Click “Save.”
Once your workspace is ready, you are set to build your first agent.
Navigating the MindOS Interface
The MindOS interface is designed with simplicity in mind. The main sections you will interact with are:
- Dashboard: Overview of all your agents and recent activity.
- Agent Builder: The core editor where you define your agent’s behavior, personality, and knowledge.
- Knowledge Base: A repository where you upload documents, URLs, or text that your agent can reference.
- Integrations: A menu to connect external APIs and tools like Google Calendar, Slack, or custom webhooks.
- Chat Playground: A testing environment to interact with your agent in real-time before deploying it.
Take a few minutes to click through these sections to familiarize yourself with the layout. The interface is intuitive, but knowing where everything lives will save you time later.
Key Features of MindOS Explained
No-Code AI Agent Creation
The most compelling feature of MindOS is that you do not need to write a single line of code to create a sophisticated AI agent. The entire process is visual. You configure your agent using dropdown menus, text fields, and toggle switches. This opens the door for non-technical users, such as marketers, educators, and small business owners, to leverage AI without hiring developers.
The platform uses advanced large language models (LLMs) under the hood, but it abstracts away the complexity. You simply tell the agent what you want it to be, and MindOS handles the technical heavy lifting.
Customizable Agent Personality and Knowledge
Your agent is not a one-size-fits-all tool. You can define its personality traits—such as friendly, professional, humorous, or formal—using natural language prompts. For example, you can instruct your agent: “You are a helpful and patient customer support representative for an online bookstore. Always address the user politely and recommend books based on their interests.”
Beyond personality, you can inject specific knowledge. MindOS allows you to upload PDFs, Word documents, plain text files, or even scrape content from a website. The agent will then use this knowledge to answer questions accurately. This is ideal for creating agents that act as FAQs, training manuals, or product guides.
Multi-Turn Conversation Support
Unlike simple question-and-answer bots, MindOS agents excel at maintaining context over multiple exchanges. This means your agent remembers what was said earlier in the conversation. For instance, if a user asks “What is the return policy?” and then follows up with “What about electronics?”, the agent understands that “electronics” refers to the return policy for electronic items. This makes interactions feel natural and coherent.
Integration with External APIs and Tools
MindOS agents can go beyond conversation by performing actions. Through the Integrations section, you can connect your agent to external services. Common integrations include:
- Email services: Send automated emails or retrieve inbox data.
- Calendar tools: Schedule appointments or check availability.
- Slack or Discord: Interact with team members or customers in chat channels.
- Custom APIs: Use webhooks to connect to your own database or software.
This feature transforms your agent from a passive conversationalist into an active assistant that can execute tasks.
Real-Time Interaction and Response
When you or your users interact with the agent, responses are generated in real-time. There is no noticeable delay. This is crucial for applications like live customer support or interactive tutoring, where waiting for a response would break the flow. MindOS optimizes its backend to ensure low latency, making the experience feel like talking to a human.
How to Use MindOS: A Step-by-Step Guide
Step 1: Create a New Agent
From your workspace, click the “Create Agent” button. You will be prompted to give your agent a name, such as “SupportBot” or “ResearchAssistant.” You can also choose a default language and a base model (e.g., GPT-4 or a specialized model). For beginners, the default settings are perfectly fine.
Step 2: Define the Agent’s Personality and Instructions
This is the most important step. In the “System Prompt” or “Instructions” field, write a clear description of what your agent should do and how it should behave. Be specific. For example:
“You are a fitness coach named Coach Alex. You provide workout plans and nutrition advice. You are encouraging and motivational. You never give medical advice. If asked about injuries, you recommend consulting a doctor. You use simple language and avoid jargon.”
The more detail you provide, the better the agent will perform. You can also set boundaries, such as topics the agent should avoid.
Step 3: Upload Knowledge Base
Click on the “Knowledge Base” tab within your agent editor. Here you can add files or text that the agent should reference. Supported file types include .txt, .pdf, .docx, and .csv. You can also paste a URL, and MindOS will scrape the content from that webpage.
For a practical example, if you are building a customer support agent for a software company, upload your product documentation, FAQ pages, and troubleshooting guides. The agent will then be able to answer user questions based on this specific information.
Step 4: Configure Integrations (Optional)
If you want your agent to perform actions, go to the “Integrations” section. Here you will find pre-built connectors. For instance, to connect to Google Calendar, click “Add Integration,” select Google Calendar, and follow the OAuth authorization flow. Once connected, you can instruct your agent to “Check my calendar for available slots tomorrow at 2 PM” and it will perform the action.
For custom integrations, use the “Webhook” option. You will need to provide a URL endpoint where MindOS can send data or receive instructions. This is more advanced, but the platform provides clear documentation.
Step 5: Test Your Agent in the Playground
Before sharing your agent with others, test it thoroughly. Open the “Chat Playground” from the agent editor. You can type messages as a user would. Try asking questions related to your knowledge base, test the agent’s personality, and see if it maintains context over multiple turns. If the responses are not satisfactory, go back and refine your system prompt or add more knowledge.
Step 6: Deploy Your Agent
Once you are satisfied, it is time to deploy. MindOS offers several deployment options:
- Shareable Link: Get a unique URL that you can send to anyone. They can interact with your agent directly in their browser.
- Embed Code: Copy an HTML snippet to embed the agent as a chat widget on your website.
- API Access: For developers, MindOS provides an API endpoint to integrate the agent into your own applications.
Select the option that fits your use case. For most beginners, the shareable link is the quickest way to start.
Practical Tips for Getting the Most Out of MindOS
Tip 1: Iterate on Your System Prompt
Your first system prompt will rarely be perfect. Treat it as a living document. After testing, you may find that your agent is too verbose, too formal, or fails to understand certain queries. Adjust the prompt, test again, and repeat. Small changes in wording can have a significant impact on behavior.
Tip 2: Use Clear and Structured Knowledge
When uploading documents, ensure they are well-organized. Use headings, bullet points, and clear sections in your PDFs or text files. MindOS’s AI works best when it can easily parse structured information. Avoid uploading messy or scanned documents with poor OCR quality.
Tip 3: Set Conversation Limits
In the agent settings, you can define a maximum number of conversation turns or a token limit. This prevents your agent from going off-topic or consuming too much memory. For customer support agents, a limit of 10-15 turns is often sufficient. For creative brainstorming, you may want a higher limit.
Tip 4: Leverage Conditional Logic
MindOS supports basic conditional logic within the system prompt. For example, you can write: “If the user asks about pricing, respond with the pricing table. If the user complains, apologize and offer a discount code.” This makes your agent more responsive to different scenarios without needing programming.
Tip 5: Monitor and Analyze Conversations
After deployment, use the “Analytics” tab to review past conversations. Look for patterns where the agent struggled or where users asked questions you did not anticipate. Use this data to update your knowledge base and improve the agent over time. Continuous improvement is key to maintaining a high-quality AI assistant.
Tip 6: Start Simple, Then Add Complexity
Do not try to build a perfect agent on your first attempt. Start with a simple use case, such as a FAQ bot that answers five common questions. Once that works reliably, add more knowledge, then integrate a calendar, and finally add personality nuances. This incremental approach reduces frustration and ensures a solid foundation.
Tip 7: Use the Community and Documentation
MindOS has an active community forum and extensive documentation. If you encounter a problem, search the forum first. Chances are someone else has faced the same issue. The documentation also includes example prompts and integration guides that can inspire your own projects.
With this tutorial, you now have a comprehensive understanding of MindOS and the practical steps to create your own AI agent. The platform’s no-code approach, combined with its powerful customization and integration capabilities, makes it an invaluable tool for anyone looking to harness the power of AI. Start small, experiment often, and soon you will have a personalized digital assistant that works exactly the way you need it to.
