Introduction to Kite: The AI-Powered Code Completion Tool
Kite was a revolutionary AI-powered code completion tool designed to help developers write code faster and with fewer errors. Developed by Kite Labs, this tool leveraged advanced machine learning algorithms to predict and suggest code snippets in real time, directly within your code editor. Unlike traditional autocomplete features that rely on simple keyword matching, Kite analyzed the context of your code, including variable names, function signatures, and import statements, to provide highly relevant suggestions. It supported a wide range of programming languages, including Python, JavaScript, Java, TypeScript, Go, and more, making it a versatile assistant for both frontend and backend developers.
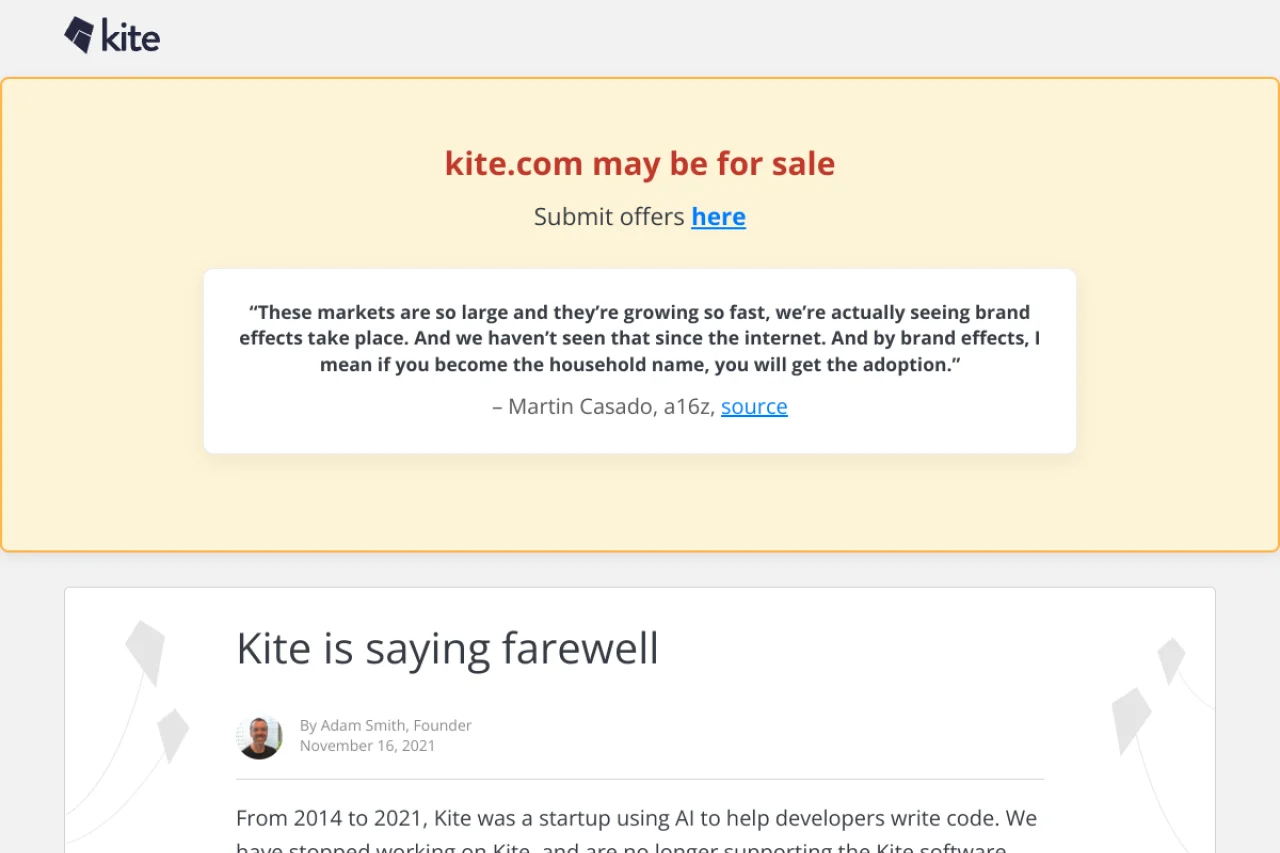
Kite integrated seamlessly with popular code editors such as Visual Studio Code, PyCharm, Atom, Sublime Text, and JetBrains IDEs. One of its standout features was the use of local machine learning models, which meant that your code never left your machine—ensuring privacy and security. The tool also offered a Copilot-like experience, but with a focus on lightweight, local processing. Unfortunately, as of late 2022, Kite has been officially shut down and is no longer supported. The company announced that they were unable to build a sustainable business model around the product. While you can no longer download or use Kite, this tutorial will walk you through its features, how it worked, and how you can replicate similar functionality with modern alternatives. This guide is intended for educational purposes and for those curious about the history of AI-assisted development.
Getting Started with Kite (Historical Context)
System Requirements and Installation
Before Kite was discontinued, getting started was straightforward. The tool required a modern operating system (Windows, macOS, or Linux) and a compatible code editor. Here’s how the installation process worked:
- Download the Installer: Visit the official Kite website (kite.com) and download the installer for your operating system. The installer included the Kite engine, which runs in the background, and the editor plugin.
- Install the Kite Engine: Run the installer. The engine would download and set up local machine learning models optimized for your system. This process required an internet connection for the initial model download, but after that, all completions were processed locally.
- Install the Editor Plugin: Kite supported multiple editors. For example, in VS Code, you would install the “Kite” extension from the marketplace. In PyCharm, you would search for “Kite” in the plugin repository. The plugin connected to the Kite engine automatically.
- Sign In (Optional): Kite offered a free tier and a Pro subscription. Signing in was optional but allowed you to sync settings across machines. For most users, the free tier was sufficient for basic code completions.
- Verify Installation: Once installed, you would see a Kite icon in your editor’s status bar. A green icon indicated that the engine was running and ready to provide completions.
First Launch and Configuration
After installation, Kite would index your project files to understand your codebase. This indexing process happened in the background and could take a few minutes for large projects. You could configure Kite’s behavior through its settings panel, accessible via the editor’s command palette (e.g., “Kite: Open Settings”). Common configuration options included:
- Enable/Disable Completions: Turn AI suggestions on or off for specific file types.
- Completion Delay: Adjust how quickly suggestions appeared after you stopped typing.
- Excluded Files: Prevent Kite from indexing certain directories (e.g., node_modules, .git).
- Language Support: Enable or disable completions for specific programming languages.
For beginners, the default settings were usually optimal. The key was to ensure that the Kite engine was running—if the status bar icon turned red, it meant the engine had crashed, and you needed to restart it manually.
Key Features of Kite
AI-Powered Code Completions
The core feature of Kite was its ability to provide intelligent, context-aware code completions. Unlike traditional autocomplete, which only suggests based on the current word, Kite analyzed the entire line of code, the surrounding functions, and even imported modules. For example, if you were writing Python and typed import numpy as np, Kite would immediately suggest np.array(), np.zeros(), and other common NumPy functions. It could also complete multi-line code snippets, such as entire for-loops or try-except blocks, based on patterns it learned from your code and millions of open-source repositories.
Multi-Language Support
Kite supported a wide range of programming languages, including but not limited to:
- Python – Full support with library-specific completions (e.g., Django, Flask, Pandas, TensorFlow).
- JavaScript – Completions for React, Angular, Vue, Node.js, and vanilla JS.
- Java – Support for Spring, Android development, and standard libraries.
- TypeScript – Completions with type annotations and interfaces.
- Go – Completions for standard library and popular packages.
- Other Languages – Limited support for C, C++, HTML, CSS, and more.
The tool automatically detected the language based on the file extension and switched its prediction models accordingly.
Editor Integrations
Kite integrated deeply with over a dozen code editors. The most popular integrations were:
- Visual Studio Code – The Kite extension added a Copilot-like sidebar that showed documentation and example usage for the selected suggestion.
- PyCharm – Kite replaced the default autocomplete with its AI-powered suggestions, and you could still use PyCharm’s native completions by pressing Ctrl+Space.
- Atom and Sublime Text – Plugins were available via package managers, though they were less feature-rich compared to VS Code and PyCharm.
- JetBrains IDEs – Kite worked with IntelliJ IDEA, WebStorm, and others, but required manual plugin installation.
Real-Time Code Suggestions
Kite provided suggestions as you typed, with no noticeable lag. The machine learning models ran locally, so there was no need to send your code to a remote server. This made Kite incredibly fast—suggestions appeared in under 100 milliseconds. The tool also learned from your coding patterns over time. If you frequently used a specific function or variable naming convention, Kite would prioritize those suggestions.
Local Machine Learning Models for Privacy
One of Kite’s biggest selling points was privacy. All machine learning models were stored and executed on your local machine. Your code never left your computer. This was a major advantage over cloud-based alternatives like GitHub Copilot, which sends code snippets to Microsoft’s servers. For developers working on proprietary or sensitive code, Kite offered peace of mind. The local models were pre-trained on a vast corpus of open-source code, and they could be updated periodically by downloading new model files from Kite’s servers—but only if you chose to do so.
How to Use Kite (Step-by-Step Guide)
Step 1: Write Code Normally
Kite works in the background, so you don’t need to change your workflow. Simply open a file in your editor and start typing. For example, in a Python file, type import os and then begin typing os.. Kite will automatically show a dropdown list of suggestions. Use the Tab or Enter key to accept a suggestion.
Step 2: Navigate Suggestions
When Kite presents multiple suggestions, you can navigate them using the arrow keys (Up and Down). Each suggestion is accompanied by a short description and, in some editors, a documentation preview. For example, if you type pd.read_ in a Python file with Pandas imported, Kite will show read_csv(), read_excel(), read_json(), etc. Press Tab to insert the highlighted suggestion.
Step 3: Use the Kite Sidebar (VS Code)
In VS Code, Kite adds a sidebar that shows detailed information about the currently selected suggestion. To open the sidebar, click the Kite icon in the activity bar (or use the command Kite: Open Sidebar). The sidebar displays:
- Function Signature – Parameters and their types.
- Documentation – Inline documentation extracted from the library’s source code.
- Example Usage – A code snippet showing how the function is typically used.
- Related Functions – Other functions in the same module that you might need.
This feature was particularly useful for learning new libraries or refreshing your memory on function parameters.
Step 4: Accept Multi-Line Completions
Kite could complete entire blocks of code. For instance, if you were writing a Python function and typed def calculate_average(numbers):, Kite might suggest the full function body, including a for-loop and return statement. To accept a multi-line completion, press Tab once to accept the first line, then continue pressing Tab to accept subsequent lines. Alternatively, you could press Ctrl+Enter (Windows/Linux) or Cmd+Enter (macOS) to accept the entire block at once.
Step 5: Manually Trigger Completions
If Kite does not automatically show suggestions (e.g., if you are typing a variable name that doesn’t exist yet), you can manually trigger completions by pressing Ctrl+Space (Windows/Linux) or Cmd+Space (macOS). This will show both Kite’s AI suggestions and your editor’s default completions.
Step 6: Exclude Files or Folders
To prevent Kite from indexing large or irrelevant directories (like node_modules or build folders), open Kite’s settings and add those paths to the exclusion list. This improves performance and reduces clutter in the suggestions.
Tips for Maximizing Productivity with Kite
Tip 1: Use Descriptive Variable Names
Kite’s machine learning models are trained to recognize patterns in code. If you use descriptive variable names (e.g., user_email instead of ue), Kite can provide more accurate completions. For example, after typing user_email = get_user_email(), Kite might suggest user_email.lower() or user_email.strip().
Tip 2: Leverage Documentation in the Sidebar
When working with unfamiliar libraries, keep the Kite sidebar open. As you type function names, the sidebar updates to show documentation. This reduces the need to switch to a web browser or terminal to look up syntax. For example, if you are using matplotlib.pyplot, the sidebar will show you the parameters for plt.plot() and plt.xlabel().
Tip 3: Train Kite on Your Codebase
Kite learns from the code you write. To improve its suggestions for your specific project, write consistent code. If you use a specific naming convention (e.g., snake_case for variables, camelCase for functions), Kite will adapt to it. Over time, you will notice that Kite suggests your custom functions and classes more frequently.
Tip 4: Disable Kite for Certain File Types
If you work with files that don’t require AI completions (e.g., Markdown files, JSON, YAML), disable Kite for those file types in the settings. This reduces unnecessary CPU usage and keeps the suggestions focused on code files. To do this, go to Kite settings and add the file extensions to the “Disabled for file types” list.
Tip 5: Combine Kite with Editor Shortcuts
Kite works best when combined with your editor’s native shortcuts. For example, in VS Code, use Ctrl+Shift+Space to trigger parameter hints, or F12 to go to a function’s definition. Kite complements these features by providing suggestions that are not available in the editor’s default autocomplete.
Tip 6: Use Kite for Boilerplate Code
Kite excels at generating boilerplate code. For example, if you are writing a Python class, type class MyClass: and then press Tab. Kite may suggest the __init__ method, __str__ method, and other common patterns. Similarly, for JavaScript, typing function fetchData() might trigger a suggestion for an async function with try-catch blocks.
Tip 7: Monitor Kite’s Performance
Kite runs as a background process. On older machines, it could consume significant CPU and memory, especially during initial indexing. To check its performance, open your system’s task manager (or Activity Monitor on macOS). If Kite is using too many resources, consider excluding large folders from indexing or reducing the number of languages it supports.
Tip 8: Explore Alternatives After Kite’s Shutdown
Since Kite is no longer available, you can achieve similar functionality with modern alternatives:
- GitHub Copilot – A cloud-based AI pair programmer that works with many editors. It offers similar multi-line completions but requires an internet connection.
- Tabnine – A local AI code completion tool that supports many languages and editors. It offers both free and paid tiers.
- Codeium – A free, AI-powered code completion tool with support for over 20 languages and editors.
- IntelliCode – Microsoft’s AI-assisted code completion for Visual Studio and VS Code, with a focus on C#, Python, and JavaScript.
Each of these tools has its own strengths and limitations, but they all build upon the foundation that Kite established in the AI code completion space.
Conclusion
Kite was a groundbreaking tool that demonstrated the potential of AI in software development. Its ability to provide intelligent, context-aware completions while preserving privacy made it a favorite among developers. Although Kite is no longer available, its legacy lives on in modern alternatives that continue to push the boundaries of what AI can do for coders. By understanding how Kite worked, you can better appreciate the features of current tools and choose the one that best fits your workflow. Whether you are a beginner learning to code or an experienced developer looking to boost productivity, AI-powered code completion is now an essential part of the modern development environment.
