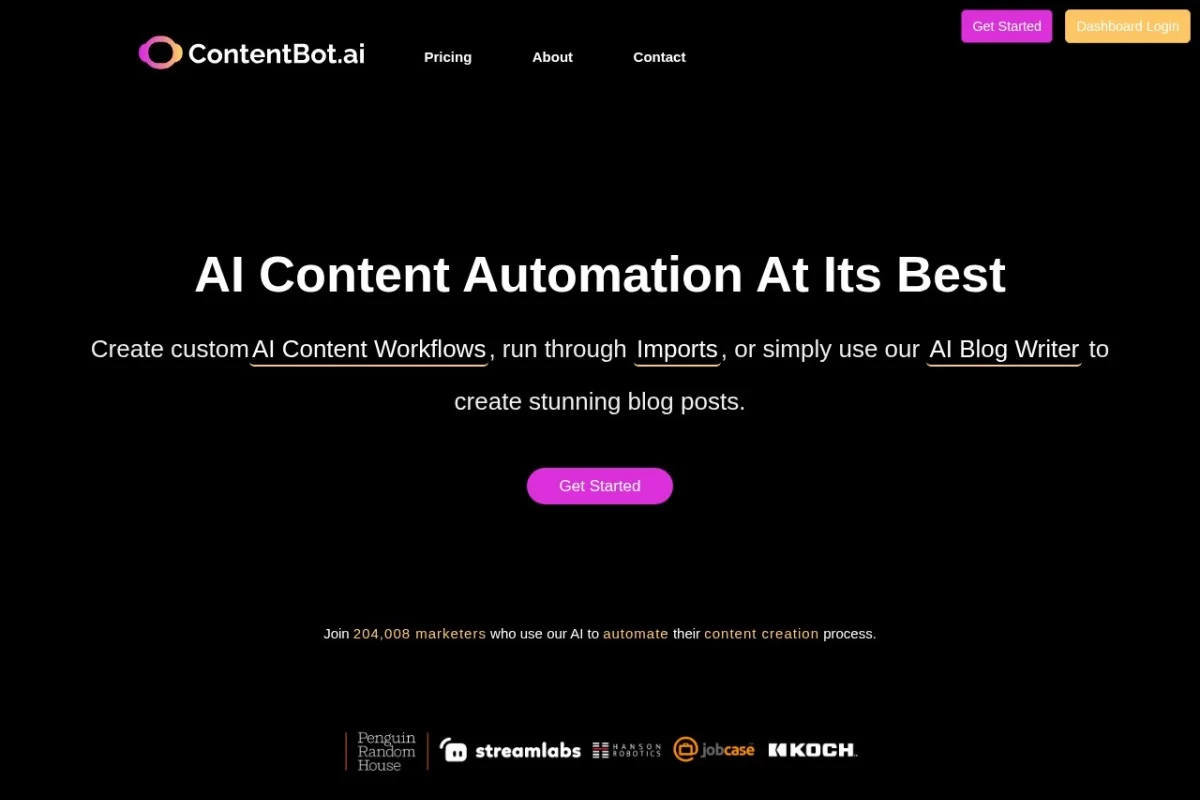
Introduction to ContentBot: Your AI Content Automation Partner
In the fast-paced world of digital marketing, producing consistent, high-quality content is both a necessity and a challenge. ContentBot is an AI-powered platform designed to streamline your entire content creation process, from brainstorming ideas to publishing finished pieces. Whether you need blog posts, marketing copy, email newsletters, or social media ads, ContentBot leverages advanced language models to generate human-like text that resonates with your audience.
What sets ContentBot apart is its focus on automation. Instead of manually prompting an AI for each piece of content, you can create customizable workflows that automatically generate, edit, and schedule content at scale. The platform integrates seamlessly with popular tools like WordPress, Zapier, and Google Sheets, making it a central hub for your content operations. This tutorial will walk you through everything you need to know to get started, from setting up your account to building your first automated workflow.
Getting Started with ContentBot
Creating Your Account
Visit https://contentbot.ai/ and click the “Get Started” button. You can sign up using your email address or connect with your Google or Facebook account. ContentBot offers a free trial with limited credits, allowing you to test the platform before committing to a paid plan.
Navigating the Dashboard
Once logged in, you will see the main dashboard. Here is a quick overview of the key sections:
- Dashboard Home: Shows your credit usage, recent projects, and quick actions.
- Content Studio: The main area where you create and edit individual pieces of content.
- Workflows: Where you build and manage automated content pipelines.
- Integrations: Connect ContentBot with WordPress, Zapier, and other third-party tools.
- Bulk Generation: Create multiple pieces of content at once using a CSV or spreadsheet.
- Settings: Manage your account, billing, and API keys.
Understanding Credits
ContentBot operates on a credit system. Each word generated or action performed consumes a certain number of credits. For example, generating a 500-word blog post might use 500 credits. The free trial gives you a set number of credits to explore the features. Paid plans offer higher credit limits and additional capabilities like priority support and advanced integrations.
Key Features of ContentBot
AI Content Generation for Blogs, Ads, and Emails
ContentBot is built on powerful language models that can produce content for virtually any purpose. You can generate:
- Blog posts: Full-length articles, listicles, how-to guides, and opinion pieces.
- Marketing copy: Product descriptions, landing page text, and sales pitches.
- Email campaigns: Welcome emails, newsletters, promotional emails, and follow-ups.
- Social media ads: Headlines, ad copy, and call-to-action buttons for platforms like Facebook, Google, and LinkedIn.
The AI understands context and tone, allowing you to specify whether you want a formal, conversational, persuasive, or humorous style.
Customizable Automation Workflows
This is the heart of ContentBot. Workflows allow you to chain multiple actions together, such as:
- Trigger: New row added in Google Sheets.
- Action: Generate a 800-word blog post on the topic from the sheet.
- Action: Run the content through an SEO checker.
- Action: Save the draft to WordPress as a pending review.
You can set conditions, loops, and delays to create sophisticated automation without writing a single line of code.
Integration with WordPress, Zapier, and More
ContentBot connects directly to your WordPress site, allowing you to publish content without manual copying and pasting. The Zapier integration opens up thousands of possibilities, connecting ContentBot with CRM systems, email marketing platforms, project management tools, and more. Other integrations include Google Sheets, Shopify, and custom API endpoints for advanced users.
Bulk Content Creation and Scheduling
Need 50 product descriptions or 100 social media posts? Use the bulk generation feature. Upload a CSV file with your topics, keywords, and desired parameters, and ContentBot will generate all the content in one go. You can then schedule the content for publication directly from the platform.
SEO-Optimized Writing Options
ContentBot includes built-in SEO tools to help your content rank better. When generating content, you can specify target keywords, desired word count, and readability level. The AI will naturally incorporate keywords into headings, body text, and meta descriptions. You can also run existing content through the SEO checker to identify improvement areas.
How to Use ContentBot: A Step-by-Step Guide
Generating Your First Piece of Content
Let’s start with a simple blog post generation:
Step 1: Click on “Content Studio” in the left sidebar.
Step 2: Click the “New Content” button and select “Blog Post” from the dropdown menu.
Step 3: You will see a form with several fields:
- Topic: Enter your main subject, e.g., “Benefits of Remote Work.”
- Tone: Choose from options like Professional, Casual, Persuasive, or Humorous.
- Target Audience: Describe who you are writing for, e.g., “HR managers.”
- Keywords: Add SEO keywords separated by commas, e.g., “remote work productivity, work from home tips.”
- Length: Select short (300 words), medium (800 words), or long (1500 words).
Step 4: Click “Generate”. The AI will process your request and display the content within 30-60 seconds.
Step 5: Review the generated text. You can edit it directly in the editor, regenerate specific sections, or ask the AI to rewrite parts with different phrasing.
Step 6: Once satisfied, click “Save” to store it in your project folder, or “Publish” to send it directly to your connected WordPress site.
Creating an Automated Workflow
Workflows are where ContentBot truly shines. Here is how to build one:
Step 1: Go to “Workflows” in the sidebar and click “Create Workflow”.
Step 2: Give your workflow a name, such as “Weekly Blog Post Automation.”
Step 3: Click the “+” icon to add your first trigger. For example, select “Schedule” and set it to run every Monday at 9:00 AM.
Step 4: Add an action by clicking the “+” again. Choose “Generate Content”. In the settings, you can use dynamic data from a connected Google Sheet (e.g., the topic from column A) or enter a fixed topic.
Step 5: Add another action for “SEO Optimization”. The AI will automatically check the generated content and suggest improvements.
Step 6: Add a final action for “Publish to WordPress”. Select your connected WordPress site, choose the category, and set the status to “Draft” or “Published.”
Step 7: Click “Save” and then “Activate” to start the workflow. You can test it manually by clicking “Run Now”.
Using Bulk Generation
For large-scale content needs:
Step 1: Navigate to “Bulk Generation”.
Step 2: Download the template CSV file provided by ContentBot.
Step 3: Fill in the CSV with your data. Typical columns include: Topic, Keywords, Tone, Length, and Target Audience. Each row represents a new piece of content.
Step 4: Upload the CSV file back to ContentBot.
Step 5: Choose your output format (blog post, ad copy, email, etc.) and click “Generate All”.
Step 6: The platform will process each row and display the results. You can review, edit, and export them as a single document or publish them individually.
Connecting Integrations
To connect WordPress:
Step 1: Go to “Integrations” and click on “WordPress”.
Step 2: Enter your WordPress site URL, username, and application password. You can generate an application password from your WordPress dashboard under Users > Security.
Step 3: Click “Connect”. ContentBot will verify the connection and show a success message.
For Zapier:
Step 1: Click on “Zapier” in the integrations page.
Step 2: You will be redirected to Zapier. Choose a trigger from another app (e.g., a new row in Google Sheets).
Step 3: Select ContentBot as the action app. You can choose actions like “Generate Content,” “Check SEO,” or “Publish to WordPress.”
Step 4: Map the fields from your trigger to ContentBot’s input fields and test the Zap.
Tips for Getting the Most Out of ContentBot
Write Clear and Specific Prompts
The quality of AI-generated content depends heavily on your input. Instead of a vague topic like “marketing tips,” be specific: “10 actionable email marketing tips for e-commerce stores to increase open rates.” Include context about your brand voice, target audience, and desired outcome.
Use the Tone and Audience Settings
Don’t skip these fields. Specifying a tone like “professional yet friendly” or “urgent and persuasive” dramatically changes the output. Similarly, defining your audience (e.g., “CEOs of tech startups” vs. “college students”) helps the AI choose appropriate vocabulary and examples.
Leverage the SEO Tools
Always run your content through the SEO checker before publishing. It will highlight keyword density, readability scores, and missing meta descriptions. Make adjustments based on the suggestions to improve your search engine rankings.
Start with Simple Workflows
If you are new to automation, begin with a basic workflow: a scheduled trigger that generates a blog post and saves it as a draft in WordPress. Once you are comfortable, add more steps like SEO checks, image generation (via integration), and social media posting.
Use Dynamic Data from Spreadsheets
Connect Google Sheets to your workflows. You can maintain a master list of content ideas, keywords, and deadlines. When you add a new row, the workflow automatically generates and publishes the content. This is perfect for maintaining a consistent editorial calendar.
Edit and Personalize AI Outputs
While ContentBot produces high-quality text, it is still AI-generated. Always review the content for accuracy, brand alignment, and unique insights. Add personal anecdotes, statistics from your research, or specific calls to action. Treat the AI output as a strong first draft, not a final product.
Monitor Your Credit Usage
Keep an eye on your credit balance, especially if you are on a limited plan. Bulk generation and long-form content consume credits quickly. Use the dashboard to track usage and upgrade your plan if needed.
Experiment with Different Content Types
Don’t limit yourself to blogs. Try generating email sequences, LinkedIn articles, Twitter threads, or YouTube video scripts. Each content type has different formatting and tone requirements, and ContentBot handles them well.
Test Workflows Before Full Automation
When building a new workflow, use the “Run Now” option to test it with a single piece of content. Verify that the trigger works, the content is generated correctly, and the output reaches the right destination. This prevents errors when you set the workflow to run automatically.
Stay Updated with New Features
ContentBot frequently updates its models and adds new integrations. Check the blog or changelog within the platform to learn about new capabilities, such as support for different languages, improved SEO analysis, or expanded workflow actions.
Conclusion
ContentBot is a powerful ally for anyone who needs to produce content consistently and efficiently. By understanding its core features—AI generation, customizable workflows, integrations, and bulk creation—you can transform your content strategy from a time-consuming chore into a streamlined, automated process. Start with small experiments, gradually build more complex workflows, and always refine your prompts to get the best results. With practice, ContentBot will become an indispensable tool in your content creation toolkit.

ContentBot - AI Content Automation
Automate content creation with AI workflows and integrations.