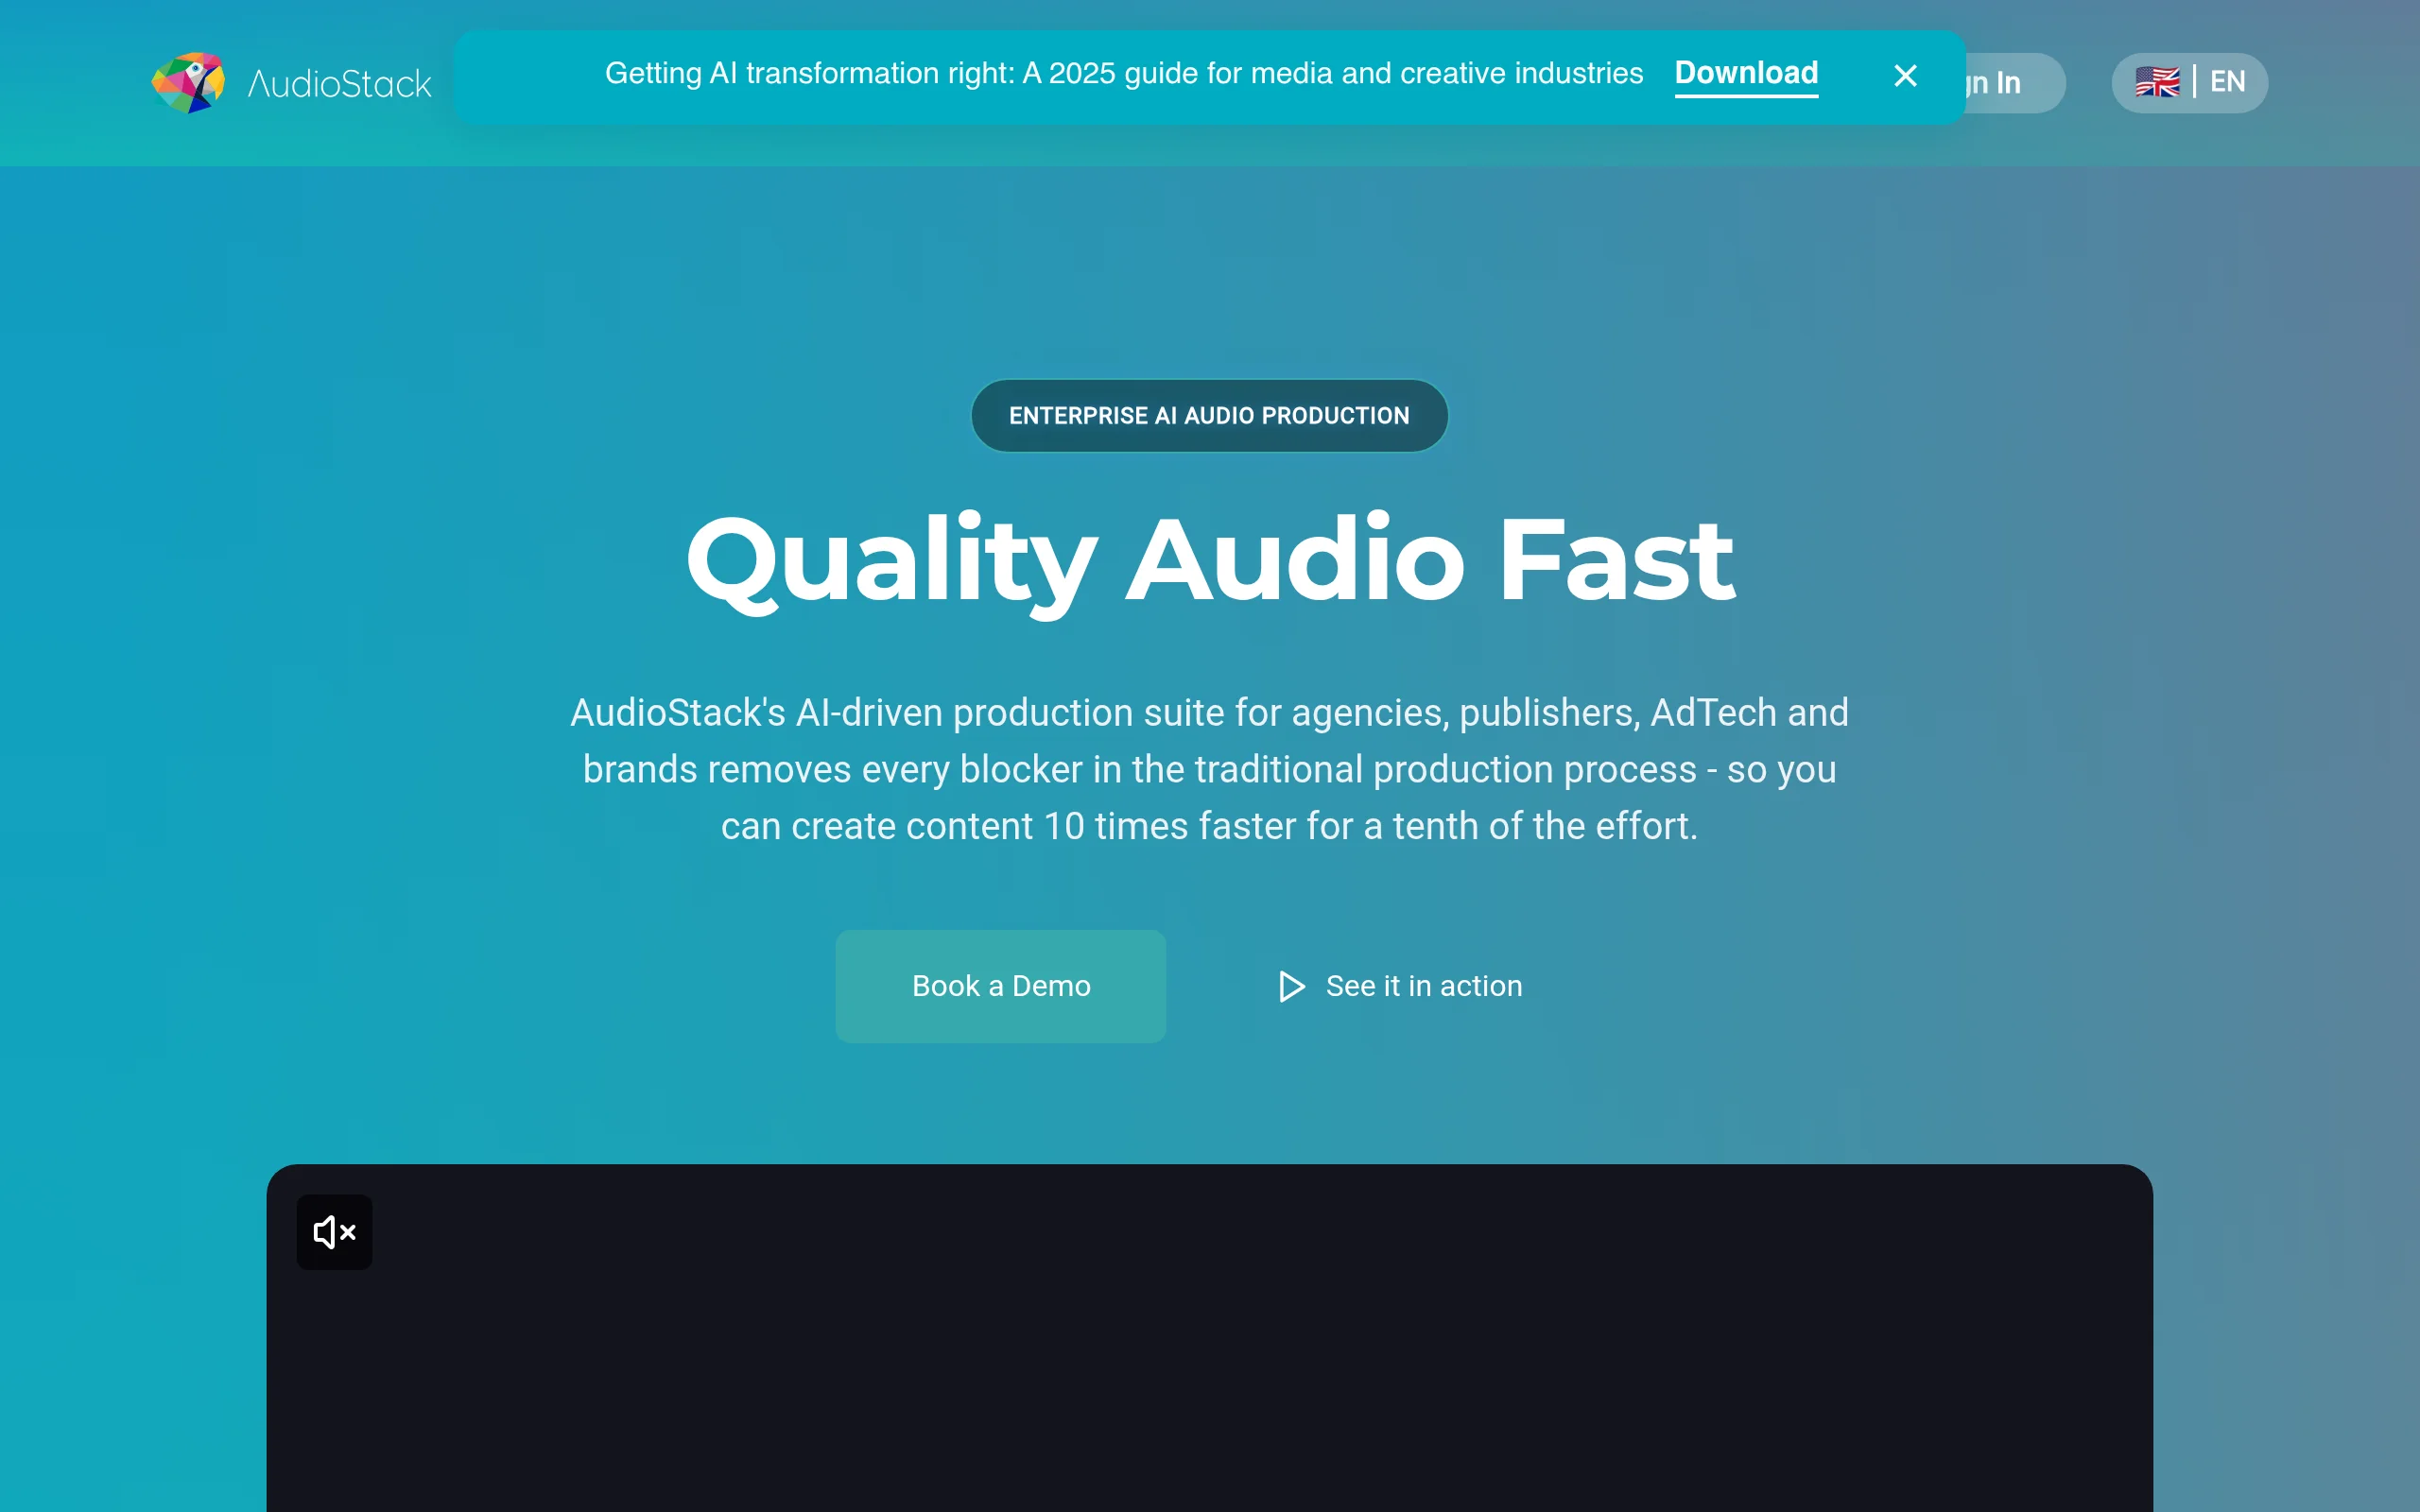
Introduction to AudioStack
In the fast-paced world of digital content creation, high-quality audio production has traditionally required expensive studio time, professional voice actors, and complex editing software. AudioStack (formerly known as Aflorithmic) changes this paradigm entirely. This AI-powered audio production platform allows businesses, marketers, podcasters, and developers to generate, customize, and scale professional-grade audio content without the traditional bottlenecks.
Whether you need a natural-sounding voiceover for a commercial, a cloned voice for consistent brand messaging, or an automated workflow that produces hundreds of audio variations, AudioStack delivers. The platform combines text-to-speech generation, voice cloning, audio editing, and API integration into one seamless ecosystem. This tutorial will walk you through everything you need to know to start using AudioStack effectively, from your first login to advanced production workflows.
Getting Started with AudioStack
Creating Your Account
Begin by visiting the official website at https://aflorithmic.ai/ (note that the platform may redirect to the AudioStack branded site). Click on the “Get Started” or “Sign Up” button. You can register using your email address or through single sign-on options like Google or GitHub. After confirming your email, you will be directed to the main dashboard.
Understanding the Dashboard
The AudioStack dashboard is your command center. It is organized into clear sections:
- Projects: Where you create and manage all your audio files
- Voices: Access to the voice library and your cloned voices
- Templates: Pre-built audio structures for common use cases
- API Keys: For developers who want to integrate AudioStack programmatically
- Billing: Manage your subscription plan and usage credits
Choosing a Subscription Plan
AudioStack offers tiered pricing to accommodate different needs. Free plans typically include limited credits for experimentation. Paid plans unlock higher-quality voices, more extensive cloning options, and increased API call limits. Review the pricing page carefully to select a plan that matches your expected monthly output. For businesses scaling audio production, the enterprise tier offers custom quotas and dedicated support.
Key Features of AudioStack
1. Text-to-Speech Generation with Natural Voices
The core functionality of AudioStack is its ability to convert written text into spoken audio. The platform hosts a diverse library of neural voices that sound remarkably human. These voices are available in multiple languages, accents, and styles. You can adjust parameters like speed, pitch, and emphasis to fine-tune the delivery. The text-to-speech engine handles punctuation, numbers, and special characters intelligently, producing fluid and natural-sounding speech.
2. Voice Cloning and Customization
For brands that require a consistent vocal identity, AudioStack offers voice cloning. You can upload a sample of a human voice (typically 10–30 minutes of clean audio) and the AI will create a digital replica. This cloned voice can then be used to generate new scripts, maintaining the same tone, cadence, and personality. This feature is invaluable for audiobook narration, ongoing podcast series, or branded video content where you want the same voice every time.
3. Audio Editing and Mixing Tools
Once you generate a voiceover, you are not stuck with a raw file. AudioStack includes built-in editing capabilities. You can trim sections, adjust volume levels, add background music from the integrated library, and apply audio effects like reverb or equalization. The editor works directly in your browser, so there is no need to export files to a separate DAW (Digital Audio Workstation) for simple edits.
4. API for Automated Audio Production
Developers and tech-savvy users can leverage the AudioStack API to integrate audio generation into their own applications, websites, or content management systems. This allows for fully automated workflows. For example, you could set up a system where a new blog post is automatically converted into an audio version, or where personalized audio ads are generated on-the-fly based on user data.
5. Scalable Content Creation for Businesses
AudioStack is designed for scale. You can generate hundreds or thousands of unique audio files in a single batch operation. This is particularly useful for e-learning platforms creating course modules, marketing agencies producing localized ad versions, or media companies generating daily news bulletins. The platform handles the heavy lifting, ensuring consistent quality across large volumes.
How to Use AudioStack: A Step-by-Step Guide
Step 1: Create a New Project
From the dashboard, click the “New Project” button. Give your project a descriptive name (e.g., “Summer Sale Voiceover” or “Podcast Episode 5”). You can organize projects into folders for better management. Each project can contain multiple audio files, scripts, and versions.
Step 2: Select or Clone a Voice
Within your project, you will see the voice selection panel. Browse the voice library. Filter by language, gender, or style (e.g., conversational, authoritative, cheerful). Preview any voice by clicking the play icon next to it. If you have a cloned voice, it will appear in a separate section labeled “My Voices.” Select the voice you want to use for your current script.
To clone a new voice:
- Navigate to the “Voice Cloning” tab
- Upload a high-quality audio file (WAV or MP3) with clear speech and minimal background noise
- Ensure the sample is at least 10 minutes long for best results
- Name your cloned voice and submit it for processing
- Cloning may take a few minutes to several hours, depending on file length and server load
- Once ready, your cloned voice will be available for all future projects
Step 3: Write or Import Your Script
In the script editor, type or paste the text you want to convert to speech. AudioStack supports plain text, but you can also use SSML (Speech Synthesis Markup Language) tags for advanced control. SSML allows you to add pauses, emphasis, or change pronunciation. For example:
<break time="500ms"/>inserts a half-second pause<emphasis level="strong">important</emphasis>stresses a word<prosody rate="slow">This part is slower</prosody>changes speaking speed
If you have a large volume of text, you can import a plain text file or a CSV with multiple scripts for batch generation.
Step 4: Customize Audio Settings
Before generating, adjust the following parameters:
- Speed: Slider from 0.5x to 2.0x normal speed
- Pitch: Shift the voice higher or lower
- Volume: Adjust the output level
- Background Music: Choose from the built-in library or upload your own track. You can set the music volume relative to the voice
- Audio Format: Select WAV for highest quality or MP3 for smaller file sizes
Step 5: Generate and Preview
Click the “Generate” button. The AI will process your script and produce an audio file. This usually takes a few seconds to a minute, depending on script length and server traffic. Once generated, you can preview the audio directly in the browser. If you are satisfied, move to the next step. If not, adjust your script or settings and regenerate.
Step 6: Edit and Mix
Open the generated file in the Audio Editor. Here you can:
- Trim the beginning or end to remove silence
- Split the audio into segments and rearrange them
- Add fade-in and fade-out effects
- Layer additional audio tracks (e.g., sound effects or a second voice)
- Apply filters like noise reduction or compression
Use the waveform visualization to make precise edits. The editor is intuitive and works similarly to basic audio editing software.
Step 7: Export and Download
When your audio is ready, click “Export”. Choose your desired file format (WAV, MP3, or FLAC) and quality setting. The file will be downloaded to your computer. You can also get a shareable link directly from the platform to send to collaborators or embed in web pages.
Step 8: Using the API for Automation
For users who want to automate audio production, navigate to the API Keys section in your account settings. Generate a new API key and copy it. AudioStack provides comprehensive API documentation with endpoints for:
- Text-to-speech generation
- Voice cloning
- Batch processing
- Audio file retrieval
You can integrate these endpoints into your own applications using standard HTTP requests. For example, a Python script using the requests library can send a POST request with your script and voice ID, and receive the audio file URL in response.
Tips for Getting the Most Out of AudioStack
Tip 1: Optimize Your Scripts for Natural Delivery
AI voices perform best with natural, conversational language. Avoid overly complex sentence structures. Read your script aloud before pasting it into AudioStack. If you stumble over a phrase, rewrite it. Use punctuation strategically: commas create short pauses, periods create longer breaks, and question marks naturally raise the pitch at the end of a sentence.
Tip 2: Use SSML for Professional-Grade Results
While plain text works well, SSML tags give you fine-grained control. For instance, if you are creating a tutorial, you can add longer pauses after key instructions. If your script includes numbers (like prices or dates), use SSML to ensure they are pronounced correctly. Experiment with the <prosody> tag to vary the speaking rate within a single audio file, making it sound less robotic.
Tip 3: Invest in High-Quality Voice Samples for Cloning
If you plan to clone a voice, the quality of your source audio directly impacts the result. Record in a quiet room with a good microphone. Avoid background noise, echo, or music. Ensure the speaker reads with consistent energy and pacing. The more varied the sample (different emotions, speeds, and sentences), the better the clone will handle new scripts.
Tip 4: Batch Process for Efficiency
When you need multiple audio files (e.g., different language versions of the same ad, or a series of podcast episodes), use the batch processing feature. Upload a CSV file with columns for script, voice ID, and settings. AudioStack will generate all files simultaneously. This saves enormous time compared to creating each file individually.
Tip 5: Test with Different Voices
Do not settle on the first voice you try. AudioStack’s library includes dozens of voices, and subtle differences can dramatically affect the mood of your content. A warm, friendly voice works for customer testimonials, while a crisp, authoritative voice suits corporate training. Preview the same script with three or four different voices before making your final choice.
Tip 6: Leverage the API for Dynamic Content
If you run a website or app, consider integrating the API to generate audio on demand. For example, a news site can automatically create audio versions of every article. An e-learning platform can generate personalized voiceovers for each student’s progress report. The API handles the heavy lifting, and you only pay for what you use.
Tip 7: Monitor Your Credit Usage
AudioStack operates on a credit system, where each second of generated audio consumes a certain number of credits. Keep an eye on your usage dashboard to avoid surprises. If you are working on a large project, estimate your credit needs in advance and upgrade your plan accordingly. Unused credits may expire at the end of your billing cycle, so plan your production schedule wisely.
Tip 8: Combine with Other Tools
AudioStack integrates with many popular platforms. Check the integrations page to see if your favorite tools are supported. For instance, you can connect AudioStack with Zapier to trigger audio generation from events in other apps (e.g., a new row in Google Sheets triggers a voiceover). This creates powerful automated workflows without writing any code.
Tip 9: Always Proofread Your Scripts
AI is excellent at reading text, but it cannot catch typos or contextual errors. A misspelled word will be pronounced incorrectly. A misplaced comma can change the meaning of a sentence. Always proofread your script before generating the final audio. It is much easier to fix text than to re-record a long audio file.
Tip 10: Use the Preview Feature Extensively
Before exporting your final file, use the preview feature to listen to the entire audio. Pay attention to pronunciation, pacing, and emotional tone. If something sounds off, adjust the script or settings. It is better to spend an extra minute tweaking than to have to redo the entire project later.
AudioStack democratizes professional audio production. With the guidance in this tutorial, you now have the knowledge to create high-quality voiceovers, cloned voices, and automated audio workflows. Start with a small project to familiarize yourself with the interface, then gradually explore the advanced features. Whether you are a marketer, developer, podcaster, or educator, AudioStack gives you the tools to produce audio that sounds authentic, engaging, and professional—at scale.

AudioStack
AI-powered audio production platform for scalable content creation.