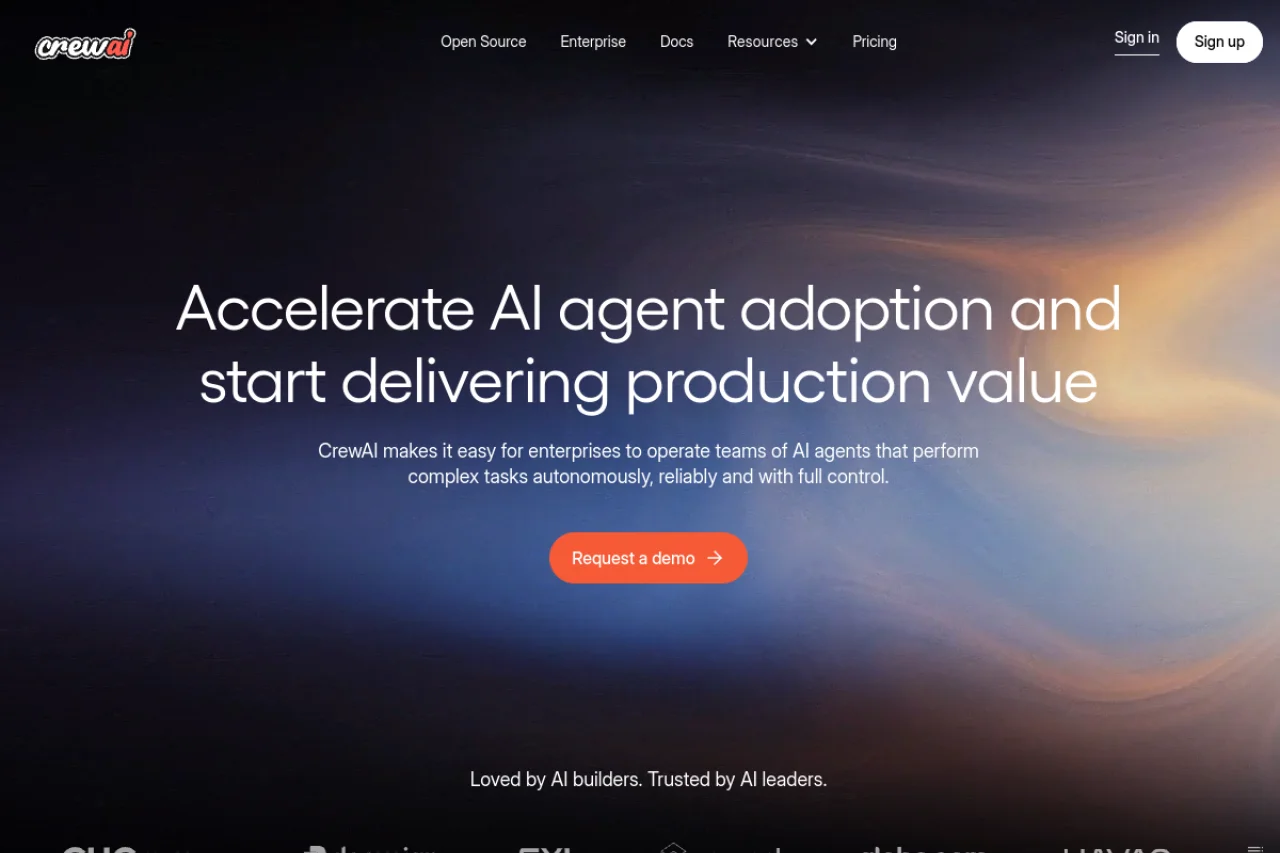
Introduction to CrewAI
Artificial Intelligence has evolved rapidly, but many tasks still require more than a single AI model to complete effectively. This is where CrewAI comes into play. CrewAI is a leading multi-agent platform that allows you to build, manage, and scale collaborative teams of AI agents. Instead of relying on one monolithic AI to handle everything, you can now create specialized agents—each with its own role, goals, and tools—that work together like a well-oiled team.
Think of CrewAI as the director of a play. You define the characters (agents), assign them lines and objectives (tasks), and set the stage (workflow). The platform then orchestrates the interactions, ensuring that each agent contributes its part to complete complex projects. Whether you are a developer looking to automate research, a business analyst needing to process large datasets, or an entrepreneur building a customer support system, CrewAI provides the framework to make multi-agent collaboration practical and efficient.
In this tutorial, you will learn what CrewAI is, how to get started, its key features, a step-by-step guide on using it, and practical tips to get the most out of the platform. By the end, you will have a solid understanding of how to deploy your own crew of AI agents.
Getting Started with CrewAI
What You Need Before You Begin
To use CrewAI, you need a basic understanding of Python programming and some familiarity with APIs (Application Programming Interfaces). The platform is designed to be developer-friendly, but even if you are relatively new to coding, the documentation and examples make it accessible. You will also need:
- A Python environment (version 3.8 or higher recommended)
- An API key for an AI model provider (such as OpenAI, Anthropic, or others) – CrewAI integrates with multiple models, so you can choose the one that fits your needs.
- Internet access to install packages and connect to the CrewAI platform.
Installation
CrewAI can be installed via pip, the Python package manager. Open your terminal or command prompt and run the following command:
pip install crewai
This will install the core library along with necessary dependencies. If you plan to use additional tools (like web scraping or document parsing), you may also want to install optional packages, but the base installation is sufficient to start.
Setting Up Your First Crew
Once installed, you can begin by creating a simple Python script. The basic structure involves three main components: Agents, Tasks, and the Crew itself. Here is a minimal example to get you started:
from crewai import Agent, Task, Crew
# Define an agent with a role and goal

researcher = Agent(

    role='Research Analyst',

    goal='Gather and summarize information on AI trends',

    backstory='You are an expert at finding and condensing data.',

    verbose=True

)
# Define a task for the agent

research_task = Task(

    description='Find the top three AI breakthroughs in 2024.',

    agent=researcher

)
# Create a crew and assign the task

crew = Crew(

    agents=[researcher],

    tasks=[research_task]

)
# Run the crew

result = crew.kickoff()

print(result)
This simple example shows how to define one agent, give it a task, and execute the crew. The kickoff() method starts the workflow, and the result is returned as a string or structured output depending on your configuration.
Key Features of CrewAI
Multi-Agent Orchestration and Collaboration
The core strength of CrewAI is its ability to manage multiple agents simultaneously. Agents can be designed to have different roles—such as a researcher, a writer, a critic, or a data analyst—and they can pass information between each other. For example, a research agent might gather facts, then hand them off to a writing agent who creates a report, while a quality-check agent reviews the output. This orchestration happens automatically based on the workflow you define.
Role-Based Agent Definition and Task Assignment
Each agent in CrewAI has a role, a goal, and a backstory. These attributes are not just decorative; they influence how the AI behaves and makes decisions. For instance, an agent with the role of “Skeptical Reviewer” will approach tasks with a critical eye, while a “Creative Writer” will focus on engaging language. Tasks are assigned to specific agents or can be shared among a crew, allowing for flexible delegation.
Scalable Deployment for Complex Workflows
CrewAI is built to scale. Whether you are running a small project with two agents or a large enterprise system with dozens of agents handling thousands of tasks, the platform handles the complexity. You can set up sequential workflows (Agent A does step 1, then Agent B does step 2) or hierarchical structures where a manager agent delegates work to sub-agents. This makes it suitable for everything from simple automation to advanced research pipelines.
Integration with Various AI Models and Tools
You are not locked into a single AI provider. CrewAI supports integration with OpenAI, Anthropic, Google AI, and many others. Additionally, you can connect agents to external tools like web browsers, databases, APIs, or custom Python functions. For example, an agent can use a search tool to find information online, then use a summarization tool to condense the results. This extensibility is key to building powerful, real-world applications.
User-Friendly Interface for Managing Agent Crews
While the primary interface is code-based, CrewAI also offers a web dashboard (accessible at https://www.crewai.com/) for managing crews visually. You can monitor agent activities, review logs, and adjust parameters without writing code. This is especially useful for non-developers or for teams that want to oversee operations at a glance.
How to Use CrewAI: A Step-by-Step Guide
Step 1: Define Your Agents
Start by thinking about the roles you need. For a content creation workflow, you might want:
- Researcher Agent: Gathers data and sources.
- Writer Agent: Produces the draft.
- Editor Agent: Checks for grammar, tone, and accuracy.
Create each agent using the Agent class. Be specific with the goal and backstory to guide the AI’s behavior. Example:
writer = Agent(

    role='Content Writer',

    goal='Write engaging blog posts based on research data',

    backstory='You are a seasoned journalist with a knack for storytelling.',

    verbose=True

)
Step 2: Create Tasks
Tasks are the units of work. Each task should have a clear description and be assigned to a specific agent. You can also define dependencies—for example, the writing task can only start after the research task is complete. Tasks can include expected outputs, like a file or a summary.
research_task = Task(

    description='Research the latest trends in renewable energy.',

    agent=researcher,

    expected_output='A list of 5 key trends with sources'

)
write_task = Task(

    description='Write a 500-word article based on the research.',

    agent=writer,

    context=[research_task]  # This task depends on research

)
Step 3: Assemble the Crew
Combine your agents and tasks into a Crew object. You can specify the workflow type—sequential (one after another) or hierarchical (with a manager). For most beginners, sequential is simpler.
crew = Crew(

    agents=[researcher, writer, editor],

    tasks=[research_task, write_task, edit_task],

    verbose=2  # Higher verbosity gives more detailed logs

)
Step 4: Run the Crew
Call the kickoff() method to start the workflow. The platform will execute tasks in order, handle agent interactions, and return the final output. You can also run the crew asynchronously or schedule it for later.
result = crew.kickoff()

print("Final Output:", result)
Step 5: Review and Iterate
Check the output and logs. If the result is not what you expected, adjust the agent descriptions, task details, or workflow order. CrewAI’s verbose mode provides insights into each agent’s reasoning, helping you debug and improve.
Tips for Getting the Most Out of CrewAI
Start Small and Scale Gradually
When you are new to multi-agent systems, begin with a simple crew of two or three agents. Test with a straightforward task, like summarizing an article or generating a short report. Once you understand how agents interact, you can add more complexity—such as conditional tasks, loops, or external tool integrations. Scaling too quickly can lead to confusing results, so iterate step by step.
Write Detailed Agent Backstories
The backstory and goal fields are not just for decoration. They significantly influence how the AI model behaves. For example, if you want a critical reviewer, write: “You are a meticulous editor who never misses a typo and questions every assumption.” A vague backstory like “You are an editor” will yield less consistent results. Invest time in crafting these descriptions to align with your desired outcomes.
Use Tools to Enhance Agent Capabilities
CrewAI allows agents to use external tools, such as web search, database queries, or file readers. For instance, if your researcher agent needs to access the internet, you can integrate a search tool like SerpAPI or a custom Python function. This turns your agents from simple text generators into powerful assistants that can interact with the real world. Always test tools individually before adding them to a crew.
Leverage the Web Dashboard for Monitoring
While coding is the primary way to build crews, the web dashboard at crewai.com is invaluable for monitoring long-running tasks. You can see which agent is currently active, review intermediate outputs, and pause or restart workflows if needed. This is especially helpful for debugging or when you want to oversee a complex process without reading through raw logs.
Experiment with Different AI Models
Different AI models have different strengths. For example, OpenAI’s GPT-4 is excellent for creative writing and complex reasoning, while Anthropic’s Claude might be better for long-context tasks or safety-sensitive applications. CrewAI lets you assign different models to different agents. Try mixing models to see what combination yields the best results for your specific use case.
Handle Errors Gracefully
Multi-agent systems can sometimes fail—an agent might get stuck, a tool might return an error, or the output might be incomplete. Use CrewAI’s built-in error handling features, such as setting a maximum number of retries or defining fallback tasks. In your code, wrap the kickoff() call in a try-except block to catch exceptions and log them for analysis.
Document Your Workflows
As your crews become more complex, it is easy to lose track of which agent does what. Maintain a simple document (or comments in your code) that describes each agent’s role, the tasks in the workflow, and the expected outputs. This will save you time when you revisit a project weeks later, or when you share your work with colleagues.
Conclusion
CrewAI opens up a new world of possibilities by enabling you to create collaborative teams of AI agents. From automating research and content creation to building sophisticated business workflows, the platform provides the tools you need to orchestrate complex tasks efficiently. By following this tutorial, you have learned the basics of setting up agents, defining tasks, and running a crew. You also have practical tips to refine your approach and avoid common pitfalls.
Remember, the key to success with CrewAI is experimentation. Start with simple projects, gradually add complexity, and always review the outputs to fine-tune your agents. As you become more comfortable, you will discover that multi-agent collaboration is not just a technical novelty—it is a powerful way to solve problems that were previously too complex for a single AI. Visit crewai.com to explore more advanced features, join the community, and take your AI workflows to the next level.

CrewAI
Leading multi-agent platform for building and managing AI agent crews.