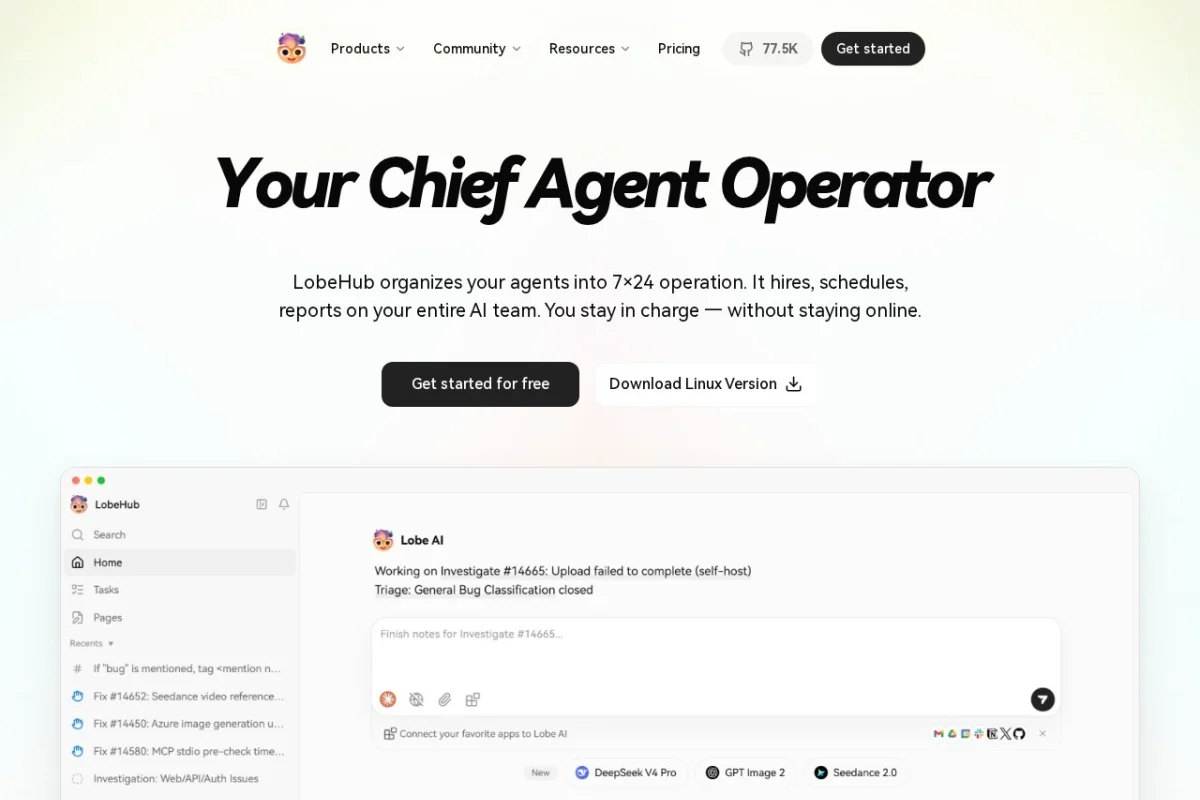
Introduction to LobeHub
LobeHub is an open-source, extensible platform designed to democratize the creation and deployment of AI agents. Unlike many AI tools that require extensive coding knowledge or expensive subscriptions, LobeHub provides a visual, drag-and-drop interface that empowers both developers and non-technical users to build sophisticated AI assistants. The platform acts as a central hub where you can design workflows, integrate multiple AI models (such as OpenAI’s GPT-4, Anthropic’s Claude, and open-source alternatives), manage conversation histories, and customize agent behaviors through detailed personas and instructions.
At its core, LobeHub solves a common problem: the difficulty of creating tailored AI agents that can handle specific tasks—whether that’s customer support, content generation, data analysis, or personal productivity. By abstracting the complexity of API calls, model switching, and context management behind a visual builder, LobeHub makes AI agent creation accessible to anyone with a clear idea of what they want their agent to do. The platform is fully open-source, meaning you can self-host it, extend it with plugins, and contribute to its growing ecosystem.
This tutorial will walk you through everything you need to know to start using LobeHub effectively, from initial setup to advanced customization. By the end, you will be able to create your own AI agents, integrate them with your favorite models, and deploy them for real-world use cases.
Getting Started with LobeHub
Step 1: Accessing LobeHub
You can start using LobeHub immediately by visiting the official website at https://lobehub.com. The platform offers two primary ways to get started:
- Cloud Version: Sign up for a free account on the LobeHub website. This version is hosted and maintained by the LobeHub team, so you don’t need to worry about server setup. It’s ideal for beginners who want to test the platform quickly.
- Self-Hosted Version: If you prefer full control over your data and infrastructure, you can deploy LobeHub on your own server. The GitHub repository provides Docker images and detailed installation instructions. This option is recommended for organizations with privacy requirements or developers who want to customize the platform deeply.
For this tutorial, we will focus on the cloud version, as it requires no technical setup and is the fastest way to learn.
Step 2: Creating Your First Agent
After logging in, you will be greeted by the LobeHub dashboard. This is your command center. To create your first AI agent, follow these steps:
- Click on the “Create Agent” button, usually located prominently on the dashboard.
- You will be taken to the Visual Agent Builder, which is the heart of LobeHub. The builder uses a drag-and-drop interface where you can add, arrange, and connect different components of your agent’s workflow.
- Give your agent a name and a brief description. For example, you might name it “Customer Support Bot” and describe it as “Handles basic inquiries and escalates complex issues.”
- Choose a default persona. LobeHub provides several pre-built personas (e.g., “Helpful Assistant,” “Creative Writer,” “Data Analyst”), or you can create a custom one. The persona defines the tone and style of your agent’s responses.
Step 3: Configuring AI Models
LobeHub’s multi-model support is one of its standout features. By default, the platform may include a built-in model, but you can easily connect your own API keys for services like OpenAI, Anthropic, or others.
- Navigate to the “Settings” or “Model Provider” section of the builder.
- Click on “Add Model Provider” and select your preferred model. For instance, choose OpenAI and enter your API key.
- You can also configure multiple models and switch between them within the same agent. This is useful for comparing responses or using a cheaper model for simple tasks and a more powerful one for complex reasoning.
- LobeHub supports popular models like GPT-4, GPT-3.5, Claude 3, and many open-source options (e.g., Llama, Mistral) if you are self-hosting.
Key Features of LobeHub
Understanding the platform’s features will help you leverage its full potential. Below are the most important ones explained in detail.
Visual Agent Builder with Drag-and-Drop Interface
The Visual Agent Builder is the primary tool for designing how your agent processes information and responds. Instead of writing code, you use a canvas where you can drag blocks representing actions like “Receive Input,” “Call Model,” “Conditional Logic,” “Send Response,” and “Store Context.” You connect these blocks with lines to create a logical flow. For example, a simple workflow might be: Receive Message → Call GPT-4 → Return Answer. A more complex workflow could include checking if the user is asking for a refund, then routing to a different model or a human handoff.
This visual approach makes it easy to prototype complex behaviors without programming. You can see the entire logic of your agent at a glance, which is especially helpful for debugging and collaboration.
Multi-Model Support
LobeHub is model-agnostic. You are not locked into a single AI provider. You can mix and match models within the same agent. For instance, you might use a fast, cheap model (like GPT-3.5-turbo) for greeting messages and a more expensive, powerful model (like GPT-4 or Claude 3 Opus) for analytical tasks. The platform handles the API calls seamlessly, and you can configure fallback models in case one provider is down.
Plugin System for Extending Functionality
The plugin system allows you to add capabilities that go beyond simple text generation. Plugins can give your agent access to external tools, such as:
- Web Search: Enables the agent to fetch real-time information from the internet.
- Database Queries: Connect to a SQL database to retrieve or store data.
- Image Generation: Integrate with DALL-E or Stable Diffusion to create images.
- API Calls: Trigger external APIs (e.g., weather data, stock prices, email services).
Plugins are community-contributed and can be installed from the LobeHub marketplace. Developers can also create custom plugins using the open-source SDK.
Conversation History and Context Management
One of the biggest challenges with AI agents is maintaining context across multiple interactions. LobeHub includes built-in conversation history management. The platform automatically stores the entire conversation thread, including previous user messages and agent responses. You can configure how much history the agent remembers (e.g., last 10 messages or full session). This ensures your agent can reference earlier parts of the conversation, making interactions feel natural and coherent.
Customizable Agent Personas and Instructions
Every agent you create can have a unique personality and set of rules. You define this through the “Instructions” field, which acts as a system prompt. For example, you can instruct your agent: “You are a friendly technical support specialist. Always start by asking for the user’s name. Never provide medical advice. If you don’t know an answer, say so and offer to escalate.”
The “Persona” setting controls the tone—formal, casual, humorous, professional, etc. You can also upload a knowledge base or reference documents that the agent should use (e.g., a company FAQ or product manual).
How to Use LobeHub: A Practical Workflow
Let’s walk through a complete example: building an AI agent that helps users draft professional emails.
Step 1: Set Up the Agent
Create a new agent and name it “Email Assistant.” In the instructions, write: “You are an expert email writer. Help users draft clear, professional, and concise emails. Ask for the recipient, purpose, and tone (formal or informal). Provide a draft and allow edits.” Set the persona to “Professional and Helpful.”
Step 2: Design the Workflow
In the Visual Agent Builder, drag the following blocks onto the canvas:
- Input Block: Receives the user’s request.
- Call Model Block: Connect it to your chosen AI model (e.g., GPT-4).
- Conditional Logic Block: Add a condition to check if the user says “revise” or “edit.” If yes, loop back to the model with the user’s new instructions.
- Output Block: Displays the final email draft.
Connect the blocks in order: Input → Call Model → Conditional Logic → Output. This creates a simple but effective flow.
Step 3: Add a Plugin
To make the agent more useful, install the “Grammar Check” plugin from the marketplace. This plugin will automatically scan the email draft for spelling and grammar errors before presenting it to the user. Drag the plugin block into your workflow between the Call Model and Conditional Logic blocks.
Step 4: Test the Agent
Click the “Test” button in the builder. A chat window will open where you can interact with your agent. Try typing: “I need to write a follow-up email to a client about a delayed project. The tone should be apologetic but confident.” The agent should ask clarifying questions, generate a draft, and offer to revise it based on your feedback.
Step 5: Deploy the Agent
Once you are satisfied with the agent’s behavior, click “Deploy”. LobeHub will generate a shareable link or an embeddable widget. You can share this link with your team, embed it in your website, or integrate it into tools like Slack or Discord using the provided webhooks.
Tips for Getting the Most Out of LobeHub
To maximize your productivity and create agents that truly perform well, keep these practical tips in mind.
Start Simple and Iterate
Resist the urge to build a complex workflow on your first try. Begin with a basic agent that has one or two blocks. Test it thoroughly, then gradually add features like conditional logic, plugins, or multiple models. This iterative approach helps you understand how each component affects the agent’s behavior and prevents frustration from debugging a tangled workflow.
Write Clear Instructions
The quality of your agent’s output is directly tied to the quality of its instructions. Be specific about what the agent should do, what it should avoid, and how it should handle edge cases. For example, instead of saying “Answer questions,” say “Answer questions about product returns. If the user asks about pricing, redirect them to the pricing page. If the user is angry, apologize and escalate to a human.” Well-crafted instructions reduce the need for complex workflow logic.
Leverage Conversation History
Make sure your agent is configured to remember the conversation context. For customer-facing agents, keep the last 20-30 messages in memory. For simple Q&A bots, 5-10 messages may suffice. You can also use the context to store user preferences (e.g., “User prefers short answers”) by instructing the agent to update a memory variable during the conversation.
Use Plugins Wisely
Plugins are powerful, but each one adds latency and potential points of failure. Only activate plugins that are essential for your agent’s primary function. For instance, a customer support agent might need a “Search Knowledge Base” plugin, but not an “Image Generation” plugin. Test each plugin individually to ensure it works correctly with your chosen model.
Monitor and Optimize Costs
If you are using paid API models (like OpenAI), keep an eye on your usage. LobeHub provides a dashboard that tracks token consumption per agent. You can set limits or use cheaper models for routine tasks. For example, use GPT-3.5-turbo for initial greetings and simple queries, and only switch to GPT-4 for complex analysis. This hybrid approach can significantly reduce costs without sacrificing quality.
Contribute to the Community
LobeHub is open-source, and its strength comes from its community. If you create a useful agent or plugin, consider sharing it in the marketplace. Conversely, browse the marketplace for inspiration—many users share templates for common use cases like “Meeting Scheduler,” “Recipe Generator,” or “Code Reviewer.” This can save you hours of design work.
Backup Your Agents
If you are using the self-hosted version, regularly export your agent configurations. LobeHub allows you to download your workflows as JSON files. This ensures you can restore them if something goes wrong or if you want to migrate to another instance. For cloud users, the platform automatically saves your work, but it’s still a good practice to occasionally export important agents.
Conclusion
LobeHub is a versatile and powerful platform that brings the creation of AI agents into the hands of everyone, regardless of technical background. Its visual builder, multi-model support, and plugin ecosystem make it a standout tool for automating tasks, improving customer interactions, and boosting personal productivity. By following this tutorial, you have learned how to get started, understand the key features, build a practical agent, and apply tips for success. Now, the best way to master LobeHub is to experiment—create agents for your own needs, explore the marketplace, and join the community. The future of AI-powered automation is at your fingertips.
