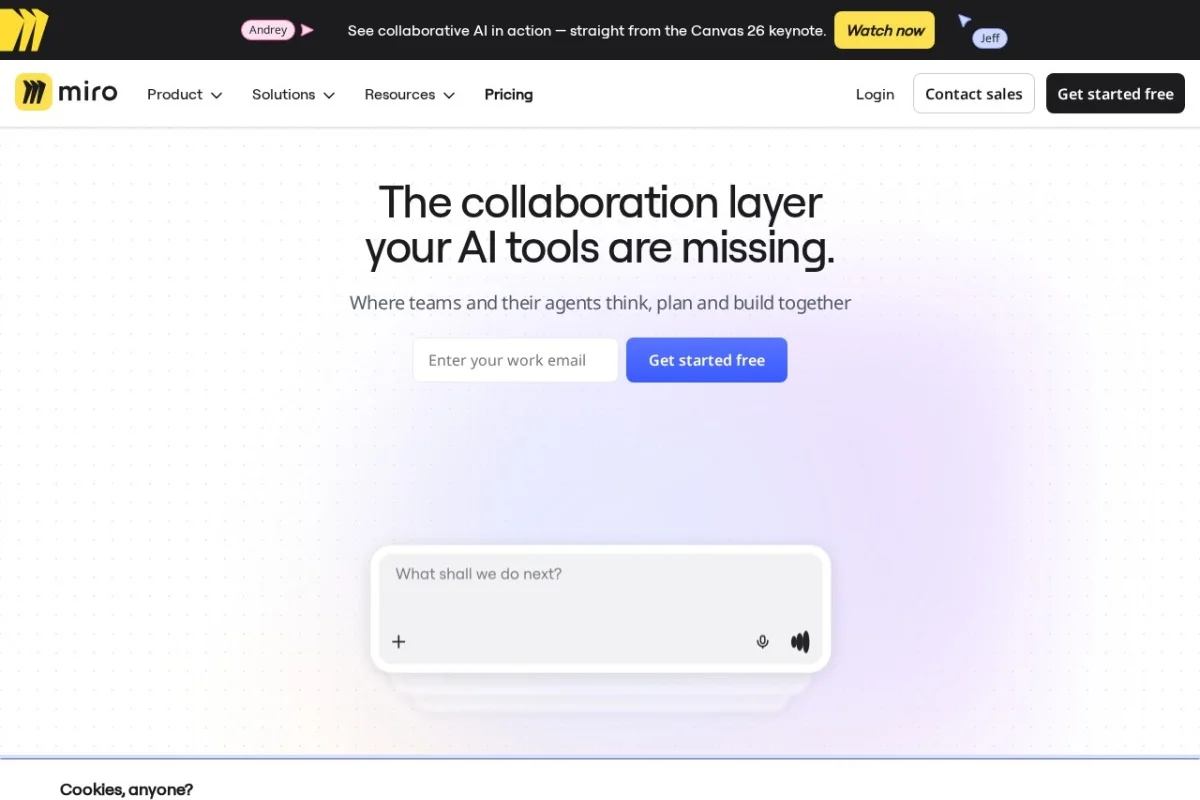
Introduction to Miro: The AI-Powered Collaborative Whiteboard
In today’s distributed work environment, teams often struggle to replicate the energy and spontaneity of in-person brainstorming sessions. Miro solves this problem by providing a digital canvas where teams can collaborate visually, regardless of their physical location. Originally known as a simple online whiteboard, Miro has evolved into a comprehensive visual collaboration platform that now incorporates powerful AI capabilities. These AI tools help you generate ideas, automate repetitive tasks, and structure your thinking more efficiently.
Whether you are a project manager mapping out a workflow, a product team conducting a retrospective, or a marketing team planning a campaign, Miro offers a flexible space to capture, organize, and refine your ideas. This tutorial will guide you through everything you need to know to start using Miro effectively, with a special focus on its AI-powered features.
Getting Started with Miro
Creating Your Account and Setting Up a Board
To begin using Miro, navigate to https://miro.com and sign up for a free account. You can register using your email address or through Google, Microsoft, or Slack accounts. The free plan offers unlimited boards with basic features, which is sufficient for individual use or small teams.
Once logged in, you will see your dashboard. Click the “+ New Board” button to create your first whiteboard. You have three options:
- Start from scratch – A blank canvas where you can add anything.
- Use a template – Choose from hundreds of pre-designed templates for brainstorming, flowcharts, agile workflows, and more.
- Import a file – Upload documents, images, or diagrams from other tools.
For beginners, starting with a blank board is the best way to learn the interface. You will see a toolbar on the left side of the screen, a canvas in the center, and a menu bar at the top. The canvas is infinite, meaning you can zoom out and keep adding content without running out of space.
Navigating the Interface
The Miro interface is intuitive but has several key areas you should understand:
- Left Toolbar: Contains tools for adding sticky notes, shapes, text, connectors, and frames. The AI icon (a small sparkle) is located here.
- Top Menu: Includes options for undo/redo, zoom controls, board settings, and sharing.
- Bottom Bar: Shows who is currently viewing or editing the board in real time.
- Right Panel: Appears when you select an object, showing properties like color, size, and alignment.
To move around the board, click and drag with your mouse (or use two fingers on a touchpad). To zoom, use the scroll wheel or the zoom slider in the top menu.
Key Features of Miro
AI-Powered Idea Generation and Brainstorming
Miro’s AI capabilities are its standout feature. When you are stuck on a blank canvas, you can use the AI Brainstorm tool to generate ideas. Simply type a prompt such as “Marketing strategies for a new app” or “Ways to improve customer onboarding,” and Miro’s AI will produce a set of sticky notes with suggestions. You can then review, edit, or expand on these ideas.
The AI also helps with mind mapping. If you have a central concept, you can ask Miro to automatically generate related subtopics and connect them visually. This is incredibly useful for breaking down complex problems into manageable components.
Real-Time Collaborative Whiteboard
Miro is built for teamwork. Multiple users can work on the same board simultaneously, with each person’s cursor visible in real time. Changes appear instantly, and you can communicate via built-in video chat (on paid plans) or through comments on specific objects. This makes Miro ideal for remote workshops, sprint planning, and design sprints.
Pre-Built Templates for Workflows and Diagrams
Miro offers an extensive library of templates categorized by use case. You can find templates for:
- Agile and Scrum (sprint retrospectives, daily stand-ups)
- Product management (user story mapping, roadmaps)
- Design thinking (empathy maps, customer journey maps)
- Business analysis (SWOT analysis, flowcharts)
- Education (lesson plans, classroom activities)
Each template is fully customizable. You can add or remove elements, change colors, and adapt it to your specific needs.
Integration with Popular Tools
Miro connects seamlessly with other software your team already uses. Key integrations include:
- Slack: Share boards directly in channels or receive notifications when someone comments.
- Jira: Import Jira issues into Miro as cards, and sync updates between the two platforms.
- Microsoft Teams: Add Miro as a tab in Teams for easy access during meetings.
- Google Drive and Dropbox: Attach files from cloud storage to your boards.
These integrations reduce context switching and keep all your project information in one place.
Smart Diagramming and Sticky Notes
Miro’s Smart Diagramming feature allows you to create flowcharts, UML diagrams, and network diagrams quickly. When you draw a shape and connect it to another, Miro automatically suggests alignment guides and snap-to-grid options. The AI can also convert handwritten text (if you are using a tablet) into typed text.
Sticky notes are the backbone of brainstorming in Miro. You can change their color, resize them, and group them into clusters. The AI can help you summarize a group of sticky notes into a single concept, or automatically sort them by sentiment or category.
How to Use Miro: Step-by-Step Guide
Step 1: Create a New Board and Invite Collaborators
From your dashboard, click “+ New Board” and choose a template or start blank. To invite team members, click the “Share” button in the top right corner. Enter their email addresses or copy the board link. You can set permissions (view, comment, edit) for each person. For real-time collaboration, make sure everyone has editing access.
Step 2: Use AI to Generate Ideas
Click on the AI icon (sparkle) in the left toolbar. A menu will appear with options like “Brainstorm ideas”, “Create a mind map”, and “Summarize content”. Select “Brainstorm ideas” and type your prompt. For example, type “Ways to reduce customer churn.” Miro will generate 5-10 sticky notes with suggestions. You can drag them around the board, edit the text, or ask the AI to generate more ideas.
Step 3: Organize Ideas with Frames and Sections
As your board fills up, it can become chaotic. Use Frames to create organized sections. Click the frame tool in the left toolbar (it looks like a dotted rectangle) and draw a box around a group of sticky notes. You can label each frame (e.g., “Brainstorming Phase,” “Priority Ideas”). Frames also allow you to export specific sections as PDFs or images.
Step 4: Create a Flowchart or Diagram
Select the Connector tool (line icon) from the left toolbar. Click on a shape or sticky note, then drag to another object to create a connection. Miro will automatically add arrowheads if needed. For smart diagramming, use the Shape tool to add rectangles, diamonds, or circles. The AI can help you auto-layout the diagram if you select multiple objects and choose “Arrange” from the right-click menu.
Step 5: Add Comments and Feedback
To leave feedback on a specific element, click on it and press C on your keyboard (or click the comment bubble icon). Type your comment and press Enter. Other team members can reply directly in the comment thread. This is especially useful for asynchronous collaboration when team members are in different time zones.
Step 6: Integrate with Other Tools
To connect Miro with Slack or Jira, go to the Apps section in the left toolbar. Search for the tool you want to integrate and follow the authentication steps. For example, with Jira, you can import an entire sprint backlog into a Miro board as sticky notes. Any changes made in Miro can be synced back to Jira if you enable two-way sync.
Step 7: Export and Share Your Work
When your board is complete, you can export it as a PDF, image, or CSV (for data-heavy boards). Click File in the top menu and select “Export”. You can also generate a shareable link that allows viewers to see the board without editing rights. For presentations, use the Presentation Mode to walk through frames in a slideshow format.
Tips for Getting the Most Out of Miro
1. Start with a Clear Purpose
Before opening a new board, define what you want to achieve. Are you brainstorming, planning a sprint, or mapping a customer journey? Choosing the right template from the start saves time and provides structure. If you are unsure, use the AI to suggest a template based on your description.
2. Use Keyboard Shortcuts
Miro has many keyboard shortcuts that speed up your workflow. Some essential ones:
- N – Add a sticky note
- V – Select tool (pointer)
- Shift + Click – Select multiple objects
- Ctrl + D – Duplicate selected objects
- Ctrl + G – Group selected objects
- Spacebar + Drag – Pan across the board
You can view all shortcuts by pressing Ctrl + / (Windows) or Cmd + / (Mac).
3. Leverage AI for Repetitive Tasks
Do not manually sort or summarize large amounts of content. If you have 50 sticky notes from a brainstorming session, select them all, right-click, and choose “AI: Summarize”. Miro will condense the key points into a few bullet points. You can also use AI to categorize notes by theme or priority.
4. Keep Your Board Organized
Use color coding consistently. For example, use yellow sticky notes for ideas, green for action items, and red for blockers. Create a legend in the corner of your board so everyone understands the color scheme. Also, use frames to separate different phases of a project (e.g., Research, Ideation, Prototyping).
5. Set Guidelines for Collaboration
When working with a large team, establish ground rules. For example, agree that only one person edits a frame at a time, or use the Timer feature (found in the top menu) to time-box brainstorming sessions. Miro also has a Voting feature that allows team members to upvote ideas – perfect for prioritizing features or solutions.
6. Explore the Community Templates
Beyond Miro’s official template library, there is a Community section where users share their own templates. You can find templates for everything from strategic planning to personal productivity. These are free to use and often come with detailed instructions.
7. Use Miro for Asynchronous Work
Not everyone needs to be online at the same time. Record a video walkthrough of your board using Miro’s Record feature (available in the top menu). Team members can watch the video later and leave comments. This is especially helpful for global teams with significant time zone differences.
8. Try the Mobile App
Miro has mobile apps for iOS and Android. While the mobile version is more limited than the desktop version, it is great for reviewing boards, adding quick notes, or responding to comments on the go. You can also use a tablet with a stylus to draw freehand diagrams.
9. Regularly Archive Old Boards
Your dashboard can quickly become cluttered with old boards. Create folders (e.g., “Q1 2025 Projects”) and move completed boards into them. You can also archive boards to keep them accessible but out of your main view. This helps maintain focus on active projects.
10. Practice with a Simple Project First
If you are new to Miro, start with a small personal project, such as planning a vacation or organizing your weekly tasks. Experiment with AI brainstorming, sticky notes, and connectors. Once you are comfortable, introduce Miro to your team for a low-stakes activity, like a team retrospective. This builds confidence without the pressure of a high-stakes project.
Miro is a powerful tool that grows with your needs. By mastering its AI features and following the tips above, you can transform the way your team collaborates, ideates, and executes projects. Start with a blank board today, and let the AI help you fill it with great ideas.