Introduction
If you feel overwhelmed by the sheer volume of emails flooding your inbox every day, you are not alone. The average professional spends nearly a third of their workweek managing email, often sifting through newsletters, spam, and low-priority messages just to find the few that actually matter. SaneBox is an AI-powered email management assistant designed to solve exactly this problem.
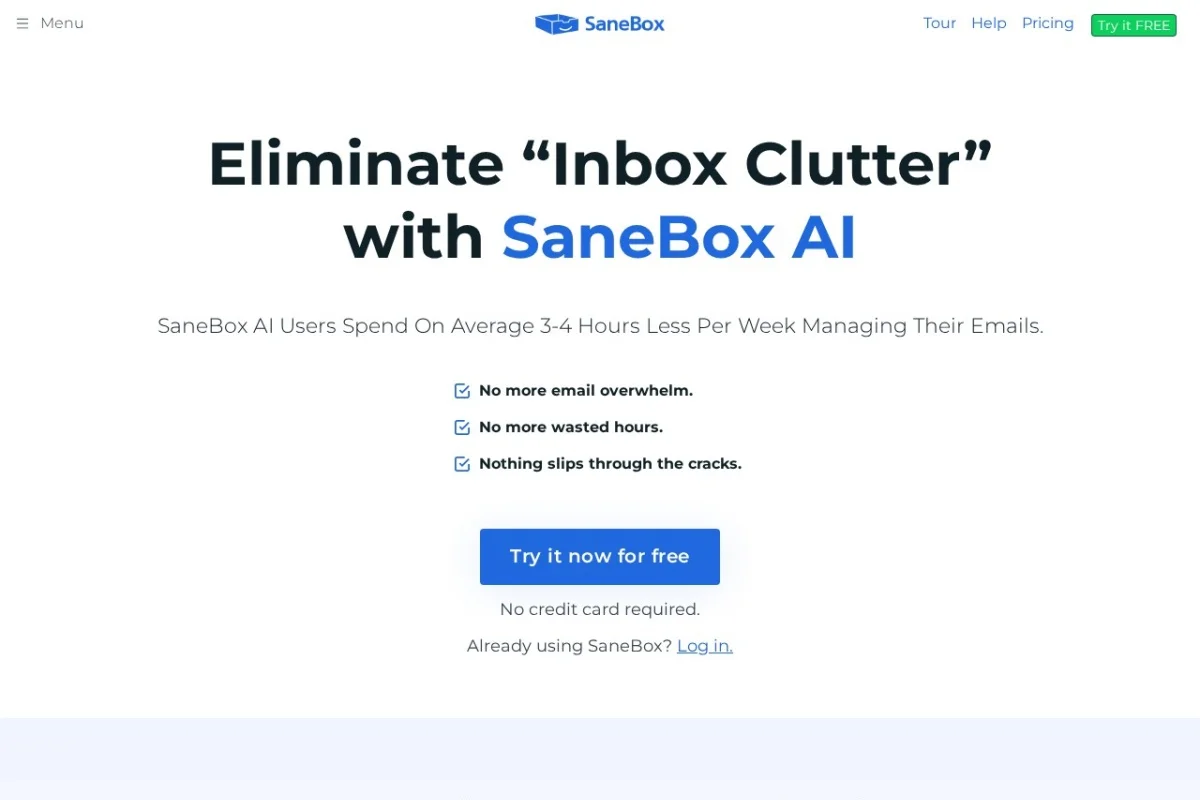
Unlike traditional email clients that require you to manually create rules and folders, SaneBox works on top of your existing email account—whether you use Gmail, Outlook, Yahoo, iCloud, or any IMAP-based provider. It connects to your inbox and learns your behavior over time, automatically sorting, filtering, and prioritizing your messages. The result? Users report saving an average of 3 to 4 hours per week.
This tutorial will walk you through everything you need to know about SaneBox, from setting it up to mastering its most powerful features. By the end, you will be able to reclaim your inbox and focus on what truly matters.
Getting Started
1. Sign Up for a SaneBox Account
Go to https://www.sanebox.com and click the “Try Free” button. You will be asked to enter your email address and create a password. SaneBox offers a 14-day free trial with full access to all features—no credit card required.
2. Connect Your Email Account
After signing up, SaneBox will prompt you to connect your email provider. The process is straightforward:
- For Gmail or Google Workspace: Click the “Connect Gmail” button. You will be redirected to Google’s OAuth screen. Grant SaneBox permission to read, manage, and send emails on your behalf. This is a secure, read-write access that allows SaneBox to move emails into folders and send unsubscribe requests.
- For Outlook, Office 365, or Exchange: Click “Connect Outlook” and follow the same OAuth process.
- For other providers (Yahoo, iCloud, IMAP): You will need to enter your email address, password, and incoming/outgoing server settings. SaneBox provides step-by-step instructions for each provider.
3. Install the SaneBox Browser Extension (Optional but Recommended)
While SaneBox works entirely on the server side, installing the browser extension adds handy buttons directly inside your email interface. Search for “SaneBox” in the Chrome Web Store, Firefox Add-ons, or Safari Extensions. Once installed, you will see SaneBox action buttons (like “Snooze” and “BlackHole”) appear inside your email messages.
4. The Initial Training Period
During the first few days, SaneBox observes how you interact with your emails. It watches which messages you open, reply to, or delete, and which ones you ignore. Based on this behavior, it begins to automatically sort incoming mail into smart folders. The more you use it, the smarter it becomes. You can also manually train it at any time by moving emails into the correct folders.
Key Features
@SaneLater – Automatically Filters Unimportant Emails
This is SaneBox’s core feature. When an email arrives that SaneBox determines is not important (newsletters, social notifications, promotional offers, etc.), it moves the message to a folder called @SaneLater. Your main inbox stays clean, showing only the emails that require your attention. You can review @SaneLater at your convenience, once or twice a day.
@BlackHole – Banish Annoying Senders
Ever receive emails from a sender you never want to hear from again? Simply drag an email into the @BlackHole folder (or click the BlackHole button in the extension). SaneBox will automatically delete all future emails from that sender before they ever reach your inbox. It is like a permanent block list, but smarter—it works across all your devices.
One-Click Unsubscribe
If you are tired of newsletters you never signed up for, SaneBox makes it easy. When you see an unwanted marketing email, click the “Unsubscribe” button provided by SaneBox (usually located in the email header or in the SaneBox sidebar). SaneBox will automatically process the unsubscribe request for you. No need to scroll to the bottom of the email or fill out forms.
@SaneReminders – Never Forget a Follow-Up
Send an important email and get no reply? SaneBox can remind you to follow up. If you enable @SaneReminders, SaneBox will monitor your sent folder. If you haven’t received a reply within a few days (you can customize the delay), it will move the original sent email back to your inbox with a “Follow up?” label. You can also manually set reminders on any email by clicking the “Remind Me” button.
Snooze Emails
Sometimes you see an email that needs attention, but not right now. With Snooze, you can temporarily remove an email from your inbox. Choose a time—later today, tomorrow, next week, or a custom date—and SaneBox will hide the email until that time. When the snooze period ends, the email reappears at the top of your inbox as if it just arrived.
Daily Digest
Even with @SaneLater, you might still feel the urge to check that folder multiple times a day. The Daily Digest feature sends you a single summary email (usually once per day) listing all the messages that landed in @SaneLater. You can scan the list, click to read any that catch your interest, and ignore the rest. This dramatically reduces the time you spend browsing low-priority emails.
How to Use SaneBox
Step 1: Understand Your Smart Folders
After connecting your email, SaneBox creates several special folders in your account (they may appear as labels in Gmail). The most important ones are:
- @SaneLater – Low-priority emails.
- @SaneBlackHole – Deleted emails from blocked senders.
- @SaneReminders – Emails that need a follow-up.
- @SaneNews – Newsletters and subscriptions (optional).
You do not need to create these folders manually. SaneBox does it for you during setup. In Gmail, they will appear as labels on the left sidebar. In Outlook, they will appear as subfolders under your inbox.
Step 2: Train SaneBox with Drag-and-Drop
SaneBox learns from your actions. If an email mistakenly lands in your main inbox that you consider unimportant, drag it to the @SaneLater folder. SaneBox will remember the sender and the type of email, and future messages from that sender will be automatically filtered. Conversely, if an important email ends up in @SaneLater, drag it back to your inbox. This teaches SaneBox to keep that sender’s emails in your main view.
Step 3: Use the Unsubscribe Feature
Open any promotional or newsletter email. Look for the “Unsubscribe” button. In Gmail with the SaneBox extension, this button appears at the top of the email, next to the reply and forward buttons. Click it. SaneBox will process the unsubscribe in the background. You will see a confirmation message appear briefly. That sender will no longer bother you.
Step 4: Set Up Follow-Up Reminders
To enable automatic follow-ups:
- Log into your SaneBox dashboard at https://www.sanebox.com.
- Go to Settings > @SaneReminders.
- Toggle the feature on. You can set the reminder delay (e.g., 2 days, 3 days, or 5 days).
- Save your changes.
Now, whenever you send an email and do not receive a reply within your chosen timeframe, SaneBox will move the original sent message back to your inbox with a “Follow up” label. You can also manually set a reminder on any email by clicking the “Remind Me” button (available via the browser extension or the SaneBox sidebar).
Step 5: Snooze an Email
If you receive an email that requires action later:
- Open the email.
- Click the “Snooze” button (look for the clock icon in the SaneBox extension or the SaneBox sidebar).
- Select a time: “Later Today,” “Tomorrow,” “Next Week,” or “Pick Date & Time.”
- The email will disappear from your inbox and reappear at the chosen time.
You can view all snoozed emails by clicking the “Snoozed” folder in your SaneBox dashboard or by searching for “snoozed” in your email client.
Step 6: Use the Daily Digest
To reduce the urge to check @SaneLater constantly, enable the Daily Digest:
- Go to your SaneBox dashboard.
- Click Settings > Daily Digest.
- Choose the time of day you want to receive the digest (e.g., 8:00 AM).
- Select whether you want the digest to include only @SaneLater emails or also @SaneNews emails.
- Save your settings.
Each day, you will receive one email summarizing all the low-priority messages. You can click a link in the digest to read any email, or simply delete the digest if nothing interests you.
Step 7: Banish Senders with @BlackHole
If a sender keeps sending you irrelevant or annoying emails (and you do not want to unsubscribe because they might be a person, not a newsletter), use @BlackHole:
- Open the email from the annoying sender.
- Click the “BlackHole” button (a trash can icon with a cross, available in the extension or SaneBox sidebar).
- Alternatively, drag the email to the @SaneBlackHole folder.
All future emails from that sender will be automatically deleted. They will never appear in your inbox or @SaneLater again. You can manage your BlackHole list in the SaneBox dashboard under Settings > BlackHole.
Tips for Getting the Most Out of SaneBox
Tip 1: Be Patient During the Training Period
SaneBox’s AI needs time to learn your preferences. During the first week, you may find some important emails in @SaneLater or unimportant ones in your inbox. Resist the urge to disable the service. Instead, manually correct these mistakes by dragging emails to the correct folder. The AI learns from each correction and will improve rapidly.
Tip 2: Create Custom Whitelists and Blacklists
If there are senders you absolutely never want to miss (your boss, your spouse, your most important client), you can whitelist them. In your SaneBox dashboard, go to Settings > Priority and add their email addresses. SaneBox will then guarantee that their emails always land in your main inbox, regardless of content. Similarly, you can add senders to a blacklist to force them into @SaneLater or @BlackHole.
Tip 3: Use @SaneNews for Newsletters
By default, SaneBox filters newsletters into @SaneLater. However, you can create a separate folder called @SaneNews to keep newsletters organized. In your dashboard, enable the @SaneNews feature under Settings > @SaneNews. Newsletters will then be moved to @SaneNews instead of @SaneLater, giving you a dedicated reading space.
Tip 4: Combine Snooze with Reminders for Complex Tasks
Suppose you receive an email that requires you to do some research before replying. Snooze it for tomorrow morning. Then, after you reply, if you need a follow-up from the other person, set a reminder. This two-step workflow ensures nothing falls through the cracks.
Tip 5: Use the Mobile App
SaneBox works on any device because it operates at the server level. However, the SaneBox mobile app (available for iOS and Android) provides a dedicated interface for managing your @SaneLater, @SaneReminders, and snoozed emails. It also makes it easy to unsubscribe or BlackHole senders on the go.
Tip 6: Review Your Daily Digest Regularly
The Daily Digest is your best defense against inbox clutter. Make it a habit to open the digest once per day, scan the list, and mark any emails you want to read. Delete the digest when done. This single habit can save you 30 minutes or more each day.
Tip 7: Don’t Forget the One-Click Unsubscribe
Many users manually unsubscribe from newsletters by scrolling to the bottom of the email and clicking tiny links. SaneBox does it for you in one click. Whenever you see a marketing email you don’t want, use the Unsubscribe button immediately. Over time, this will dramatically reduce the volume of email entering your account.
Tip 8: Use the SaneBox Dashboard for Advanced Settings
The SaneBox dashboard (accessible from any browser) gives you granular control. You can set different reminder delays for different senders, create custom filters, view your BlackHole list, and even see statistics on how many emails SaneBox has filtered for you. Spend 10 minutes exploring the dashboard when you first set up the tool.
Tip 9: Integrate with Third-Party Tools
SaneBox integrates with productivity tools like Todoist, Trello, and Slack. For example, you can set up SaneBox to automatically create a Todoist task when you snooze an email. Check the “Integrations” section in your SaneBox dashboard to see what’s available.
Tip 10: Keep Your Inbox at Zero
With SaneBox, achieving “Inbox Zero” becomes realistic. The goal is to process your main inbox (the important emails) to zero every day, then quickly scan @SaneLater once or twice. Use the Snooze feature for emails you cannot act on immediately, and use @SaneReminders to ensure you never forget a reply. Within a few weeks, you will wonder how you ever managed email without it.
SaneBox is not just a filter—it is a complete email productivity system. By automating the tedious tasks of sorting, unsubscribing, and reminding, it frees up hours of your week for more meaningful work. Start with the free trial, train the AI diligently, and you will soon experience the calm of a truly clean inbox.

SaneBox AI Email Management
AI-powered tool to eliminate inbox clutter and save hours weekly.