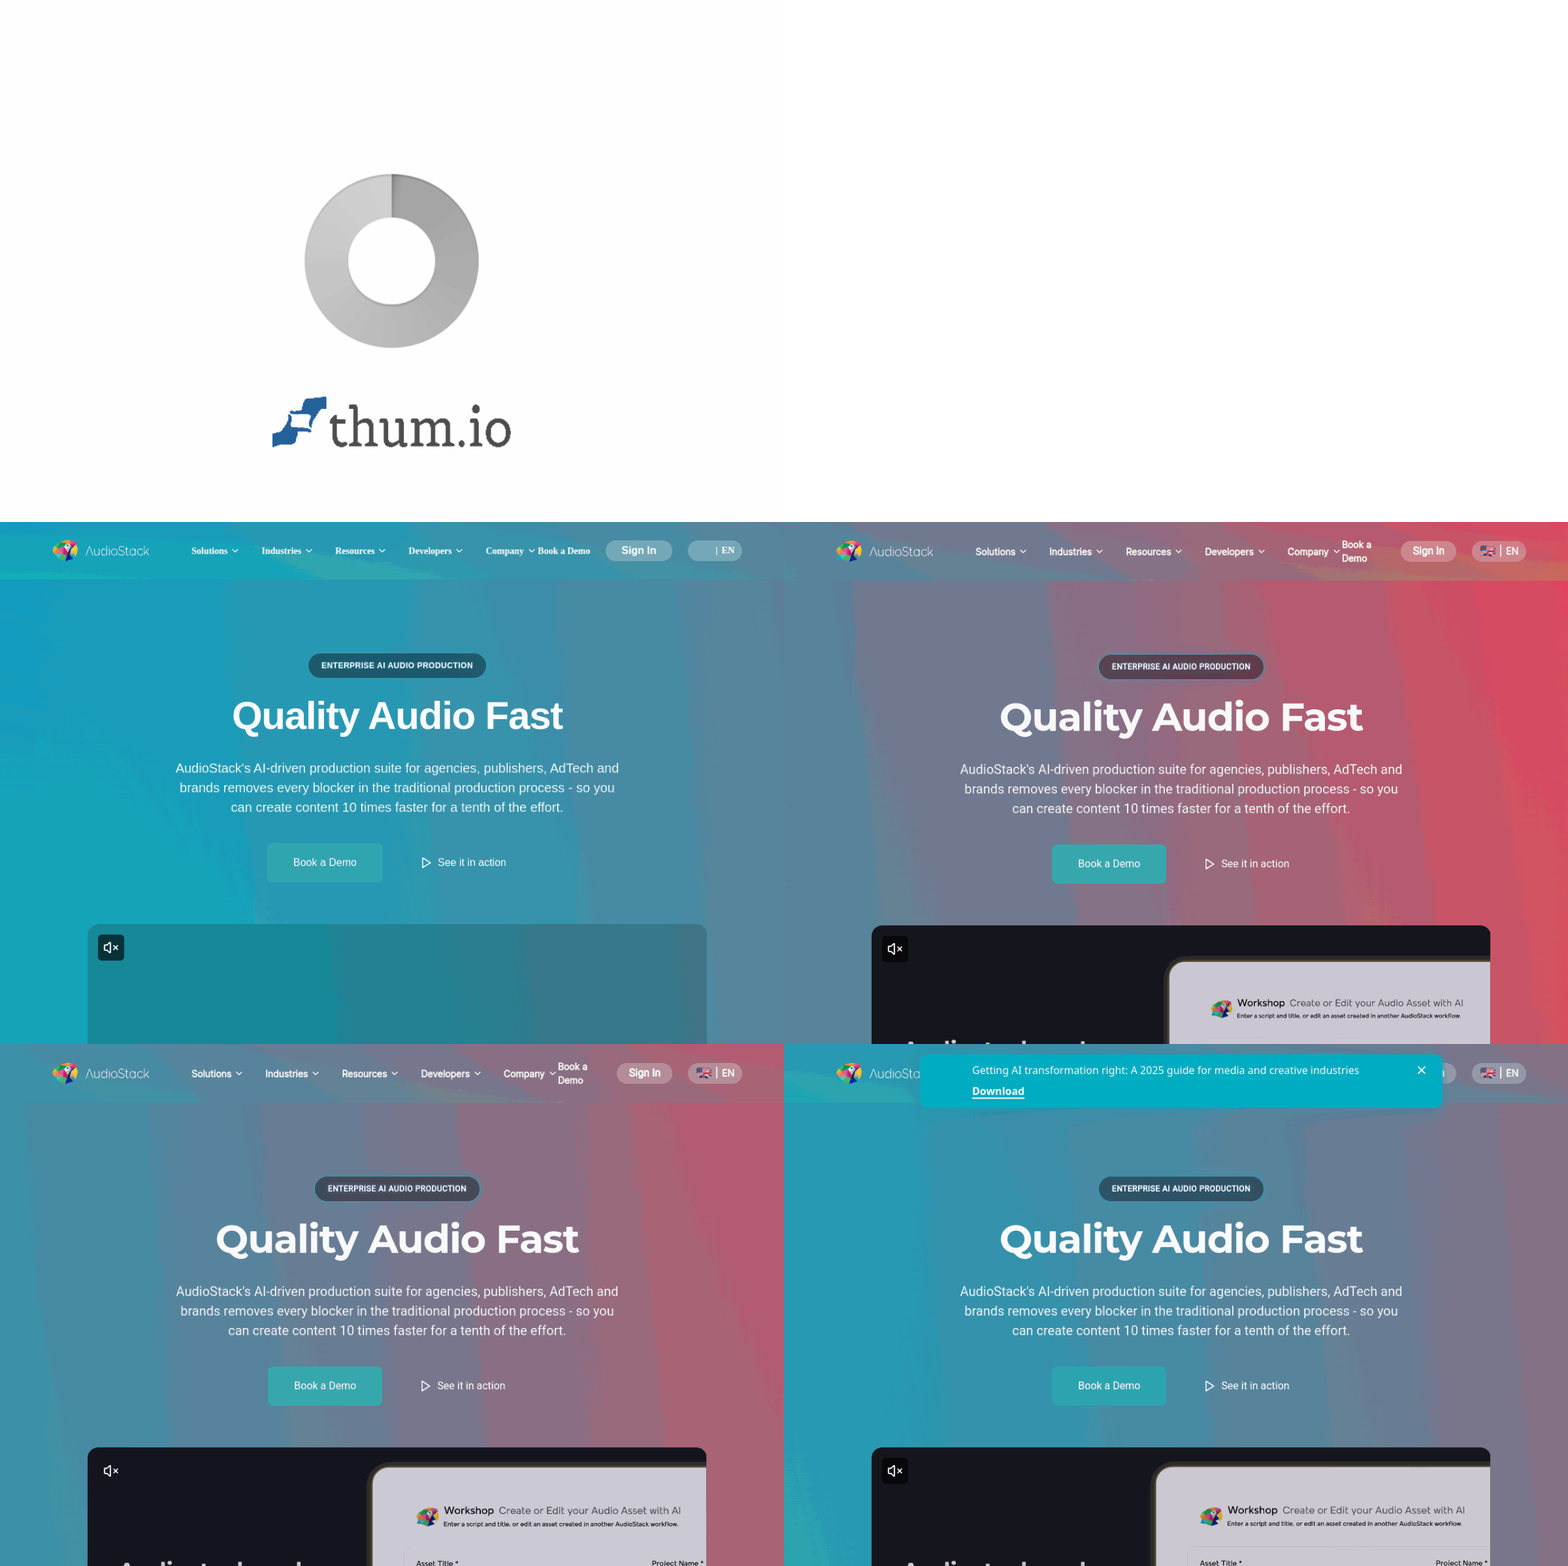
Introduction to AudioStack AI Audio Production
In the rapidly evolving world of digital content creation, producing high-quality audio has traditionally required expensive equipment, soundproof studios, and years of technical expertise. AudioStack changes this paradigm entirely. AudioStack is an AI-powered audio production platform that allows you to generate, edit, and scale professional-grade audio content using cutting-edge artificial intelligence. Whether you are a podcaster, marketer, author, or business owner, AudioStack provides the tools to create realistic, human-like audio without the need for voice actors or studio time.
At its core, AudioStack transforms text into speech using advanced neural networks that produce voices indistinguishable from real humans. Beyond simple text-to-speech, the platform offers voice cloning, multi-track editing, batch processing, and API integration. This means you can create entire audiobooks, generate hundreds of ad variations, or produce a full podcast episode in minutes rather than days. The platform is designed for both beginners who need a simple interface and power users who require automated workflows.
This tutorial will guide you through every aspect of AudioStack, from creating your first project to mastering advanced features. By the end, you will be equipped to produce professional audio content that engages your audience and scales with your needs.
Getting Started with AudioStack
Creating Your Account
Begin by navigating to https://www.audiostack.ai/. Click the “Sign Up” button located in the top-right corner of the homepage. You can register using your email address or through Google and LinkedIn accounts for faster onboarding. After confirming your email, you will be directed to the main dashboard.
Understanding the Dashboard
The AudioStack dashboard is your command center. It is divided into several key areas:
- Projects Panel: This is where all your audio projects are listed. You can create new projects, organize them into folders, and access recent work.
- Voice Library: A collection of pre-built AI voices sorted by gender, age, accent, and style. You can preview each voice before using it.
- My Voices: This section stores any voices you have cloned or customized.
- Settings: Manage your account details, subscription plan, and API keys for integration.
- Quick Actions: Buttons for common tasks like “New Text-to-Speech,” “New Project,” or “Batch Processing.”
Choosing Your Plan
AudioStack offers several pricing tiers. The free plan provides a limited number of characters per month and access to basic voices. Paid plans unlock unlimited characters, premium voices, voice cloning, and API access. For this tutorial, the free plan is sufficient to learn the basics. You can upgrade later as your needs grow.
Key Features of AudioStack
1. Text-to-Speech with Natural AI Voices
The flagship feature of AudioStack is its text-to-speech engine. Unlike older robotic-sounding systems, AudioStack uses deep learning models that understand context, punctuation, and emotion. The result is audio that sounds like a professional voice actor reading your script. You can choose from dozens of voices in multiple languages, including English, Spanish, French, German, and more. Each voice has adjustable parameters such as speed, pitch, and emphasis.
2. Voice Cloning and Customization
Voice cloning allows you to create a digital replica of any voice using a short audio sample. This is incredibly useful for maintaining brand consistency or recreating a specific voice for a series of projects. You can also customize existing voices by adjusting tone, emotion (e.g., happy, serious, conversational), and pronunciation of specific words.
3. Multi-Track Audio Editing
AudioStack is not just a one-shot generator. The platform includes a full multi-track editor where you can combine multiple audio clips, add background music, insert sound effects, and adjust volume levels. This makes it possible to produce complex audio productions like radio shows, interviews, or dramatic readings entirely within the platform.
4. Batch Audio Production and Scaling
For businesses and content creators who need to produce large volumes of audio, batch processing is a game-changer. You can upload a spreadsheet with hundreds of rows of text, and AudioStack will generate a corresponding audio file for each row. This is ideal for creating personalized voice messages, training modules, or localized ad campaigns.
5. API Integration for Automated Workflows
Developers and tech-savvy users can integrate AudioStack directly into their applications using the REST API. This allows for automated audio generation triggered by events, such as a new blog post being published or a user completing a form. The API supports all core features, including text-to-speech, voice cloning, and project management.
How to Use AudioStack: A Step-by-Step Guide
Creating Your First Text-to-Speech Project
Step 1: From the dashboard, click the “New Project” button. Give your project a name, such as “My First Podcast Intro.”
Step 2: In the new project window, select “Text-to-Speech” as the content type. A text editor will appear.
Step 3: Write or paste your script into the text box. For best results, use natural language and include punctuation. For example: “Welcome to the Future of Audio. I am your AI host, and today we explore how artificial intelligence is changing the world.”
Step 4: Choose a voice from the Voice Library. Click the voice name to hear a preview. Pay attention to the accent and tone. For a friendly podcast intro, select a warm, mid-pitched voice like “Emily” or “James.”
Step 5: Adjust the voice settings. Click the “Settings” icon next to the voice selector. You can change:
- Speed: 0.5x to 2.0x. Normal speech is around 1.0x.
- Pitch: Lower for a deeper voice, higher for a lighter tone.
- Emphasis: Highlight specific words by wrapping them in asterisks (e.g., *really* important).
Step 6: Click the “Generate” button. AudioStack will process your text and produce an audio file within seconds. You can play it directly in the browser.
Step 7: If you are satisfied, click “Save to Project.” If not, adjust the text or voice settings and regenerate.
Using Voice Cloning
Step 1: Navigate to “My Voices” in the left menu. Click “Clone New Voice.”
Step 2: Upload a clean audio recording of the voice you want to clone. The recording should be at least 30 seconds long, with minimal background noise. Ideal samples include a person reading a book or a recorded speech.
Step 3: Name your cloned voice (e.g., “CEO John”) and click “Start Cloning.” The AI will analyze the audio and create a voice model. This process takes 5–15 minutes depending on the length of the sample.
Step 4: Once complete, the cloned voice will appear in your “My Voices” list. You can now use it in any text-to-speech project just like the built-in voices.
Editing Audio with the Multi-Track Editor
Step 1: Open an existing project or create a new one. Select “Multi-Track Editor” from the project type options.
Step 2: The editor shows a timeline with multiple empty tracks. Click “Add Track” to create a new audio layer.
Step 3: To add your AI-generated voice, click “Import Audio” and select the file from your project library. The audio waveform will appear on the track.
Step 4: Add background music by clicking “Add Music” and selecting from AudioStack’s royalty-free music library, or upload your own file.
Step 5: Use the tools at the bottom of the editor:
- Cut: Split a clip at the playhead position.
- Fade In/Out: Smoothly start or end a clip.
- Volume Envelope: Click on the waveform to add volume control points.
- Move: Drag clips left or right to adjust timing.
Step 6: Preview your mix by pressing the play button. Adjust levels until everything sounds balanced. When finished, click “Export” to download the final audio as an MP3 or WAV file.
Batch Processing for Scaling
Step 1: From the dashboard, click “Batch Processing” in the Quick Actions menu.
Step 2: Download the CSV template provided by AudioStack. The template has columns for “Text,” “Voice,” “Speed,” and “Output Filename.”
Step 3: Fill in the template with your data. For example, if you are creating personalized greetings, each row might contain a different customer name and message.
Step 4: Upload the completed CSV file back to AudioStack. Review the settings to ensure the voice and parameters are correct for all rows.
Step 5: Click “Start Batch.” AudioStack will process each row sequentially. You can monitor progress in the dashboard. Once complete, you can download all files as a ZIP archive or access them individually.
Tips for Getting the Most Out of AudioStack
Write Scripts for AI Voices
AI voices perform best with clear, well-structured text. Avoid long, complex sentences. Use short paragraphs and plenty of punctuation. Add pauses by inserting commas or periods. For example, instead of “Hello everyone and welcome to our show,” write “Hello everyone, and welcome to our show.” The comma creates a natural breath pause.
Use SSML Tags for Advanced Control
AudioStack supports Speech Synthesis Markup Language (SSML). This allows you to insert precise instructions into your text. For instance, you can add a 500-millisecond pause using <break time="500ms"/> or emphasize a word with <emphasis level="strong">amazing</emphasis>. Check AudioStack’s documentation for a full list of supported SSML tags.
Layer Sounds for Professional Results
Never settle for just a voice track. Add subtle background music at low volume (around 20–30% of the voice level) to create atmosphere. Use sound effects for transitions, such as a whoosh sound at the start of a podcast or a chime at the end of an ad. The multi-track editor makes this easy.
Test Voices Before Committing
Always preview a voice with a sample of your actual script before generating a full project. A voice that sounds great for a commercial may sound too formal for a bedtime story. AudioStack allows you to preview with your own text, so take advantage of this.
Optimize for Different Platforms
Export your audio in the appropriate format for your target platform. For podcasts, use MP3 at 128 kbps or higher. For audiobooks, WAV files are preferred for maximum quality. For social media ads, keep audio files under 30 seconds and export as MP3 at 64 kbps to reduce file size.
Use the API for Repetitive Tasks
If you find yourself repeatedly generating similar audio (e.g., daily news briefs or product descriptions), learn to use the AudioStack API. You can set up a simple script that sends text to the API and saves the audio file automatically. This saves hours of manual work.
Manage Your Voice Library
If you clone multiple voices, label them clearly with descriptive names and notes. For example, “John – Formal (for corporate videos)” and “John – Casual (for podcasts).” This prevents confusion when you have many cloned voices.
Start Small and Iterate
If you are new to AI audio production, start with a single project, such as a 30-second ad or a short podcast intro. Learn the workflow, then gradually take on larger projects like a full chapter of an audiobook. AudioStack scales with your confidence.
Conclusion
AudioStack represents a significant leap forward in democratizing audio production. With its intuitive interface, powerful AI voices, and robust editing tools, anyone can create professional audio content without a studio or technical background. Whether you are producing a single podcast episode or scaling a thousand personalized voice messages, AudioStack delivers speed, quality, and flexibility.
By following this tutorial, you now have the knowledge to create your first project, clone a voice, edit multi-track audio, and even automate batch production. The key to mastery is practice. Experiment with different voices, try the SSML tags, and combine tracks in the editor. As you become more comfortable, you will discover creative ways to leverage AudioStack for your unique audio needs.
Remember, the most important element of any audio project is the content itself. AudioStack provides the tools, but your creativity and message will make your audio truly compelling. Start your first project today and experience the future of audio production.

AudioStack AI Audio Production
AI-powered platform for scalable, high-quality audio content production.