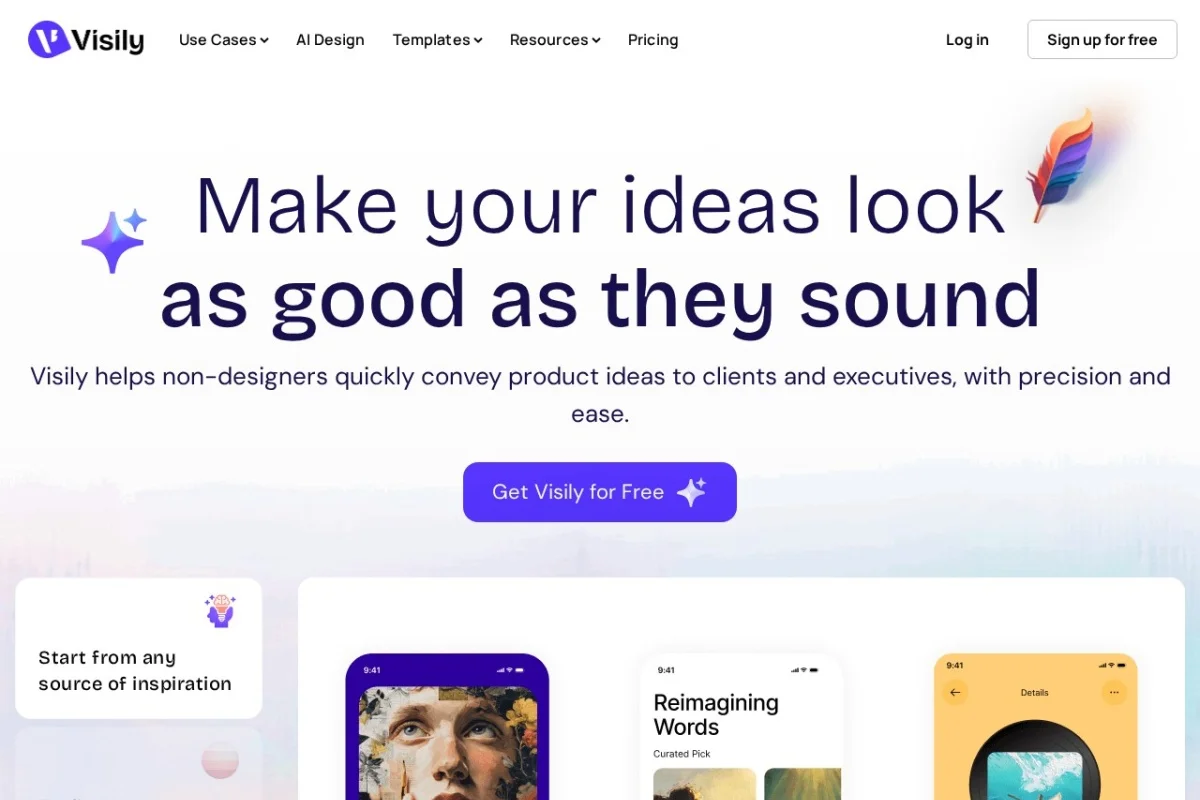
Introduction to Visily: AI-Powered UI Design for Everyone
In the world of digital product design, creating wireframes, mockups, and prototypes traditionally required a steep learning curve and familiarity with complex software like Figma, Sketch, or Adobe XD. Visily changes this paradigm entirely. It is an AI-powered UI design tool that democratizes the design process, allowing anyone—from seasoned UX professionals to complete beginners—to transform ideas into editable, high-fidelity designs with minimal effort.
Visily stands out because it understands that not everyone starts with a blank canvas. You might have a screenshot of a competitor’s app, a hand-drawn sketch on a napkin, or simply a text description of what you need. Visily’s AI engine can ingest these inputs and convert them into fully editable, layered design files. This makes it an invaluable tool for startups, product managers, developers, and non-designers who need to communicate visual ideas quickly.
This tutorial will walk you through everything you need to know to get started with Visily, explore its core features, and apply practical tips to make your design workflow faster and more efficient. By the end, you will be able to create your first project from scratch, convert a screenshot into a design, and share your work with your team.
Getting Started with Visily
Creating Your Account and Navigating the Dashboard
Visily operates entirely in your web browser, so there is no software to download. To begin, navigate to https://www.visily.ai/ and click the “Get Started for Free” button. You can sign up using your Google account, your email address, or a magic link. The free plan offers generous credits and access to core features, making it perfect for learning.
Once logged in, you will see the Visily dashboard. This is your project hub. Here you can:
- Create a new project by clicking the “+ New Project” button.
- Access templates from the template library.
- View recent projects and shared files.
- Manage your team and collaboration settings.
Understanding the Visily Interface
When you open a new or existing project, you will encounter a clean, intuitive interface. The main components are:
- Canvas: The large central area where you design your screens.
- Toolbar (Left Side): Contains the selection tool, shapes, text, icons, and drawing tools.
- Layers Panel (Right Side): Shows the hierarchy of all objects on the canvas. You can reorder, group, and rename layers here.
- Properties Panel (Right Side, below Layers): Allows you to adjust the size, color, borders, shadows, and other styling attributes of the selected element.
- Top Menu: Contains options for file management, undo/redo, preview, and sharing.
Spend a few minutes clicking around to familiarize yourself with these areas. The layout is deliberately simple, similar to other design tools, but with a strong emphasis on AI-assisted actions.
Key Features of Visily
Visily’s power lies in its four core AI-driven features. Understanding these will unlock the full potential of the tool.
1. AI-Powered Screenshot to Design Conversion
This is perhaps Visily’s most impressive feature. You can upload a screenshot of any app, website, or user interface, and the AI will analyze the visual layout, identify components like buttons, text fields, images, and navigation bars, and recreate them as editable layers on your canvas.
How it helps: Instead of painstakingly recreating a design from scratch, you can use an existing reference as a starting point. This is perfect for competitor analysis, redesigning an existing app, or quickly iterating on a visual concept.
2. Text-to-Design Generation
If you don’t have a visual reference, you can simply describe what you want. Visily’s AI can generate a complete UI design based on a text prompt. For example, you could type “A mobile login screen with a logo at the top, email and password fields, and a blue login button” and the AI will produce a corresponding wireframe or mockup.
How it helps: This feature bridges the gap between an idea and a visual prototype. It is incredibly useful for brainstorming sessions, creating initial drafts for client feedback, or when you have a clear functional requirement but no design skills.
3. Sketch Recognition and Digitization
Do you prefer to start with a pen and paper? Visily can digitize your hand-drawn sketches. You can take a photo of your sketch or upload a scanned image. The AI will recognize the shapes, lines, and text, and convert them into clean, digital UI components.
How it helps: This preserves the spontaneity and speed of hand-drawing while giving you the flexibility of digital editing. You can quickly refine the layout, change colors, and add real text without redrawing everything.
4. Collaborative Editing and Sharing
Design is rarely a solo activity. Visily supports real-time collaboration, meaning multiple team members can work on the same project simultaneously. You can also share a read-only link with stakeholders for feedback, or invite team members as editors.
How it helps: This streamlines the feedback loop. Developers can inspect the design, product managers can add comments, and designers can make changes in real-time, all within the same platform.
5. Extensive Template and Component Library
Visily comes with a vast library of pre-built templates (for mobile, web, tablet, and desktop) and reusable components (buttons, input fields, cards, modals, etc.). These are fully customizable and serve as excellent starting points for any project.
How it helps: Templates save hours of work. Instead of drawing a standard login screen from scratch, you can simply drag a template onto your canvas and modify it. The component library ensures design consistency across your entire project.
How to Use Visily: A Step-by-Step Practical Guide
Let’s walk through three common workflows that will make you productive with Visily immediately.
Workflow 1: Creating a Design from a Text Description
- Start a new project: From the dashboard, click “+ New Project” and select “Blank Canvas” or choose a “Phone” or “Desktop” preset size.
- Open the AI panel: Look for the “AI” icon in the left toolbar or the top menu. Click on it to open the AI assistant.
- Select “Text to Design”: In the AI panel, choose the option for generating a design from text.
- Write your prompt: Be specific. For example: “Design a dashboard for a project management app with a sidebar menu, a main area showing a calendar, and a top bar with a search field and user avatar.”
- Generate: Click the “Generate” button. The AI will process your request and populate the canvas with a design.
- Edit and refine: Click on any element (text, shape, image placeholder) to edit it. Use the Properties panel to change colors, fonts, and sizes. You can also drag elements to rearrange them.
Workflow 2: Converting a Screenshot into an Editable Design
- Prepare your screenshot: Save a clear screenshot of the interface you want to replicate. Ensure the image is not too small or blurry.
- Create a new project: Open a blank canvas with the appropriate device size (e.g., iPhone 14 for a mobile app screenshot).
- Upload the screenshot: Click the “AI” icon and select “Screenshot to Design”. Upload your image file.
- Let the AI work: Visily will analyze the screenshot. This may take a few seconds. The result will be a vectorized, layered version of your screenshot.
- Clean up: The AI is powerful but not perfect. You may need to adjust some layers, fix text recognition errors, or replace image placeholders. Use the Layers panel to select individual components and the Properties panel to fine-tune them.
- Customize: Now you can freely modify the design. Change the color scheme, update the text, add new screens, or remove elements you don’t need.
Workflow 3: Collaborating and Sharing Your Design
- Invite collaborators: In the top-right corner of the editor, click the “Share” button.
- Choose permissions: You can invite people as “Editors” (they can modify the design) or “Viewers” (they can only see and comment).
- Send the link: Visily will generate a shareable link. Copy it and send it via email, Slack, or any messaging platform.
- Work in real-time: If you invite editors, you will see their cursors and changes in real-time. Use the comment tool (speech bubble icon in the toolbar) to leave feedback on specific elements.
- Export your work: When your design is ready, you can export it as a PNG, JPEG, PDF, or even as code (HTML/CSS). Go to File > Export to choose your format.
Tips for Getting the Most Out of Visily
To truly master Visily, keep these practical tips in mind. They will help you avoid common pitfalls and accelerate your workflow.
1. Write Clear and Detailed Prompts for Text-to-Design
The quality of the AI output depends heavily on your input. Instead of saying “Make a login page,” try: “A clean, white login page for a banking app. It should have a dark blue header with the app logo, two rounded input fields for email and password, a solid blue ‘Sign In’ button, and a small ‘Forgot Password?’ link below.” The more specific you are about layout, colors, and components, the better the result.
2. Use Templates as a Starting Point, Not a Final Product
Visily’s template library is vast, but resist the urge to use them as-is. Instead, drag a template onto your canvas and treat it as a skeleton. Modify the colors to match your brand, replace placeholder text with real content, and swap out generic icons for your own. This approach saves time while ensuring your design feels unique.
3. Master the Layers Panel for Complex Designs
When you generate a design from a screenshot or text, the AI creates many layers. The Layers panel becomes your best friend. Use it to:
- Rename layers (e.g., “Header Button” instead of “Rectangle 47”).
- Group related elements (select multiple layers, right-click, and choose “Group”).
- Lock layers you don’t want to accidentally move.
- Reorder layers to control which elements are in front or behind.
4. Leverage the Component Library for Consistency
If you are building a multi-screen app, use the Component Library to create a consistent design system. For example, design one button style, save it as a component (right-click > “Create Component”), and then reuse it across all your screens. If you later change the color of that component, all instances will update automatically. This is a huge time-saver.
5. Use the Preview Mode to Test Interactivity
Visily allows you to connect screens and create simple prototypes. After designing a few screens, click the “Preview” button (play icon) in the top menu. You can click on buttons and links to navigate between screens. This helps you simulate the user experience and catch flow issues before any code is written.
6. Clean Up AI-Generated Designs Immediately
After using the Screenshot to Design or Text to Design features, spend 2-3 minutes cleaning up. Remove any stray shapes, correct misrecognized text, and replace placeholder images with your own or with Visily’s built-in icon library. This small habit ensures your design looks polished from the start.
7. Take Advantage of Keyboard Shortcuts
Learning a few shortcuts will speed you up significantly:
- Ctrl + Z / Cmd + Z: Undo
- Ctrl + D / Cmd + D: Duplicate selected element
- V: Selection tool
- R: Rectangle tool
- T: Text tool
- Delete / Backspace: Remove selected element
8. Don’t Forget the Feedback Loop
Design is iterative. Once you have a draft, share the link with a colleague or stakeholder early. Use the comment feature to gather feedback. Because Visily is cloud-based, you can make changes instantly and reshare the updated link. This avoids the chaos of multiple file versions floating around via email.
Conclusion
Visily is a transformative tool for anyone involved in UI design, whether you are a seasoned professional or someone who has never opened a design application before. By leveraging its AI capabilities—screenshot conversion, text-to-design, sketch digitization, and collaborative editing—you can drastically reduce the time it takes to go from an idea to a tangible prototype.
The key to success with Visily is to experiment. Try uploading a screenshot of your favorite app and see how well the AI replicates it. Write a detailed text prompt and watch the design materialize. Use the templates to jumpstart your next project. With practice, you will find that Visily not only makes design faster but also more enjoyable, removing the technical barriers that often stand in the way of creativity.
Now that you have a solid understanding of the tool, head over to Visily.ai and start your first project. The only limit is your imagination.

Visily - AI-powered UI design software
AI-powered UI design tool for creating wireframes and prototypes quickly.