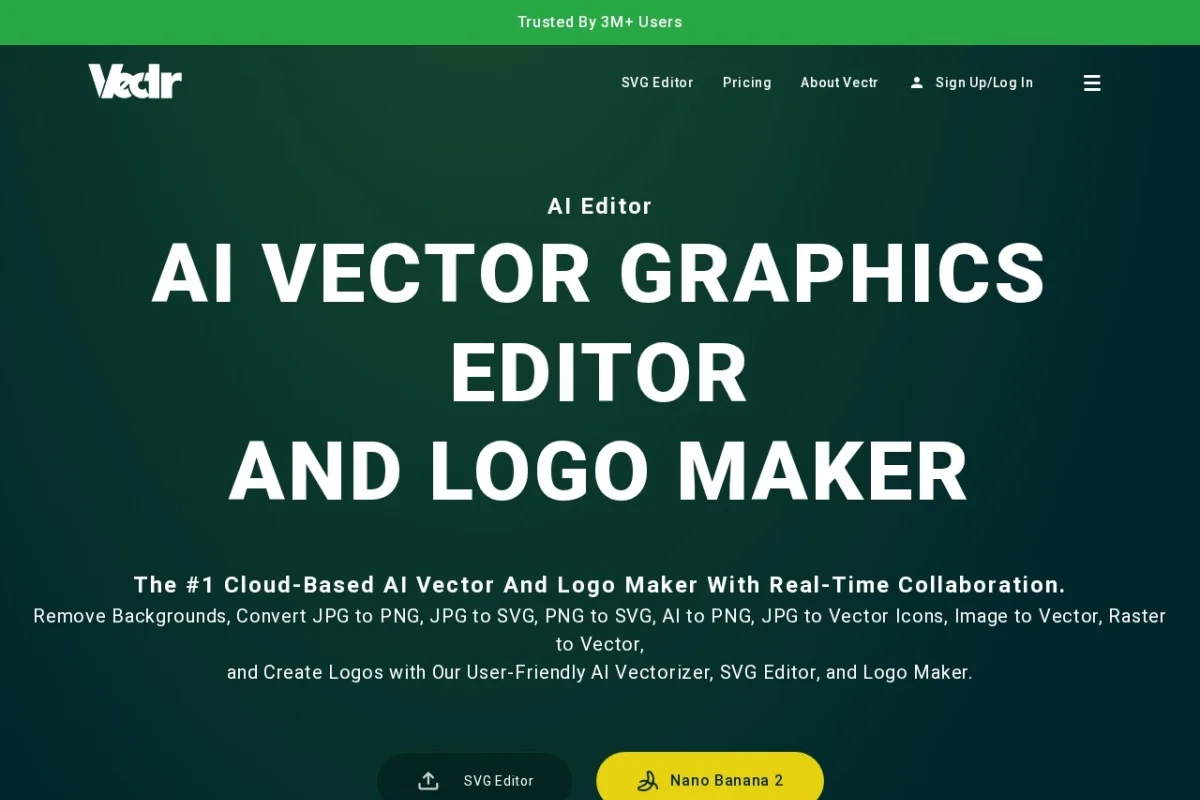
Introduction to Vectr AI Vector Graphics Editor and Logo Maker
In the world of digital design, vector graphics have become the gold standard for creating scalable, high-quality images that never lose resolution. Whether you are designing a logo for your startup, converting a photograph into a clean SVG file, or collaborating with a remote team on a branding project, you need a tool that is both powerful and accessible. Vectr is a cloud-based AI vector graphics editor and logo maker that has earned the trust of over three million users worldwide. Its unique combination of artificial intelligence, real-time collaboration, and cross-platform synchronization makes it an ideal choice for beginners and seasoned professionals alike.
Unlike traditional desktop-only software that requires expensive licenses and steep learning curves, Vectr operates entirely in your web browser. This means you can start designing immediately without any downloads or installations. The platform also offers dedicated desktop applications for Windows, macOS, Linux, and Chrome OS, ensuring you can work offline when needed. With its AI-powered features such as automatic background removal, image-to-vector conversion, and intelligent logo generation, Vectr removes the technical barriers that often discourage newcomers from exploring vector design.
This tutorial will walk you through everything you need to know about Vectr, from creating your first account to mastering advanced features like text-to-vector generation and real-time collaboration. By the end of this guide, you will have the practical skills to create professional-grade vector graphics, logos, and icons with confidence.
Getting Started with Vectr
Creating Your Account and Navigating the Interface
To begin using Vectr, navigate to https://vectr.com. You have two options for signing up: you can create a new account using your email address and a password, or you can use your existing Google or Facebook credentials for a faster login. Once you have verified your email, you will be taken to the main dashboard.
The Vectr interface is designed with clarity in mind. On the left side of the screen, you will find the toolbar, which contains all the essential drawing, editing, and selection tools. The canvas occupies the center of the screen, and this is where you will create and edit your designs. On the right side, you have the properties panel, which changes dynamically based on the tool or object you have selected. At the top, you will see the menu bar with options for file management, layers, and export settings.
Before you start designing, take a moment to explore the workspace. You can zoom in and out using your mouse scroll wheel or the zoom slider located at the bottom right corner. Pan across the canvas by holding the spacebar and dragging with your mouse. These basic navigation skills will make your workflow much smoother.
Understanding File Types and Projects
Vectr works natively with its own .vectr file format, which preserves all layers, effects, and editing history. However, the platform excels at importing and exporting a wide variety of formats. You can import images in JPG, PNG, SVG, AI (Adobe Illustrator), and PDF formats. When exporting, Vectr supports PNG, JPG, SVG, and PDF. The AI-powered conversion tools allow you to convert JPG to PNG, JPG to SVG, PNG to SVG, and AI to PNG with a single click.
To start a new project, click the “New File” button on the dashboard. You will be prompted to choose a canvas size. Vectr offers pre-set templates for social media graphics, logos, icons, and print materials. For custom sizes, simply enter your desired width and height in pixels. Once your canvas is ready, you can begin designing.
Key Features of Vectr AI
AI-Powered Vector Generator and Logo Maker
The most exciting feature of Vectr is its AI vector generator. This tool allows you to create complex vector graphics simply by describing what you want. For example, you can type “minimalist mountain logo with a sun” and the AI will generate several vector variations for you to choose from. This is particularly useful for logo creation, where you can iterate through dozens of design concepts in minutes rather than hours.
The logo maker takes this a step further by guiding you through a structured process. You start by selecting your industry, preferred color palette, and style (modern, vintage, playful, etc.). The AI then generates a set of logo templates that you can customize by editing text, changing colors, adjusting shapes, and modifying layouts. Once you are satisfied, you can export your logo in multiple formats for use on websites, business cards, and merchandise.
Background Remover and Image Converter
One of the most common design tasks is removing backgrounds from images. Vectr’s AI background remover handles this with remarkable accuracy. Simply import a JPG or PNG image, select the background removal tool, and the AI will automatically detect and delete the background. You can then refine the edges manually using the eraser or brush tools if needed.
The image converter is equally powerful. You can convert JPG to PNG for transparent backgrounds, JPG to SVG for scalable vectors, or PNG to SVG for crisp logos and icons. The conversion process is instantaneous and preserves the quality of the original image. This feature is invaluable for web designers who need to convert raster images into clean vector graphics for responsive websites.
Real-Time Collaboration and Cross-Platform Sync
Vectr is built for teamwork. The real-time collaboration feature allows multiple users to work on the same project simultaneously. You can share a live workspace link with colleagues or clients, and everyone can see changes as they happen. A built-in chat function lets you discuss design decisions without leaving the platform. This eliminates the back-and-forth of sending files via email and ensures everyone is always working on the latest version.
Cross-platform sync means your projects are accessible from any device. You can start a design on your desktop at the office, continue editing on your tablet during your commute, and make final adjustments on your phone at home. All changes are saved automatically to the cloud, so you never have to worry about losing your work.
Text-to-Vector and Video Generation Tools
Vectr’s text-to-vector tool is a game-changer for typography and custom lettering. You can type any word or phrase, and the AI will convert it into a fully editable vector shape. This allows you to manipulate individual letters, apply gradients, add shadows, and create unique text effects that are not possible with standard fonts.
The video generation tools are a newer addition to the platform. You can create short animated videos from your vector designs. This is perfect for social media content, explainer videos, and animated logos. The AI handles the animation process, allowing you to choose from various motion presets and timing options.
How to Use Vectr: A Step-by-Step Guide
Creating Your First Vector Graphic
Let us start with a simple project: creating a vector icon. After opening a new canvas, select the rectangle tool from the left toolbar. Click and drag on the canvas to draw a square. Notice that the properties panel on the right now shows options for fill color, stroke, opacity, and corner radius. Change the fill color to blue by clicking the color swatch and selecting from the palette or entering a hex code.
Next, select the ellipse tool and draw a circle inside the square. Hold the Shift key while dragging to maintain a perfect circle. Change this circle to white. Now, select both shapes by clicking and dragging a selection box around them, or by holding Shift and clicking each object. Right-click and choose Group to combine them into a single object. You have just created a simple icon. You can resize it without losing quality because it is a vector.
Using the AI Vector Generator for Logo Design
For a more advanced project, let us use the AI vector generator to create a logo. Click on the AI Tools menu at the top of the screen and select Vector Generator. A dialog box will appear where you can enter a description. Type “modern tech startup logo with a hexagonal shape and network lines.” Click Generate.
After a few seconds, Vectr will display several design options. Click on any design to preview it on your canvas. If you like a particular concept, click Apply to add it to your workspace. From here, you can edit every element. Double-click on any text to change the font, size, or wording. Use the selection tool to move shapes around. Change colors by selecting individual elements and updating the fill in the properties panel.
Removing Backgrounds and Converting Images
To remove a background from an image, import your JPG or PNG file by dragging it onto the canvas or using the File > Import menu. With the image selected, go to the AI Tools menu and choose Remove Background. The AI will process the image and display the result. If the background is not fully removed, use the Refine Edge brush to manually erase remaining areas. Once you are satisfied, you can export the result as a PNG with transparency or convert it to SVG for vector editing.
For image conversion, simply import your file, right-click on it, and select Convert To. Choose your desired output format from the list. Vectr will handle the conversion instantly. This is particularly useful when you need to convert a low-resolution JPG logo into a scalable SVG for printing.
Collaborating with Your Team in Real Time
To collaborate with others, click the Share button in the top right corner of the editor. You will get a link that you can send to collaborators. You can set permissions to either Can Edit or Can View. When someone joins your workspace, you will see their cursor moving in real time. Use the chat panel on the right side to communicate. Changes are saved automatically, and you can see a history of edits in the Version History panel.
Tips for Getting the Most Out of Vectr
Master Keyboard Shortcuts
Learning keyboard shortcuts will dramatically speed up your workflow. Here are the most useful ones:
- Ctrl + Z (or Cmd + Z on Mac) to undo
- Ctrl + D to duplicate a selected object
- Ctrl + G to group selected objects
- Ctrl + Shift + G to ungroup
- V to switch to the selection tool
- R for the rectangle tool
- E for the ellipse tool
- P for the pen tool
Work with Layers Effectively
Layers are essential for organizing complex designs. Open the Layers panel from the top menu. Name your layers descriptively, such as “Background,” “Logo Icon,” and “Company Name.” Use the drag handles to reorder layers. Objects at the top of the list appear in front of objects lower down. Lock layers you do not want to accidentally edit, and hide layers to focus on specific elements.
Leverage Templates and Presets
Do not start from scratch when you do not have to. Vectr offers a library of pre-made templates for logos, social media posts, presentations, and more. Browse the template gallery from the dashboard. You can customize any template to match your brand colors and fonts. This is a huge time-saver, especially for beginners who are still developing their design skills.
Export in the Right Format for Your Needs
Choosing the correct export format is crucial. Use SVG for web graphics and logos that need to scale. Use PNG for images that require transparency, such as logos placed on colored backgrounds. Use JPG for photographs or complex images where file size is a concern. Use PDF for print-ready documents. Vectr also allows you to export at custom resolutions, so you can create high-resolution versions for large-format printing.
Take Advantage of Cross-Platform Sync
Make it a habit to save your projects to the cloud by ensuring you are logged into your account. This way, you can access your designs from any device. If you are working on a desktop computer at home and need to make a quick edit on your phone during a commute, simply open the Vectr mobile web app or desktop app, and your project will be there with all changes intact.
Experiment with the AI Tools
Do not be afraid to experiment with the AI features. The text-to-vector tool can produce surprising and creative results. Try entering abstract concepts or phrases related to your brand. The AI logo maker is excellent for brainstorming; even if the initial results are not perfect, they can inspire you to create something unique. Remember that you can always edit and refine AI-generated designs manually.
Conclusion
Vectr AI Vector Graphics Editor and Logo Maker is a versatile tool that democratizes vector design. Its AI-powered features reduce the time and skill required to create professional graphics, while its real-time collaboration and cross-platform sync make it ideal for modern, distributed teams. Whether you are a business owner creating your first logo, a student learning graphic design, or a professional designer looking for a lightweight editing tool, Vectr has something to offer.
By following this tutorial, you have learned how to set up your account, navigate the interface, use the AI vector generator, remove backgrounds, convert images, collaborate with others, and apply practical tips to enhance your workflow. The best way to master Vectr is to practice. Start with a simple project, experiment with the AI tools, and gradually explore more advanced features. With over three million users already trusting Vectr, you are in good company as you begin your journey into the world of vector graphics.

Vectr AI Vector Graphics Editor and Logo Maker
Cloud-based AI vector editor and logo maker with real-time collaboration.