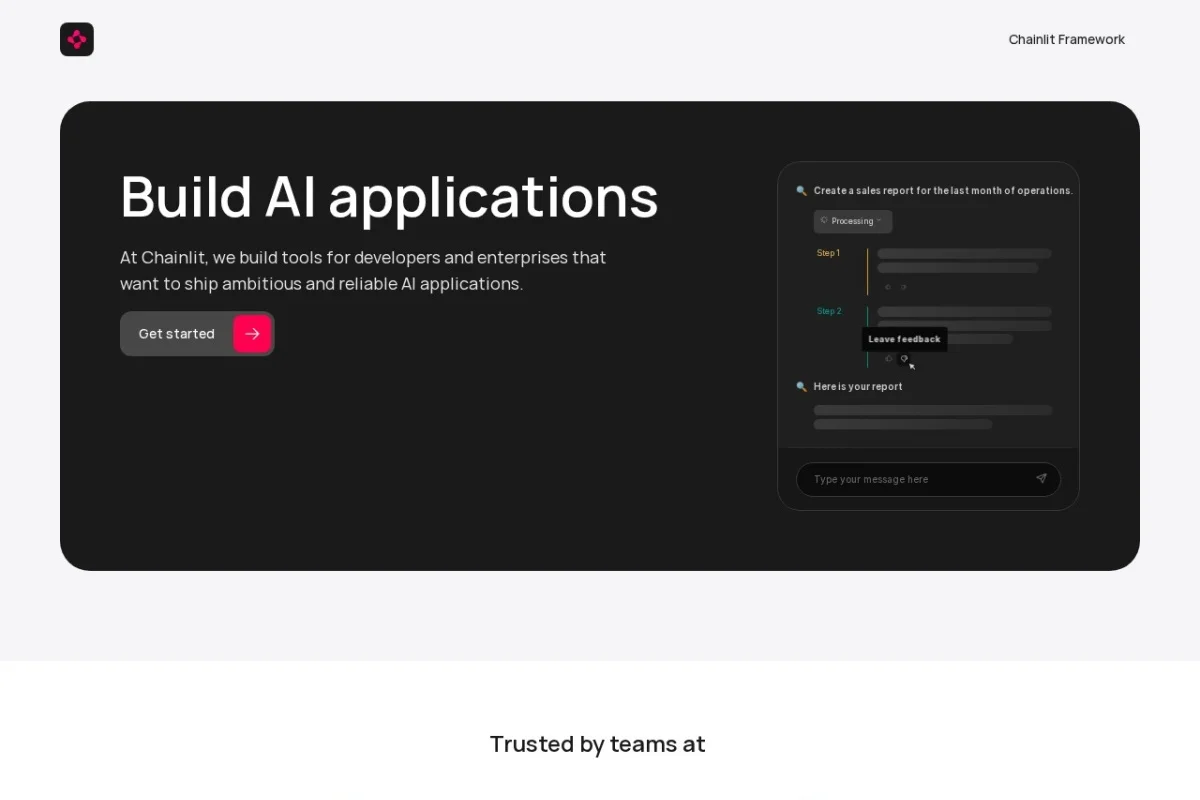
Introduction to Chainlit
In the rapidly evolving landscape of artificial intelligence, developers are increasingly required to build conversational interfaces that are not only functional but also production-ready. Chainlit emerges as a powerful solution to this challenge. As an open-source Python framework, Chainlit allows you to create sophisticated chatbots, AI assistants, and interactive AI applications with surprisingly little code. Whether you are integrating with OpenAI’s GPT models, Hugging Face transformers, or custom machine learning pipelines, Chainlit provides the infrastructure you need to go from prototype to deployment quickly.
Chainlit is designed with the modern developer in mind. It abstracts away much of the boilerplate associated with building web-based chat interfaces, such as handling WebSocket connections, managing user sessions, and persisting conversation history. Instead, you focus on defining the logic of your AI application. The framework is built on top of popular Python web technologies, making it lightweight yet extensible. By the end of this tutorial, you will understand how to leverage Chainlit to build a conversational AI that streams responses, manages users, and stores data—all with minimal effort.
Getting Started with Chainlit
Prerequisites
Before diving into Chainlit, ensure you have the following installed on your development machine:
- Python 3.8 or higher – Chainlit is a Python framework, so a recent version of Python is required.
- pip – The Python package manager, used to install Chainlit and its dependencies.
- Basic knowledge of Python – Familiarity with functions, asynchronous programming (async/await), and environment variables will be helpful.
- An API key for an LLM provider – For example, an OpenAI API key if you plan to integrate with GPT models.
Installation
Installing Chainlit is straightforward. Open your terminal or command prompt and run the following command:
pip install chainlitThis command installs the core Chainlit package along with its dependencies, including a built-in web server and client-side libraries. To verify the installation, run:
chainlit --versionYou should see the version number displayed, confirming that Chainlit is ready to use.
Creating Your First Chainlit Application
Let’s build a simple “echo” chatbot to understand the basic structure. Create a new Python file, for example app.py, and add the following code:
import chainlit as cl

@cl.on_message
async def main(message: str):
    # This function is called every time a user sends a message
    response = f"You said: {message}"
    await cl.Message(content=response).send()
To run this application, navigate to the directory containing app.py in your terminal and execute:
chainlit run app.pyYour default web browser will open automatically, displaying a clean chat interface. Type a message, and you will see the bot echo it back. This simple example demonstrates the core concept: Chainlit handles all the frontend and networking, while you write only the backend logic.
Key Features of Chainlit
Python-Based Framework for Building AI Apps
Chainlit is entirely Python-based, which means you can leverage the vast ecosystem of Python libraries for data science, machine learning, and natural language processing. You are not forced to learn a new language or a complex configuration system. The framework uses decorators and asynchronous functions, which feel natural to Python developers. This design makes it easy to integrate with LangChain, LlamaIndex, or any custom AI model you have built.
Supports Streaming Responses
One of the most impressive features of Chainlit is its native support for streaming. When you integrate with a large language model (LLM) that supports streaming (such as OpenAI’s GPT-4 or Anthropic’s Claude), Chainlit can send tokens to the user interface as they are generated. This creates a real-time, typing-like effect that significantly improves the user experience. Users see the response being built word by word, rather than waiting for the entire response to be computed. To enable streaming, you simply yield tokens from your message handler instead of returning a single message.
Built-in Authentication and User Management
Production applications often require user authentication. Chainlit comes with built-in authentication mechanisms, including support for OAuth providers like Google, GitHub, and Microsoft. You can also implement custom authentication logic. User sessions are managed automatically, meaning each user gets their own conversation history and context. This feature is crucial for applications that need to handle multiple users simultaneously without data leakage.
Data Persistence and History Tracking
Chainlit includes a data layer that allows you to persist conversation history, user data, and application state. By default, it can use a local file-based storage system, but it also supports integration with databases like PostgreSQL and SQLite through its extensible data API. This means users can leave a conversation and return later to find their chat history intact. For developers, this simplifies the implementation of features like “conversation memory,” which is essential for context-aware AI assistants.
Easy Integration with LLMs and AI Models
Chainlit is model-agnostic. You can integrate any AI model that has a Python client library. The most common integration is with OpenAI’s API, but you can also use Hugging Face models, Anthropic’s Claude, Cohere, or even local models running on your machine. The framework provides helper functions and patterns for calling these models asynchronously, handling errors gracefully, and streaming responses. This flexibility makes Chainlit suitable for a wide range of use cases, from simple Q&A bots to complex multi-agent systems.
How to Use Chainlit: A Step-by-Step Guide
Step 1: Setting Up Environment Variables
For any production application, you should store API keys and configuration settings in environment variables. Create a file named .env in your project root and add your API key:
OPENAI_API_KEY=your_openai_api_key_hereThen, install the python-dotenv package to load these variables:
pip install python-dotenvIn your app.py, add the following at the top to load the environment variables:
from dotenv import load_dotenv
load_dotenv()
Step 2: Integrating with an LLM
Let’s upgrade our echo bot to use OpenAI’s GPT model. First, install the OpenAI Python library:
pip install openaiNow, modify your app.py to call the OpenAI API:
import chainlit as cl
import openai
import os

openai.api_key = os.getenv("OPENAI_API_KEY")

@cl.on_message
async def main(message: str):
    # Call OpenAI API with streaming enabled
    response = openai.ChatCompletion.create(
        model="gpt-3.5-turbo",
        messages=[
            {"role": "system", "content": "You are a helpful assistant."},
            {"role": "user", "content": message}
        ],
        stream=True  # Enable streaming
    )

    # Stream the response back to the user
    msg = cl.Message(content="")
    for chunk in response:
        if "choices" in chunk:
            delta = chunk["choices"][0].get("delta", {}).get("content", "")
            if delta:
                await msg.stream_token(delta)
    await msg.send()
Run the application again with chainlit run app.py. You will now see the assistant’s responses appear in real-time, token by token. This is the power of streaming combined with Chainlit’s intuitive API.
Step 3: Adding Authentication
To enable authentication, you need to configure an OAuth provider. For this example, we will use GitHub. First, create a GitHub OAuth app in your GitHub developer settings. Then, add the following to your .env file:
CHAINLIT_AUTH_PROVIDER=github
GITHUB_CLIENT_ID=your_client_id
GITHUB_CLIENT_SECRET=your_client_secret
Chainlit will automatically handle the authentication flow. When users visit your app, they will be prompted to log in with GitHub. Once authenticated, you can access user information in your message handler using cl.user_session.get("user"). This allows you to personalize responses or restrict access to certain features.
Step 4: Enabling Data Persistence
Chainlit supports persistent storage out of the box. To enable it, you need to configure a data layer. For local development, you can use the file-based storage. Add the following to your .env file:
CHAINLIT_DATA_LAYER=local
Now, every conversation will be saved to a local directory. To retrieve past conversations for a user, you can use the cl.data_layer API. For example, to load the last 10 messages for the current user:
messages = await cl.data_layer.get_conversation_messages(
    conversation_id=cl.user_session.get("conversation_id"),
    limit=10
)
This makes it easy to implement “memory” in your chatbot, allowing it to reference earlier parts of the conversation.
Step 5: Deploying Your Application
Chainlit applications can be deployed to any cloud platform that supports Python, such as Heroku, AWS Elastic Beanstalk, or Google Cloud Run. The simplest approach is to use Docker. Create a Dockerfile in your project root:
FROM python:3.11-slim
WORKDIR /app
COPY requirements.txt .
RUN pip install -r requirements.txt
COPY . .
CMD ["chainlit", "run", "app.py", "--host", "0.0.0.0", "--port", "8000"]
Build and run the Docker image locally to test, then push it to your preferred container registry and deploy. Chainlit will automatically handle the web server, so you don’t need to configure Nginx or Apache separately.
Tips for Building with Chainlit
Optimize for Streaming Performance
When using streaming, ensure your LLM provider supports it and that you are using the stream=True parameter correctly. Avoid performing heavy computations between token generations, as this will slow down the perceived response time. If you need to do pre-processing or post-processing, consider doing it asynchronously or caching results.
Use Async/Await Everywhere
Chainlit is built on asynchronous Python (asyncio). Always use async def for your message handlers and call any Chainlit API with await. Blocking the event loop with synchronous code (like time.sleep()) will freeze the entire application. If you must use a synchronous library, wrap it in a thread pool executor using asyncio.to_thread().
Leverage the Chainlit UI Components
Beyond simple text messages, Chainlit supports rich UI elements. You can send images, files, and even custom HTML. For example, to send an image from a URL:
await cl.Message(content="", elements=[cl.Image(name="example", url="https://example.com/image.png")]).send()
This allows you to build more interactive applications, such as a bot that generates charts or displays product images.
Implement Error Handling Gracefully
AI models can fail due to rate limits, network issues, or invalid inputs. Always wrap your API calls in try-except blocks and send a friendly error message to the user. For example:
try:
    response = openai.ChatCompletion.create(...)
except openai.error.RateLimitError:
    await cl.Message(content="I'm receiving too many requests. Please wait a moment.").send()
except Exception as e:
    await cl.Message(content=f"An error occurred: {str(e)}").send()
Use Environment Variables for All Configuration
Never hardcode API keys, database URLs, or secret strings in your code. Use a .env file for development and set environment variables directly in your production environment. This practice keeps your code portable and secure.
Test with Multiple Users
Chainlit’s authentication system allows you to simulate multiple users during development. Open your app in different browser windows or incognito tabs, each logged in with a different account. This helps you verify that user sessions are isolated and that data persistence works correctly for each user.
Monitor Performance
For production deployments, consider adding logging and monitoring. Chainlit does not include built-in analytics, but you can integrate with tools like Sentry for error tracking or Prometheus for metrics. Log key events such as message send times, API call durations, and user login events to identify bottlenecks.
Conclusion
Chainlit is a remarkably accessible yet powerful framework for building conversational AI applications. By abstracting away the complexities of web interfaces, authentication, and data persistence, it allows you to focus on what matters most: the intelligence and behavior of your AI assistant. In this tutorial, you have learned how to set up Chainlit, integrate it with a large language model, enable streaming, add authentication, and persist data. You have also received practical tips for optimization and deployment. Whether you are building a simple FAQ bot or a complex multi-turn assistant, Chainlit gives you the tools to go from idea to production in record time. Visit the official website at https://chainlit.io/ for more advanced documentation and community resources. Happy building!
