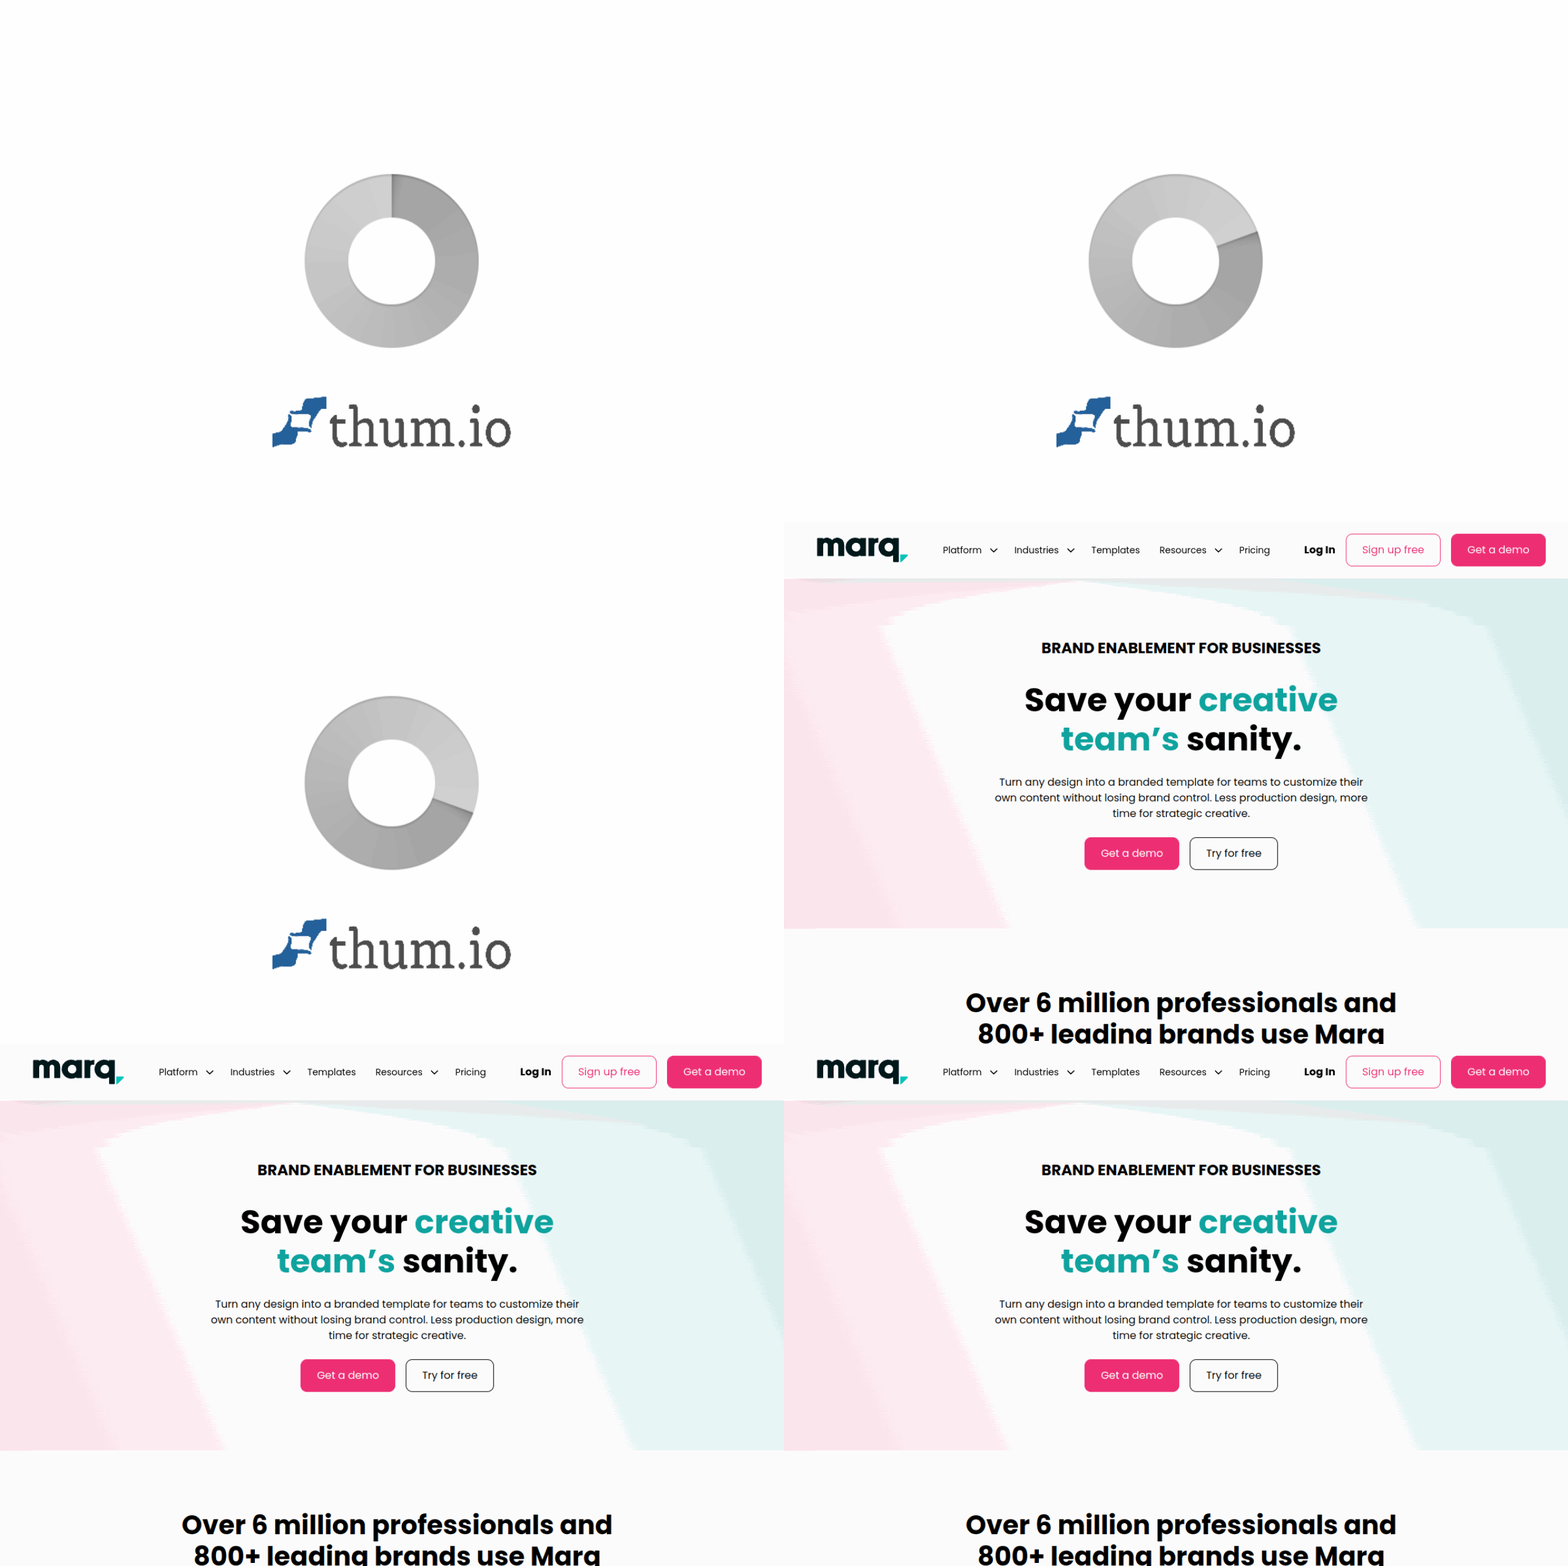
Introduction to Marq (formerly Lucidpress)
Marq, previously known as Lucidpress, is a powerful brand enablement platform designed to help organizations of all sizes maintain consistent, professional branding across all their marketing materials. Unlike traditional design tools that require extensive training or graphic design skills, Marq provides an intuitive drag-and-drop interface that anyone on your team can use. Whether you need to create social media graphics, brochures, business cards, presentations, or even complex multi-page documents, Marq streamlines the entire process from design to publication.
At its core, Marq solves a common business problem: how to empower non-designers to create on-brand content without sacrificing quality or consistency. By centralizing brand assets, templates, and guidelines in one platform, Marq ensures that every piece of content—whether created by the marketing department or a remote sales representative—reflects your brand accurately. The platform supports real-time collaboration, version control, and multiple publishing options, making it an essential tool for teams that value efficiency and brand integrity.
Marq is particularly valuable for marketing teams, franchise networks, educational institutions, and any organization that needs to produce a high volume of branded content quickly. Because it works entirely in your web browser, there is no software to install, and files are automatically saved to the cloud. This tutorial will walk you through everything you need to know to start using Marq effectively, from setting up your account to publishing your first project.
Getting Started with Marq
Creating Your Account
To begin using Marq, navigate to https://lucidpress.com and click the “Sign Up Free” button. You can register using your email address or sign in with Google or Microsoft credentials. Marq offers a free tier that includes basic features, which is perfect for individual users or small teams exploring the platform. For organizations requiring advanced brand controls, template management, and team collaboration, premium plans are available that unlock additional functionality.
Understanding the Dashboard
After logging in, you will land on your Marq dashboard. This is your central hub for managing all your documents and templates. The dashboard is organized into several key sections:
- Home: Displays recent documents and quick access to templates.
- Documents: Shows all your created projects, organized by date or folder.
- Templates: Contains pre-designed templates you can use or customize.
- Brand Center: Where you manage brand colors, fonts, logos, and guidelines.
- Teams: Manage team members and permissions (available on paid plans).
Take a few minutes to explore these sections so you understand where everything is located. The interface is clean and user-friendly, with clear icons and labels guiding you to each feature.
Setting Up Your Brand Identity
Before you start designing, it is highly recommended to set up your Brand Center. Click on “Brand Center” in the left sidebar. Here you can upload your company logo, define your brand color palette using hex codes or color pickers, and add your preferred fonts. By establishing these elements upfront, Marq will automatically enforce your brand guidelines whenever you or your team members create new documents, ensuring consistency without manual oversight.
Key Features of Marq
Drag-and-Drop Design Editor
The heart of Marq is its visual editor, which functions similarly to tools like Canva or Microsoft Publisher but with more advanced brand controls. You can drag images, text boxes, shapes, and other elements directly onto the canvas. The editor supports layers, alignment guides, and snap-to-grid functionality, making it easy to create precise layouts. Every element is fully customizable, including size, rotation, opacity, and effects like shadows or rounded corners.
Brand Template Management
Marq allows you to create and store templates that serve as starting points for your team’s content. Templates can include locked elements (such as your logo or footer) that cannot be changed, alongside editable fields for text and images. This feature is invaluable for maintaining brand consistency while giving team members the flexibility to customize content for their specific needs, such as changing event dates or contact information.
Real-Time Collaboration
Multiple users can work on the same document simultaneously, with changes visible in real time. This is ideal for teams that need to review and approve designs quickly. You can leave comments directly on specific elements, tag team members, and track revision history. Collaboration permissions allow you to control who can edit, comment, or view each document.
Brand Guideline Enforcement
One of Marq’s standout features is its ability to enforce brand rules automatically. When you set up your Brand Center, the platform restricts color choices and font selections to those you have approved. If a team member tries to use a non-brand color or font, Marq will either block the action or flag it for review. This ensures that every document, regardless of who creates it, adheres to your brand standards.
Publishing and Sharing Options
Marq offers multiple ways to share your finished content. You can publish directly to a public or private web link, download as a PDF or image file, embed documents on a website, or export for print. For teams, you can set sharing permissions, require passwords for access, or track who has viewed your document. The platform also integrates with popular tools like Google Drive, Dropbox, and social media platforms for seamless distribution.
How to Use Marq: A Step-by-Step Guide
Step 1: Creating a New Document
From your dashboard, click the “Create” button, usually located at the top right corner. You will be presented with several options:
- Blank Document: Start from scratch with a custom size.
- Use a Template: Browse Marq’s library of professionally designed templates.
- Import File: Upload an existing PDF, PowerPoint, or image file to edit.
For beginners, starting with a template is recommended. Templates are categorized by use case, such as social media, marketing, business, education, and events. Select a template that matches your project, and it will open in the editor.
Step 2: Navigating the Editor Interface
The editor is divided into three main areas:
- Left Panel: Contains tabs for Elements (shapes, lines, icons), Text (headings, paragraphs, text boxes), Images (upload your own or use stock photos), and Backgrounds.
- Center Canvas: Your design workspace where you arrange elements.
- Right Panel: Shows properties for the selected element, such as size, position, color, and effects.
At the top, you will find the toolbar with options for undo/redo, zoom, page management, and preview. Familiarize yourself with these panels, as you will interact with them constantly.
Step 3: Editing Text and Images
To edit text, simply double-click any text box on the canvas. You can change the font, size, color, alignment, and spacing using the right panel. Your brand fonts and colors will appear at the top of the selection menus if you have set them up in the Brand Center.
For images, click on an image placeholder and select “Replace Image” from the right panel. You can upload files from your computer, choose from Marq’s stock image library, or paste a URL. Once inserted, you can resize, crop, or apply filters to the image. Marq also supports background removal for images, which is useful for creating clean compositions.
Step 4: Adding and Arranging Elements
Use the left panel to add new elements to your design. Drag shapes, lines, icons, or charts directly onto the canvas. To rearrange elements, click and drag them to your desired position. Use the “Layers” option in the right panel to move elements forward or backward. Marq’s alignment tools (found in the top toolbar) help you center, distribute, or align multiple elements evenly.
Step 5: Working with Pages
For multi-page documents like brochures or presentations, you can add new pages by clicking the “Add Page” button at the bottom of the canvas. You can duplicate pages, reorder them by dragging, or delete unwanted pages. Each page can have its own background color or image, and you can link elements across pages for consistent headers or footers.
Step 6: Collaborating with Team Members
To invite collaborators, click the “Share” button at the top right of the editor. Enter the email addresses of your team members and set their permissions: “Can Edit,” “Can Comment,” or “Can View.” They will receive an email invitation to access the document. While collaborating, you will see colored cursors indicating where others are working. Use the comment feature by clicking the speech bubble icon on any element to leave feedback.
Step 7: Publishing Your Document
When your design is complete, click the “Publish” button. You have several options:
- Web Link: Generate a shareable URL. You can make it public or password-protected.
- Download: Export as PDF (print or digital), PNG, JPEG, or SVG.
- Embed: Get an embed code to insert your document into a website.
- Print: Order professional prints directly through Marq’s integrated printing service (available in select regions).
Choose the option that suits your needs. For social media, PNG or JPEG downloads are typical. For formal documents, PDF is preferred. After publishing, you can update the document later, and the published link will automatically reflect your changes.
Tips for Using Marq Effectively
Leverage Templates to Save Time
Do not reinvent the wheel. Marq offers hundreds of professionally designed templates for various purposes. Start with a template that closely matches your needs, then customize it. This approach saves time and ensures your design has a solid foundation. You can also save your own designs as templates for future use by clicking “Save as Template” from the document menu.
Master Keyboard Shortcuts
Keyboard shortcuts can significantly speed up your workflow. Some essential shortcuts in Marq include:
- Ctrl + Z: Undo last action
- Ctrl + D: Duplicate selected element
- Ctrl + G: Group selected elements
- Arrow keys: Nudge selected element by 1 pixel
- Shift + Arrow keys: Nudge by 10 pixels
- Delete: Remove selected element
Press the question mark icon in the editor to view the full list of shortcuts.
Use Brand Guidelines for Consistency
If you are managing a team, invest time in setting up your Brand Center thoroughly. Include not only colors and fonts but also logo variations, acceptable image styles, and any text guidelines. When team members create content, Marq will automatically restrict their choices to approved options. This reduces the need for constant oversight and corrections.
Organize Your Documents with Folders
As your library of documents grows, use folders to keep everything organized. Create folders by campaign, department, or content type. This makes it easy to find past projects and reuse elements. You can also set folder-level permissions to control who has access to specific content.
Take Advantage of Version History
Marq automatically saves versions of your document as you work. If you make a mistake or want to revert to an earlier design, click “File” then “Version History.” You can browse through saved versions and restore any previous state. This is particularly useful when experimenting with different layouts or after multiple rounds of edits.
Optimize Images for Web and Print
When uploading images, consider your final output. For web use, compress images to reduce file size without sacrificing quality. For print, use high-resolution images (300 DPI or higher). Marq will warn you if an image is too low resolution for your selected output. You can also use the built-in image editor to adjust brightness, contrast, and saturation directly within the platform.
Use Locking to Protect Key Elements
When sharing templates or collaborating, lock critical elements like your logo, brand name, or legal disclaimers. Right-click on an element and select “Lock.” Locked elements cannot be moved, edited, or deleted unless unlocked. This prevents accidental changes while still allowing team members to modify other parts of the design.
Explore Integrations for Workflow Efficiency
Marq integrates with several third-party tools to streamline your workflow. Connect your Google Drive or Dropbox account to import files directly. Use the Zapier integration to automate tasks, such as creating a new Marq document from a form submission. These integrations can save significant time, especially for teams handling high volumes of content.
Preview Before Publishing
Always use the “Preview” button (eye icon in the toolbar) before publishing or sharing your document. This shows exactly how your design will appear to viewers, including any interactive elements. Check for alignment issues, typos, or color discrepancies. For multi-page documents, flip through all pages in preview mode to ensure consistency.
Start Simple and Iterate
If you are new to design or to Marq, start with simple projects. Create a single-page social media graphic or a one-page flyer. As you become comfortable with the tools and features, gradually take on more complex projects like brochures, presentations, or newsletters. Marq’s learning curve is gentle, but mastery comes with practice. Do not be afraid to experiment with different layouts and effects.
Marq is a versatile platform that grows with your needs. Whether you are a solo entrepreneur creating your first marketing material or a large enterprise managing brand consistency across hundreds of employees, Marq provides the tools to create professional, on-brand content efficiently. By following this tutorial and applying the tips provided, you will be well on your way to mastering this powerful brand enablement platform.

Marq (formerly Lucidpress)
Brand enablement software for creating on-brand content.