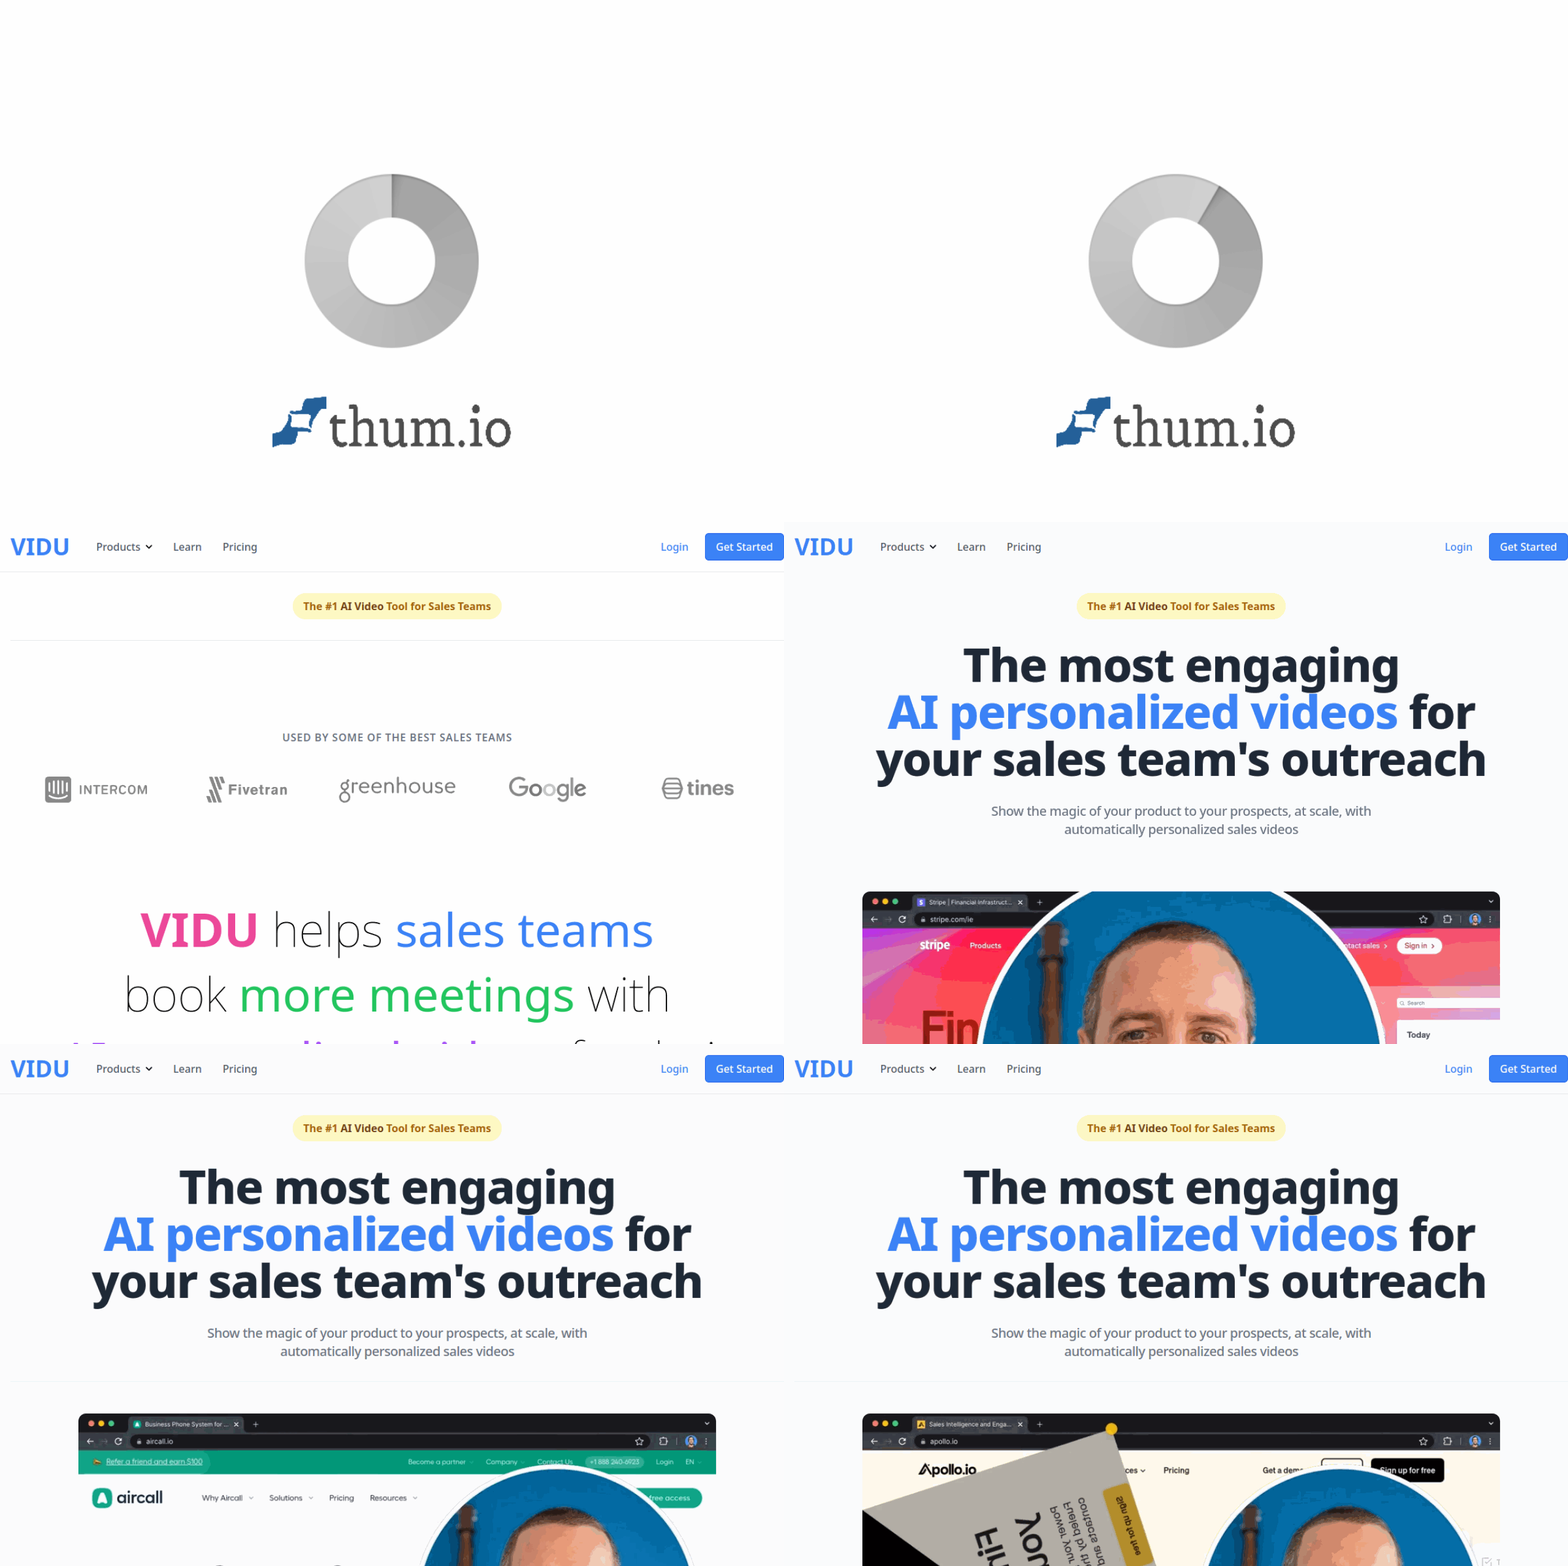
Introduction to Vidu AI: The Future of Personalized Video Outreach
In the competitive world of sales, standing out in a crowded inbox is harder than ever. Generic, one-size-fits-all videos are no longer enough to capture a prospect’s attention. Enter Vidu AI, a revolutionary video platform designed specifically for sales teams who want to scale personalized outreach without sacrificing quality or relevance.
Vidu allows you to record a single video and then automatically generate thousands of unique, customized versions—each featuring the prospect’s name, company logo, website, and even dynamic backgrounds like their LinkedIn profile or company homepage. This tool bridges the gap between the authenticity of a one-to-one video and the efficiency of mass outreach.
Whether you are a solo entrepreneur, a small business owner, or part of a large sales development team, Vidu integrates seamlessly with your existing tech stack (HubSpot, Zapier, Make, and Clay) and supports bulk generation via CSV upload or API. The result? More meetings booked, higher reply rates, and a dramatically improved prospect experience.
This tutorial will walk you through everything you need to know to get started with Vidu, from setting up your first campaign to maximizing the platform’s advanced features.
Getting Started with Vidu AI
1. Creating Your Account and Navigating the Dashboard
Begin by visiting https://vidu.ai/ and signing up for an account. Vidu offers a free trial, allowing you to test the core features before committing to a paid plan. After signing up, you will be taken to the main dashboard.
- Dashboard Overview: The dashboard is your command center. Here you will find quick links to create new videos, view your recent projects, and access your integrations.
- Workspace Setup: If you are part of a team, you can create separate workspaces for different campaigns, products, or regions. This helps keep your video assets organized.
- Billing and Plan Management: Review your current plan limits (number of videos, storage, integrations) under the “Settings” or “Billing” tab.
2. Connecting Your CRM and Automation Tools
Before you start creating videos, it is highly recommended to connect Vidu to your existing sales tools. This will automate the personalization process and streamline your workflow.
- HubSpot Integration: Go to the “Integrations” section in the Vidu dashboard. Select HubSpot and follow the authorization prompts. Once connected, you can pull prospect data directly from your CRM into your video campaigns.
- Zapier, Make, and Clay: These integrations allow you to connect Vidu with thousands of other apps. For example, you can set up a Zap that automatically triggers Vidu to generate a personalized video whenever a new lead is added to a specific Google Sheet or Salesforce list.
- API Access: For advanced users, Vidu provides a REST API. This allows you to programmatically generate videos, retrieve analytics, and embed the platform into your own custom software.
3. Understanding the Video Template Library
Vidu provides a library of pre-built templates optimized for different sales scenarios (e.g., cold outreach, follow-up, demo request). You can use these as a starting point or create your own from scratch.
- Browsing Templates: Click on “Templates” in the main menu. Filter by use case, industry, or style.
- Previewing Templates: Click on any template to see a preview. Pay attention to the “dynamic fields” (placeholders for prospect data) that are already built into the template.
- Saving Custom Templates: Once you create a video you are proud of, you can save it as a custom template for future use. This ensures brand consistency across your entire team.
Key Features of Vidu AI Explained
Record Once, Generate Thousands
This is the core promise of Vidu. You record a single “master” video. Within that video, you can insert dynamic variables (like {{first_name}}, {{company_name}}, {{website_url}}). When you generate the final videos, Vidu automatically swaps these placeholders with the actual data from your CSV or CRM.
How it works in practice: You record yourself saying, “Hi {{first_name}}, I saw that {{company_name}} is doing great work in the {{industry}} space.” Vidu then creates 500 unique videos, each with the correct name, company, and industry. The video looks and feels like you recorded it specifically for that one person.
Dynamic Video Backgrounds
One of Vidu’s most impressive features is the ability to change the background of your video dynamically, without re-recording. You can set the background to be a prospect’s website, their LinkedIn profile, a specific product page, or any URL you choose.
- Prospect Websites: Show their own homepage behind you as you speak. This immediately grabs attention because it proves you have done your research.
- LinkedIn Profiles: Display their LinkedIn photo and headline in the background. This creates a powerful visual connection.
- Custom URLs: Use any public webpage as a background. For example, a case study relevant to their industry or a news article featuring their company.
AI Personalized Product Demos
Vidu goes beyond simple name insertion. The AI can generate personalized product demonstrations. For example, if you are selling a SaaS tool, Vidu can automatically show a screenshot of your dashboard that includes the prospect’s company name or logo inserted into the interface. This makes the demo feel tailor-made for them.
Real-Time Video Watch Notifications
You will never have to wonder if a prospect watched your video. Vidu sends you real-time notifications when someone opens and watches your personalized video. This is a goldmine for sales timing.
- Instant Alerts: Receive an email or Slack message the moment a prospect views your video.
- Watch Analytics: See exactly how much of the video they watched, where they dropped off, and if they rewatched any sections.
- Follow-Up Triggers: Use this data to send a timely follow-up email or phone call while the prospect is still engaged.
CSV Bulk Video Generation
For large-scale campaigns, the CSV upload feature is your best friend. You can prepare a spreadsheet with all your prospect data (name, company, website, industry, custom notes) and upload it directly to Vidu.
- Data Mapping: Vidu will ask you to map the columns in your CSV to the dynamic fields in your video template.
- Batch Processing: The platform processes the entire list in the background. You will receive a notification when all videos are ready.
- Download or Share: You can download the videos as MP4 files, or Vidu can generate a unique shareable link for each prospect.
How to Use Vidu AI: A Step-by-Step Guide
Step 1: Prepare Your Prospect Data
Before recording, gather your list. If you are using a CSV, ensure it has clean, consistent data. Required columns typically include: First Name, Last Name, Company Name, and Website URL. Optional but powerful columns include: Industry, Job Title, LinkedIn URL, and Custom Note.
Step 2: Create a New Video Project
Click the “New Video” button on the dashboard. Choose between a blank canvas or a template. If you are a beginner, start with a template to understand the structure.
Step 3: Record Your Master Video
Vidu uses your browser’s camera and microphone. Find a quiet, well-lit space. Speak naturally and leave pauses where you would normally say the prospect’s name. For example: “Hi [pause], I wanted to reach out because…”
- Use a Script: Write a short script that includes your dynamic fields. Practice it a few times.
- Eye Contact: Look directly into the camera lens, not at your own image on the screen.
- Keep it Short: Aim for 30 to 60 seconds. Attention spans are short.
Step 4: Insert Dynamic Fields
After recording, Vidu will show you the video timeline. Use the “Add Dynamic Field” tool to place markers where you want personalization to appear.
- Text Overlays: Add the prospect’s name as a text overlay on the screen.
- Background Personalization: Select the background type (website, LinkedIn, custom URL) and map it to the correct data field.
- Logo Placement: Choose where you want the company logo to appear (top corner, bottom center, etc.).
Step 5: Review and Generate
Preview a few sample videos from your list to ensure the personalization is working correctly. Check for spelling errors in names and make sure the backgrounds load properly. Once satisfied, click “Generate All”.
Step 6: Distribute Your Videos
Vidu offers several distribution methods:
- Direct Links: Copy a unique URL for each prospect. Paste this into your email or LinkedIn message.
- Email Integration: If connected to HubSpot or your email platform, you can send the video directly from Vidu.
- Download: Download the videos as MP4 files and attach them to emails or upload them to your own hosting.
Step 7: Monitor and Follow Up
After sending, keep an eye on your “Watch Notifications” tab. When you see a prospect has watched 50% or more of the video, that is your cue to reach out. Send a quick email or call referencing something specific from the video.
Tips for Maximizing Your Results with Vidu AI
1. Personalize Beyond the Name
While inserting the prospect’s name is powerful, the real magic happens when you personalize the content. Use the {{custom_note}} field to reference a recent company milestone, a new product launch, or a shared connection. For example: “I saw that {{company_name}} just raised a Series A—congratulations!”
2. Use Dynamic Backgrounds Strategically
Don’t just set the background to their homepage by default. Think about what will resonate most:
- For cold outreach: Use their LinkedIn profile to show you’ve done your research.
- For follow-ups: Use a relevant case study or blog post from their site.
- For demos: Use a screenshot of your product with their logo inserted.
3. Keep Your Master Video Natural
Your master video should sound like a genuine conversation, not a robotic script. Record multiple takes until you sound relaxed and confident. Remember, the AI will handle the personalization, so your job is to deliver the core message with authenticity.
4. Test with a Small Batch First
Before generating 1,000 videos, run a test batch of 5 to 10. Send them to yourself or a colleague to check for errors. Verify that the dynamic fields are populating correctly and that the backgrounds load quickly. This saves you from wasting credits on a flawed campaign.
5. Leverage Real-Time Notifications for Timing
The moment a prospect watches your video, strike while the iron is hot. Prepare a follow-up email template that you can send immediately. For example: “I noticed you watched the video I sent. I’d love to answer any questions you have—are you free for a quick call tomorrow?”
6. A/B Test Your Templates
Create two or three different master videos with different tones (e.g., one very formal, one more casual). Split your prospect list and send each group a different version. Track which one gets higher watch rates and more replies. Use the winner for your next campaign.
7. Integrate with Your Sales Workflow
Don’t let Vidu exist in a silo. Connect it with your CRM and automation tools to create a seamless pipeline. For example:
- Use Zapier to trigger a video generation when a lead reaches a certain score in your CRM.
- Use HubSpot to log video views as activities in the contact timeline.
- Use Clay to enrich your prospect data before generating videos (e.g., adding company size or funding info).
8. Respect Privacy and Compliance
Always ensure you have permission to use a prospect’s data and to send them videos. Include an easy opt-out option in your emails. Vidu complies with GDPR and CAN-SPAM regulations, but it is your responsibility to use the tool ethically.
Conclusion
Vidu AI is not just a video tool—it is a sales productivity powerhouse. By allowing you to record once and generate thousands of hyper-personalized videos, it eliminates the biggest barrier to video outreach: the time it takes to create individual recordings. The dynamic backgrounds, AI demos, and real-time notifications give your sales team a significant competitive advantage.
Start small. Record your first master video, upload a CSV of 20 prospects, and see the difference a personalized video makes in your reply rates. As you become more comfortable, explore the integrations and advanced features to scale your efforts. With Vidu, every prospect feels like they are getting a one-on-one conversation, even when you are reaching out to thousands.
Visit https://vidu.ai/ to start your free trial today and transform your sales outreach one personalized video at a time.

Vidu AI Personalized Video Sales Tool
AI personalized videos at scale for sales teams' outreach.