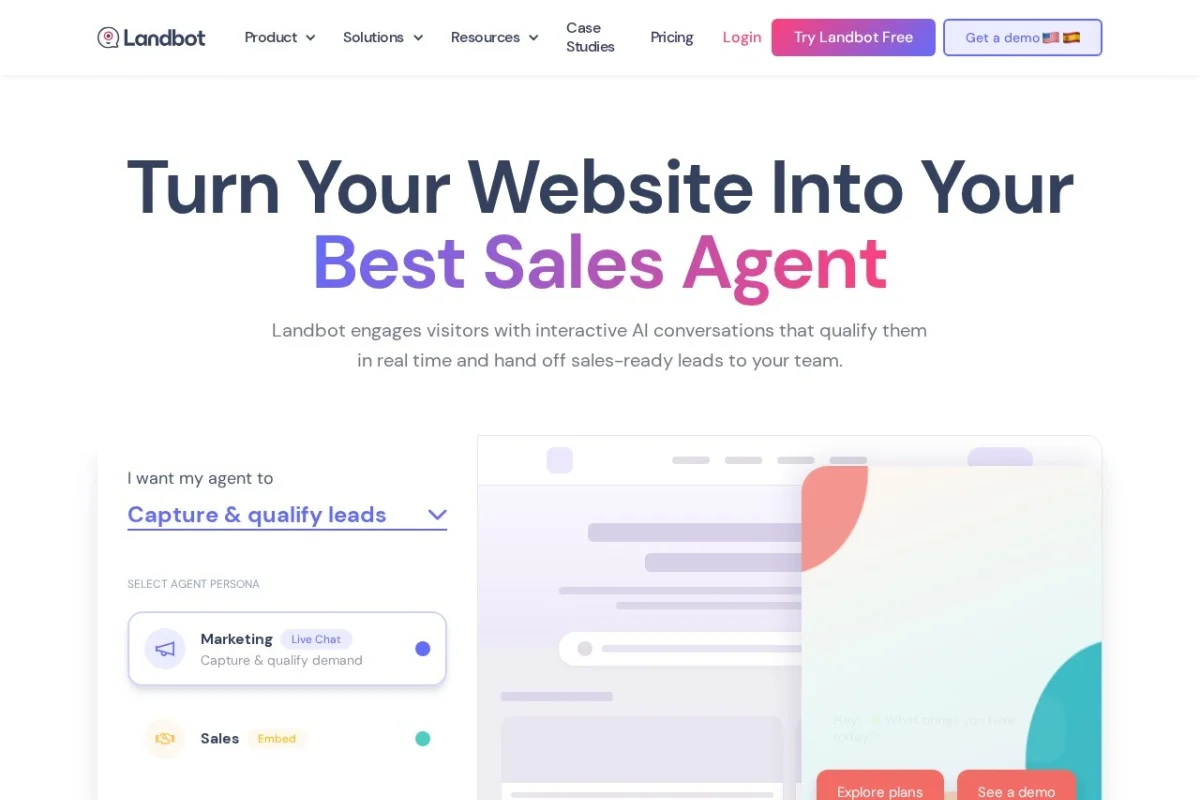
Introduction to Landbot: Your No-Code AI Chatbot Builder
In today’s fast-paced digital landscape, businesses need to engage visitors instantly, qualify leads automatically, and provide round-the-clock customer support. Landbot is a powerful, no-code AI chatbot builder that makes this possible without requiring any programming knowledge. Unlike traditional chatbot platforms that demand complex scripting, Landbot offers a visual drag-and-drop interface combined with artificial intelligence to create conversational agents for your website and WhatsApp.
Whether you are a small business owner, a marketing professional, or a customer support manager, Landbot empowers you to build sophisticated chatbots that can handle lead generation, sales conversations, and customer inquiries. The platform bridges the gap between rule-based logic and AI-powered natural language understanding, giving you the flexibility to design conversations that feel human and responsive. With built-in analytics and integrations with popular tools like HubSpot, Salesforce, and Zapier, Landbot is a complete solution for automating your business conversations.
Getting Started with Landbot
Creating Your Account
To begin, navigate to https://landbot.io and click on the “Get Started” or “Sign Up” button. You can register using your email address or sign in with your Google account. Landbot offers a free tier that allows you to build and test basic chatbots, making it ideal for beginners. After confirming your email, you will be taken to your dashboard, which is the central hub for managing all your chatbots.
Understanding the Dashboard
The Landbot dashboard is clean and intuitive. On the left sidebar, you will find key sections:
- Bots: This is where you create, edit, and manage your chatbot projects.
- Templates: A library of pre-built chatbot templates for lead generation, customer support, and sales.
- Analytics: View performance metrics for your active chatbots.
- Integrations: Connect Landbot with third-party tools like CRM systems, email marketing platforms, and payment gateways.
- Settings: Configure your account preferences, billing, and team members.
To start your first project, click on the “Create Bot” button. You will be prompted to choose between a blank canvas or a template. For beginners, selecting a template is recommended as it provides a solid foundation that you can customize.
Key Features of Landbot
1. No-Code Visual Chatbot Builder
The heart of Landbot is its drag-and-drop builder. You design conversations by placing blocks on a canvas. Each block represents a step in the conversation, such as sending a message, asking a question, or branching based on user input. You simply drag blocks from the left panel onto the canvas and connect them with lines. This visual approach makes it easy to see the entire flow of your chatbot at a glance.
2. AI-Powered Conversational Responses
Landbot integrates AI capabilities that allow your chatbot to understand natural language. Instead of relying solely on predefined buttons, you can enable the AI to interpret free-text responses from users. For example, if a user types “I want to know about pricing,” the AI can recognize the intent and direct them to the appropriate section. This feature makes conversations feel more organic and reduces the need for rigid menu structures.
3. WhatsApp and Website Integration
Landbot supports deployment on two major channels: your website and WhatsApp. For website integration, you can embed the chatbot as a widget using a simple JavaScript snippet. For WhatsApp, Landbot connects via the official WhatsApp Business API, allowing you to send and receive messages, automate replies, and even send rich media like images and documents. This dual-channel capability ensures you can reach customers where they are most active.
4. Lead Generation and Qualification Automation
One of the primary use cases for Landbot is automating lead capture. You can design conversations that ask qualifying questions, collect contact information, and score leads based on their responses. The chatbot can then automatically send the lead data to your CRM or email marketing system. This eliminates manual data entry and ensures your sales team receives only high-quality leads.
5. Analytics and Performance Tracking
Landbot provides detailed analytics to help you optimize your chatbot’s performance. You can track metrics such as total conversations, completion rates, drop-off points, and user satisfaction. The analytics dashboard also shows which questions users ask most frequently, allowing you to refine your chatbot’s responses. This data-driven approach helps you continuously improve your conversational flows.
How to Use Landbot: A Step-by-Step Guide
Step 1: Choose Your Bot Type
After clicking “Create Bot,” you will see two options: Website Bot and WhatsApp Bot. Select the channel you want to start with. For this tutorial, we will build a website bot for lead generation. Name your bot and click “Create.”
Step 2: Understand the Builder Interface
The builder interface consists of three main areas:
- Left Panel: Contains all the building blocks (Send Message, Question, Condition, Action, etc.).
- Canvas: The central workspace where you design your conversation flow.
- Top Toolbar: Options to save, preview, publish, and access settings.
Each block has a specific function:
- Send Message: Displays text, images, or buttons to the user.
- Question: Asks the user for input, which can be text, a number, or a selection from buttons.
- Condition: Checks the user’s response and branches the conversation accordingly.
- Action: Performs a backend task, such as sending data to a CRM or triggering an email.
- AI Block: Enables natural language understanding for free-text responses.
Step 3: Build a Simple Lead Generation Flow
Let’s create a basic chatbot that greets visitors, asks for their name and email, and then thanks them.
First, drag a Send Message block onto the canvas. Double-click it and type: “Hello! Welcome to our site. I’m here to help you learn more about our products.”
Next, drag a Question block below the message. Connect the first block to the question block by clicking the small circle at the bottom of the message block and dragging the line to the top of the question block. In the question block, set the question text to: “What is your name?” Choose the response type as “Text.”
Add another Question block below the first question. Connect them. In this block, ask: “Great, [name]! What is your email address so we can send you more information?” Note: Landbot uses variables like [name] to dynamically insert the user’s previous answer. You can access variables from the right panel when editing a block.
Finally, add a Send Message block at the end. Type: “Thank you, [name]! We will send you an email shortly. Is there anything else I can help you with?” You can also add buttons like “Yes” and “No” to continue or end the conversation.
Step 4: Add AI-Powered Responses
To make your chatbot smarter, you can add an AI Block. Drag it onto the canvas and connect it after a question block. In the AI block settings, you can define the bot’s personality and knowledge base. For example, you can instruct the AI to answer questions about your product features or pricing. When a user types a free-text question, the AI will analyze the intent and respond appropriately.
For best results, provide the AI with a context prompt. For instance: “You are a helpful sales assistant for a software company. Answer questions about our pricing plans, features, and demo requests. If you don’t know the answer, ask the user to contact support.” This ensures the AI stays on topic and provides accurate information.
Step 5: Set Up Lead Capture Actions
To actually capture the lead data, you need to add an Action block. After the final “Thank you” message, drag an Action block. In the block settings, select “Send Data” and choose your integration. If you haven’t connected any tools yet, you can use the built-in “Google Sheets” integration to store responses in a spreadsheet. Alternatively, you can connect Landbot to a CRM like HubSpot or Salesforce.
Map the variables from your chatbot (e.g., [name], [email]) to the corresponding fields in your integration. This step ensures that every lead is automatically recorded without manual work.
Step 6: Preview and Test Your Bot
Before publishing, click the Preview button in the top toolbar. A chat window will appear on the right side of the screen. Interact with your chatbot as a user would. Type responses, test the branching logic, and ensure the AI responds correctly. Pay attention to any errors or awkward transitions. You can go back to the canvas and adjust blocks as needed.
Step 7: Publish and Embed on Your Website
Once you are satisfied with the test, click the Publish button. Landbot will generate a JavaScript snippet for website integration. Copy this snippet and paste it into the <head> section of your website’s HTML code. If you use a platform like WordPress, you can install a plugin that allows you to add custom code to your site header. Alternatively, Landbot provides a direct integration with popular website builders like Wix and Squarespace.
For WhatsApp deployment, you will need to connect your WhatsApp Business account. Landbot guides you through the verification process, which involves linking your phone number and agreeing to Meta’s terms. Once connected, you can set up automated replies and even trigger conversations from your website.
Tips for Success with Landbot
1. Start Simple and Iterate
Do not try to build a complex chatbot with dozens of branches on your first attempt. Start with a simple flow that handles the most common user requests. Once it is working well, add more branches and AI capabilities. Use the analytics dashboard to identify where users drop off and improve those sections.
2. Use Variables to Personalize Conversations
Personalization significantly improves user engagement. Always collect the user’s name early in the conversation and use the [name] variable throughout the flow. You can also store other data like company name, industry, or preferred contact time to tailor the experience.
3. Combine Rule-Based and AI Responses
Rule-based blocks (buttons and conditions) are excellent for guiding users through structured processes like booking a demo or filling out a form. AI blocks are best for open-ended questions where users might ask unexpected things. Use a hybrid approach: start with buttons for clear choices, but fall back to AI if the user types something not covered by the buttons.
4. Test on Multiple Devices
Your chatbot will be accessed from desktops, tablets, and mobile phones. Test the conversation flow on different screen sizes to ensure buttons are tappable and text is readable. Landbot’s preview mode allows you to simulate mobile view, but real-world testing is always recommended.
5. Monitor Analytics Regularly
Check your analytics at least once a week. Look for metrics like Completion Rate (percentage of users who finished the conversation) and Drop-off Points (where users stopped interacting). If a high percentage of users drop off at a specific question, consider rewording it or offering more options. Also, review the “Unanswered Questions” report to see what users typed that the AI could not understand. Add those intents to your AI training data.
6. Integrate with Your Existing Tools
Landbot’s true power comes from its integrations. Connect it to your email marketing platform to send follow-up emails automatically. Link it to your CRM so that leads are instantly assigned to sales reps. Use Zapier to connect Landbot with hundreds of other apps. The more you automate, the less manual work you will have.
7. Keep Conversations Short and Focused
Users are often impatient. Avoid long monologues or asking too many questions in a row. Aim for a maximum of 5-7 interactions before providing value or handing off to a human. If you need to collect multiple pieces of information, spread the questions out and offer progress indicators like “Step 2 of 4.”
8. Provide a Human Handoff Option
No chatbot can handle every situation perfectly. Always include an option for users to speak with a human agent. This can be a button that says “Talk to a person” or an AI detection that escalates when the user expresses frustration. Landbot supports live chat handoff, where the conversation is transferred to a human agent with full context.
Conclusion
Landbot is a versatile and beginner-friendly tool that democratizes chatbot creation. Its no-code visual builder, combined with AI capabilities, allows anyone to build conversational agents that automate lead generation, customer support, and sales. By following the steps outlined in this tutorial and applying the tips provided, you can create a chatbot that not only engages your visitors but also drives tangible business results.
Remember that building a great chatbot is an ongoing process. Start with a simple version, gather feedback, and continuously refine your flows using the analytics data. With Landbot, you have all the tools you need to create a conversational experience that feels natural, helpful, and effective. Visit https://landbot.io to start your first project today.

Landbot AI Agent & Chatbot Builder
Build AI chatbots for WhatsApp and websites with no code.