Introduction
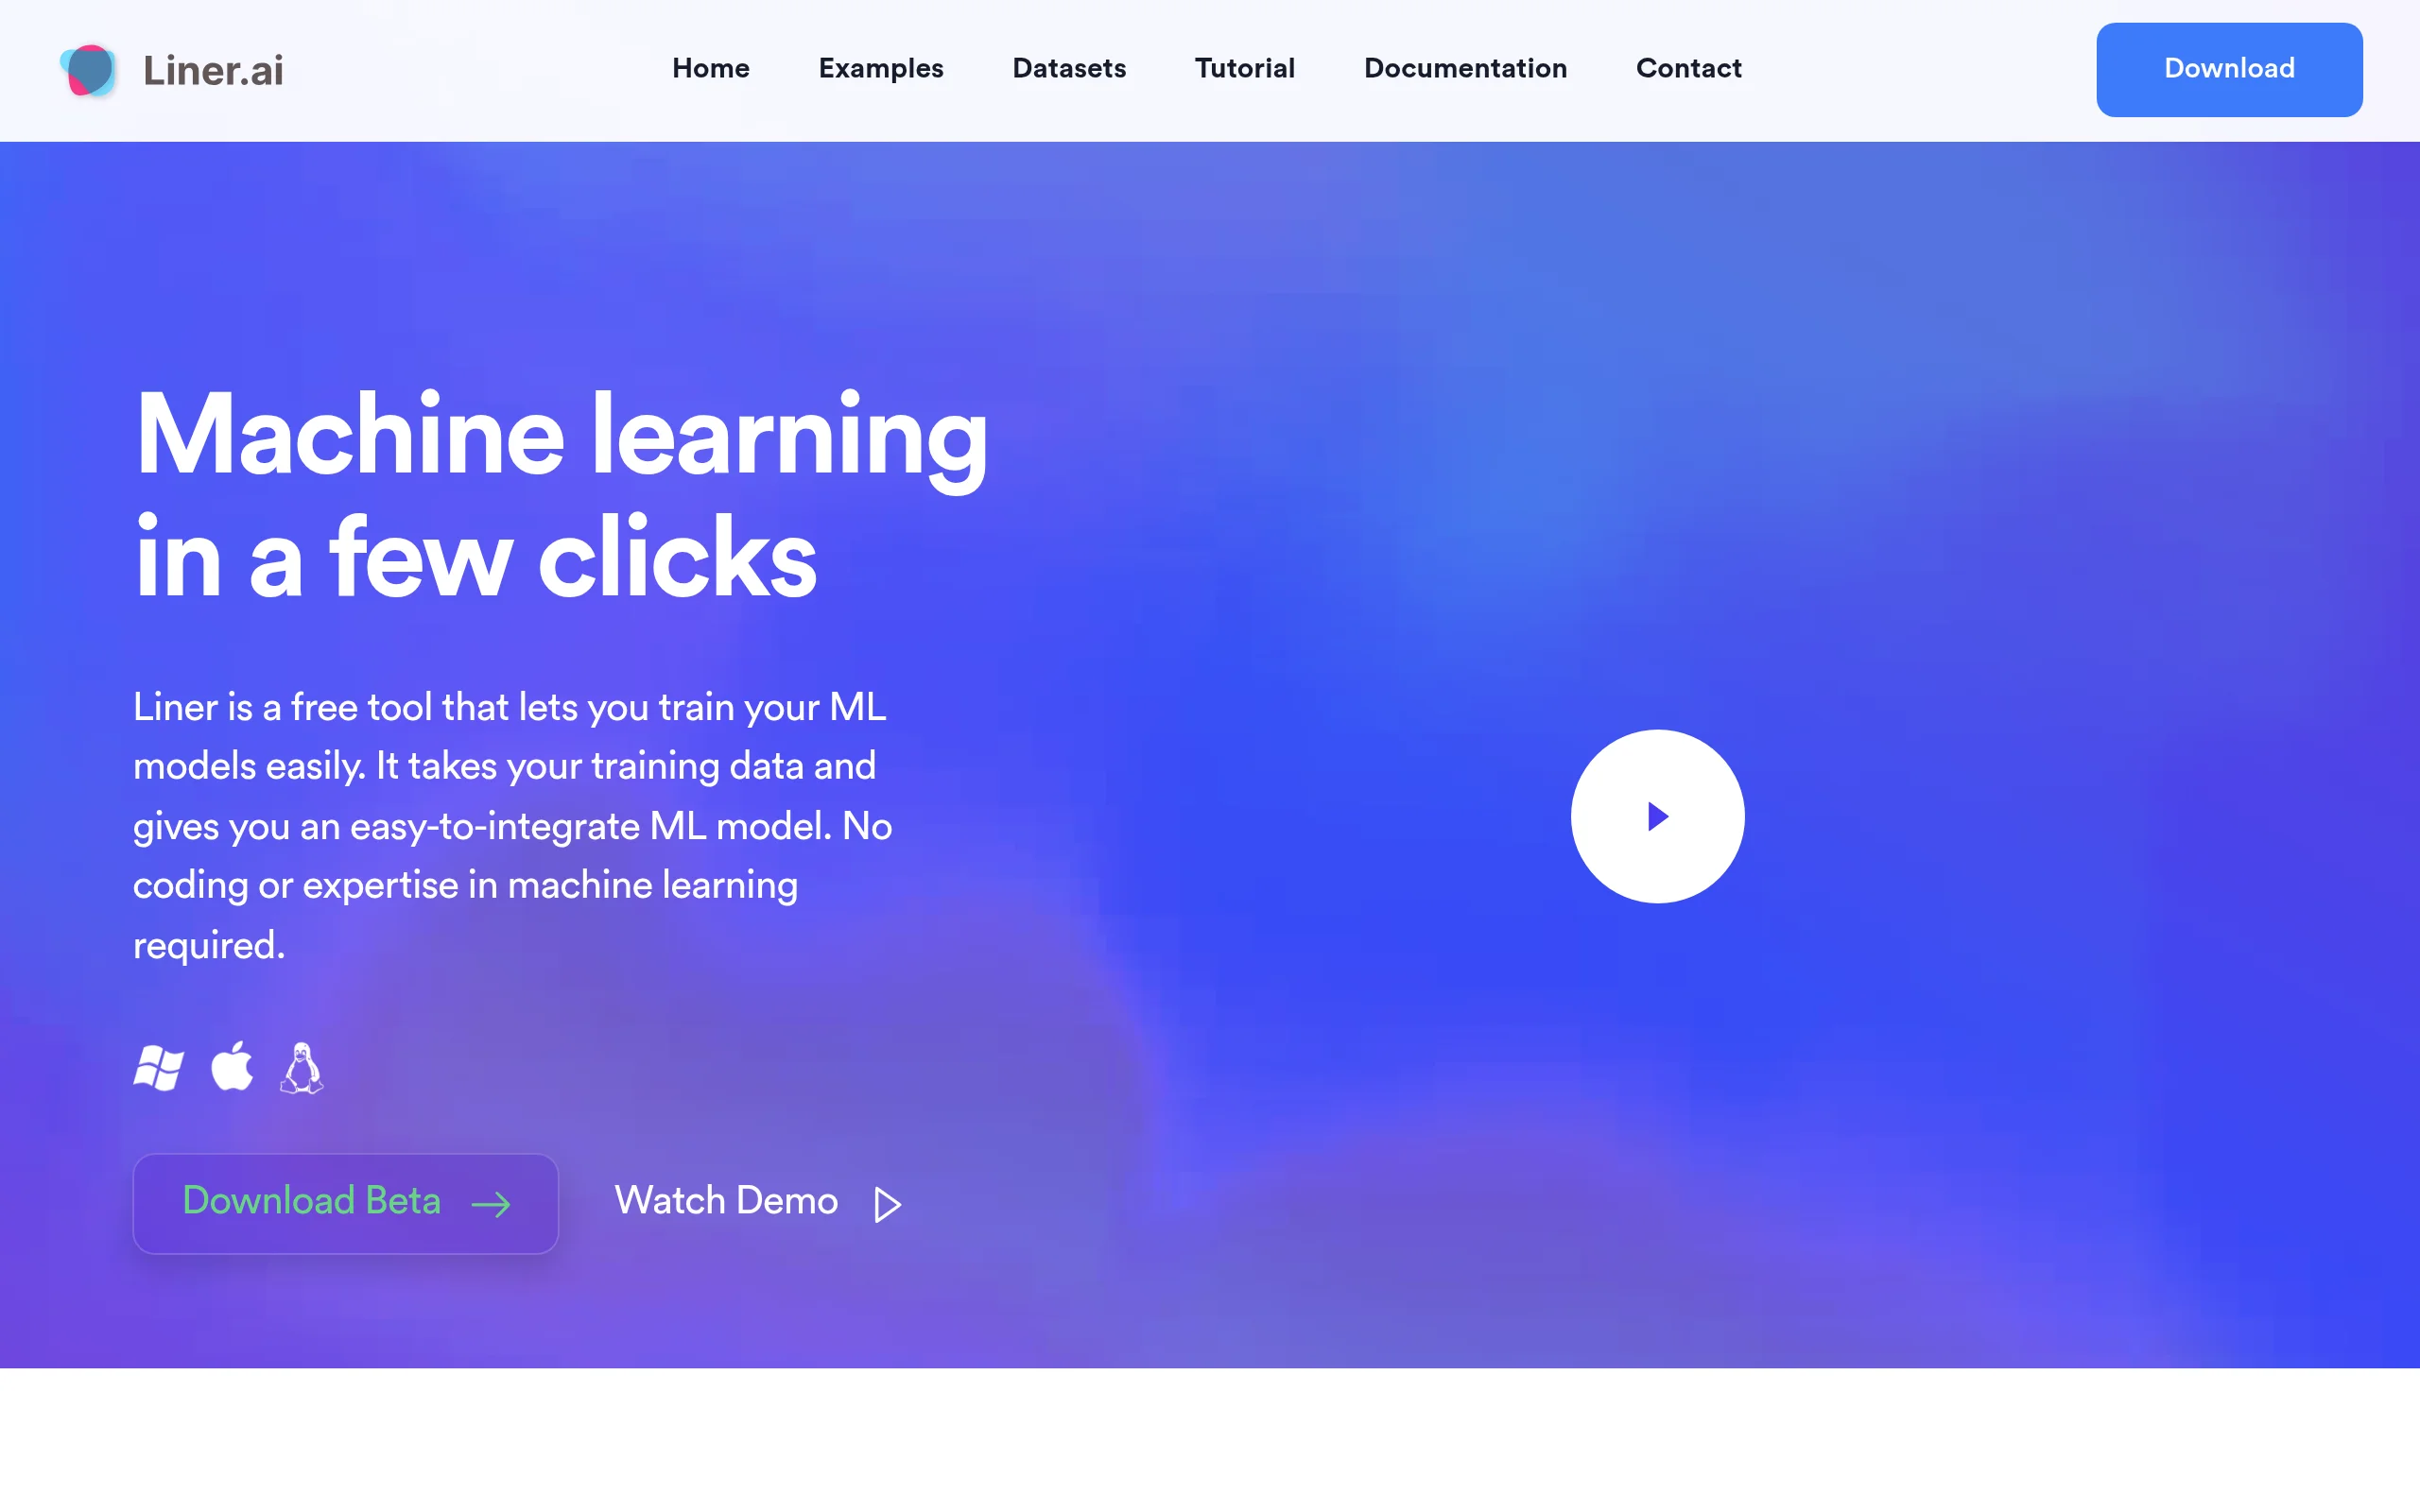
Artificial intelligence and machine learning have traditionally been domains reserved for data scientists and software engineers with years of programming experience. However, the landscape is changing rapidly, and tools like Liner.ai are democratizing access to this powerful technology. Liner is a free, end-to-end machine learning platform that allows anyone—regardless of technical background—to train, evaluate, and deploy custom machine learning models without writing a single line of code.
Whether you are a hobbyist, a small business owner, a student, or a professional looking to prototype an AI solution quickly, Liner provides a streamlined workflow. You simply provide your training data (images, text, audio, or video), and the tool automatically selects an appropriate neural network architecture, trains it on your data, and outputs a ready-to-use model. The entire process runs on your local machine, meaning your data never leaves your computer, and no GPU is required—Liner is optimized for CPU and edge devices.
In this tutorial, you will learn everything you need to get started with Liner.ai, from installation and key features to a step-by-step guide on training your first model. By the end, you will be able to create your own machine learning models and integrate them into real-world applications.
Getting Started
System Requirements
Before downloading Liner, ensure your computer meets the following minimum requirements:
- Operating System: Windows 10 or later (64-bit), macOS 10.14 or later, or a Linux distribution with a modern kernel.
- Processor: Any modern x86-64 CPU (Intel Core i5 or equivalent recommended).
- RAM: At least 8 GB (16 GB or more recommended for larger datasets).
- Storage: 1 GB free space for the application, plus additional space for your datasets.
- GPU: Not required. Liner is designed to work efficiently on CPU.
Installation
Follow these simple steps to install Liner:
- Open your web browser and go to the official Liner website: https://liner.ai/
- Click on the “Download” button. The website will automatically detect your operating system and offer the appropriate installer.
- Once the download is complete, run the installer file (for Windows, it will be a .exe file; for macOS, a .dmg file).
- Follow the on-screen installation instructions. On Windows, you may need to allow the installer to make changes to your device.
- After installation, launch Liner. You will be greeted by a clean, intuitive interface with a sidebar and a main workspace.
First Launch Interface Overview
When you open Liner for the first time, you will see:
- Sidebar (left): Contains buttons for creating new projects, opening existing projects, and accessing settings.
- Main Workspace: This is where you will manage your datasets, configure training, and view results.
- Top Menu Bar: Provides options for file management, help, and preferences.
Take a moment to explore these areas. You don’t need to worry about complex settings—Liner is designed to guide you through each step.
Key Features
Liner.ai packs a surprising amount of functionality into a simple interface. Below are its most important features:
1. No-Code Machine Learning
The core promise of Liner is that you can train models without writing any code. This is achieved through a graphical user interface where you define your data, set parameters (if desired), and click “Train.” The underlying code is handled automatically.
2. Multiple Data Types Supported
Liner supports a wide variety of machine learning tasks:
- Image Classification: Train a model to recognize objects, animals, or any visual category (e.g., “cat” vs. “dog”).
- Text Classification: Classify text into categories such as sentiment (positive/negative) or topic (sports/politics).
- Audio Classification: Identify sounds or spoken words (e.g., “applause” vs. “silence”).
- Video Classification: Analyze video clips to determine the action or scene.
- Object Detection: Locate and label multiple objects within an image (e.g., cars, pedestrians).
- Image Segmentation: Assign a class to every pixel in an image, useful for medical imaging or autonomous driving.
- Pose Classification: Detect human body poses and classify them (e.g., standing, sitting, jumping).
3. Automatic Model Selection and Training
Liner uses a built-in algorithm to choose the best neural network architecture for your data and task. You do not need to understand the difference between ResNet, YOLO, or MobileNet—the tool handles this for you. It also automatically splits your data into training and validation sets.
4. CPU and Edge Device Optimization
Unlike many deep learning frameworks that require powerful GPUs, Liner is optimized to run on standard CPUs. This means you can train and run models on laptops, mini-PCs, and even edge devices like Raspberry Pi (with some limitations).
5. Easy Model Export
Once your model is trained, you can export it in formats compatible with popular platforms and frameworks:
- ONNX: A portable format that can be used with many runtimes (Windows ML, ONNX Runtime).
- OpenVINO: Intel’s toolkit for optimizing models on Intel hardware.
- TensorFlow Lite: For mobile and embedded devices.
- CoreML: For Apple devices (iOS, macOS).
- Plain Python: A simple Python script for custom integration.
6. Real-Time Preview
During training, Liner shows live metrics such as loss and accuracy. You can also test your model immediately with sample data before exporting.
How to Use Liner.ai
In this section, we will walk through a complete example: training an image classifier to distinguish between pictures of “apples” and “bananas.” The same steps apply to text, audio, video, and other tasks.
Step 1: Create a New Project
- Launch Liner.
- Click on the “New Project” button in the sidebar.
- A dialog box will appear. Enter a project name, for example, “Fruit Classifier”.
- Select the project type from the dropdown menu. For this example, choose “Image Classification”.
- Click “Create”. Your new project will open in the main workspace.
Step 2: Prepare Your Dataset
Liner expects your data to be organized in folders. Each folder represents a class (category).
- On your computer, create a main folder called “Fruit_Dataset”.
- Inside it, create two subfolders: one named “Apple” and another named “Banana”.
- Collect images of apples and bananas. You can use photos from your phone or download free stock images. Ensure you have at least 20-30 images per class for a basic model.
- Place the apple images in the “Apple” folder and banana images in the “Banana” folder.
Step 3: Load Data into Liner
- Back in Liner, look for the “Import Data” button (usually located in the center of the workspace).
- Click it and navigate to your “Fruit_Dataset” folder.
- Select the folder and click “Open”. Liner will scan the subfolders and automatically recognize “Apple” and “Banana” as your two classes.
- A preview of your dataset will appear, showing the number of images per class. Verify that the counts look correct.
Step 4: Configure Training Parameters
Liner provides sensible defaults, but you can adjust a few settings:
- Validation Split: The percentage of data set aside for testing (default is 20%).
- Number of Epochs: How many times the model will see the entire dataset. More epochs can improve accuracy but take longer. Start with 10-20.
- Batch Size: The number of samples processed before updating the model. Leave at default (8 or 16).
- Learning Rate: Controls how quickly the model learns. Beginners should leave this as “Auto.”
For this tutorial, keep all settings at their defaults. They are already well-tuned for most datasets.
Step 5: Start Training
- Click the “Train” button. Liner will first analyze your data and select an appropriate model architecture (e.g., MobileNet for images).
- A progress bar will appear, along with real-time charts showing loss and accuracy. You will see the model improving as epochs progress.
- Training time depends on your CPU and dataset size. For 50-100 images, it should take 2-5 minutes.
- When training is complete, a summary window will appear displaying the final accuracy (e.g., 95% validation accuracy).
Step 6: Test Your Model
- After training, you can test the model immediately. Look for a “Test” or “Preview” section.
- Click “Upload Image” and select a new picture of an apple or banana that was NOT in your training set.
- Liner will display the predicted class and a confidence score (e.g., “Apple – 98.7%”).
- Test a few more images to ensure the model generalizes well.
Step 7: Export Your Model
Once satisfied, you can export the model for use in other applications:
- Click the “Export” button in the toolbar.
- Choose your desired format. For beginners, “ONNX” or “TensorFlow Lite” are good choices.
- Select a destination folder and click “Save”.
- Liner will generate the model file along with a small Python script that shows how to load and run the model. You can integrate this script into your own software.
Working with Other Data Types
The workflow is nearly identical for text, audio, video, object detection, segmentation, and pose classification. The main difference is how you prepare your data:
- Text Classification: Create a folder for each category, and place .txt files inside. Each file should contain one sample of text.
- Audio Classification: Use .wav or .mp3 files, organized by class folders.
- Object Detection: You will need to annotate images with bounding boxes. Liner supports PASCAL VOC format (XML files). You can use free tools like LabelImg to create annotations.
- Image Segmentation: Requires pixel-level masks (PNG images where each color represents a class).
Tips for Best Results
1. Data Quality Over Quantity
Having 100 high-quality, diverse images is far better than 1,000 blurry, repetitive ones. Ensure your training data represents the real-world conditions where your model will be used. For example, if you want to classify fruits on a table, include images with different lighting, angles, and backgrounds.
2. Balance Your Classes
If you have 100 images of apples but only 10 of bananas, your model will become biased toward apples. Try to have roughly equal numbers of samples for each class. If you cannot collect more data, consider using data augmentation (Liner may do this automatically for images).
3. Use a Validation Set
Always keep a portion of your data (20-30%) separate from training. Liner does this automatically. This validation set helps you detect overfitting—when the model memorizes the training data but fails on new data.
4. Start Small and Iterate
Begin with a small dataset and a low number of epochs (e.g., 10). This gives you a quick baseline. If accuracy is low, add more data or increase epochs. If the model overfits (high training accuracy but low validation accuracy), reduce epochs or add regularization (Liner’s “Auto” settings handle this reasonably).
5. Experiment with Different Tasks
Don’t limit yourself to image classification. Liner’s support for object detection and pose classification opens up exciting possibilities. For instance, you could train a model to detect specific tools on a workshop bench, or classify yoga poses from webcam footage.
6. Export and Test in Your Target Environment
Before deploying your model to a production app, test the exported model in the actual runtime environment (e.g., on a mobile phone or a web server). Performance may differ from the training environment due to hardware differences.
7. Leverage the Community and Documentation
Liner has an active user community and documentation. If you encounter issues, check the official website for tutorials or visit forums. Many users share their datasets and project templates, which can save you time.
8. Keep Your Software Updated
The developers of Liner frequently release updates that improve model accuracy, add new export formats, and fix bugs. Make sure you are using the latest version by checking the website periodically.
Conclusion
Liner.ai is a remarkable tool that removes the technical barriers to machine learning. By providing a no-code interface, automatic model selection, and support for a wide range of data types, it empowers anyone to create custom AI solutions. Whether you are building a smart photo organizer, a voice command system, or an industrial inspection tool, Liner gives you a fast, free, and practical way to bring your ideas to life.
We have covered the installation process, key features, a step-by-step usage guide, and practical tips to maximize your success. The best way to learn is by doing—so open Liner, gather some data, and train your first model today. You might be surprised at how easy and rewarding machine learning can be.

Liner.ai - Machine Learning without Code
Free tool to train ML models easily with no coding required.