Introduction to Narrato: Your AI-Powered Content Command Center
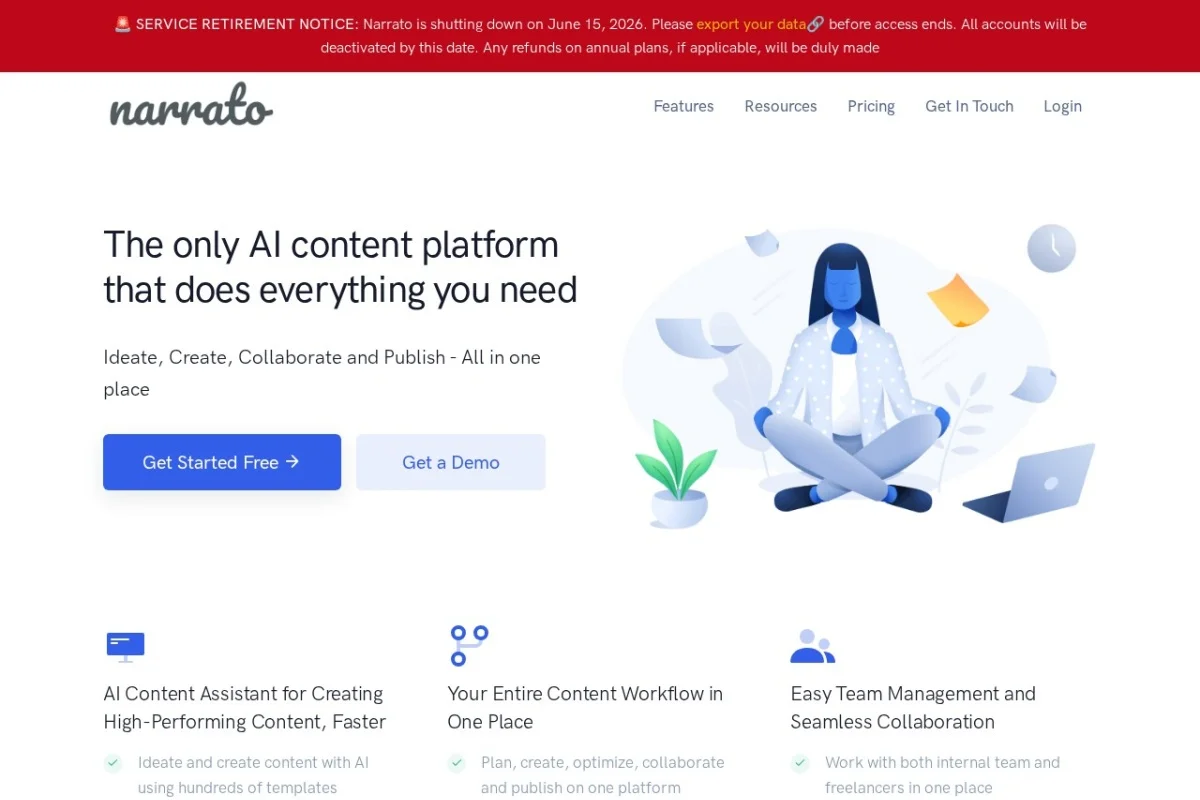
In the fast-paced world of digital marketing, producing consistent, high-quality content at scale is a significant challenge. Teams often struggle with juggling multiple tools for writing, SEO, collaboration, and publishing, leading to workflow bottlenecks and inconsistent output. Enter Narrato, an all-in-one AI-powered content creation and marketing platform designed to streamline the entire content lifecycle. Unlike simple AI writers that only generate text, Narrato acts as a comprehensive command center where you can plan your strategy, generate and optimize content, collaborate with your team, and publish directly to your website.
This tutorial is designed for beginners and practical users who want to leverage Narrato to improve their content workflow. We will walk through the core features, show you exactly how to use them step-by-step, and share tips to get the most out of the platform. By the end of this guide, you will understand how Narrato can help you produce better content faster, with less friction.
Getting Started with Narrato
Creating Your Account and Workspace
Getting started is straightforward. Navigate to https://narrato.io/ and sign up for a free trial or choose a plan that fits your team size. You will be prompted to create a workspace, which is your central hub for all projects. Think of a workspace as a dedicated folder for a specific brand, website, or content vertical. You can create multiple workspaces to keep different projects organized.
Navigating the Dashboard
Once logged in, you will see the main dashboard. The left-hand sidebar is your primary navigation tool. Key sections include:
- Content Library: Where all your created documents live.
- Content Calendar: A visual planner for scheduling and tracking content.
- Workflows: Where you set up approval processes and task management.
- SEO Tools: Access to keyword research and content optimization.
- Team: Manage user roles and permissions.
- Integrations: Connect to CMS platforms like WordPress or Webflow.
Spend a few minutes clicking through these sections to familiarize yourself with the layout. The interface is clean and intuitive, designed to reduce the learning curve.
Setting Up Your Team and Roles
Before you start writing, invite your team members. Go to the Team section and click “Invite Members.” You can assign specific roles such as Admin, Editor, Writer, or Reviewer. This role-based access ensures that only authorized users can publish content or change workflows, which is crucial for maintaining quality control in larger teams.
Key Features of Narrato Explained
AI Content Generation and Rewriting
This is the engine of Narrato. The AI can generate blog posts, social media captions, product descriptions, and more from a simple prompt. It also includes a rewriting tool that can paraphrase existing content, improve readability, or change the tone (e.g., from formal to conversational). The AI is trained on high-quality marketing data, making it particularly useful for business content.
SEO Optimization and Keyword Suggestions
Narrato includes a built-in SEO assistant that scores your content in real-time. It suggests target keywords based on your topic, analyzes keyword density, and checks for readability. You can also perform keyword research directly within the platform to find related terms and questions that your audience is searching for. This feature helps you write content that is not only engaging but also discoverable by search engines.
Content Calendar and Workflow Management
The content calendar provides a bird’s-eye view of your publishing schedule. You can drag and drop content pieces to different dates, assign writers, and set deadlines. Workflow management allows you to create custom stages like “Draft,” “Review,” “Approved,” and “Published.” When a writer finishes a draft, the system automatically notifies the next person in the workflow, ensuring that nothing falls through the cracks.
Team Collaboration with Role-Based Access
Collaboration is built into the editor. Multiple team members can leave comments, suggest edits, and discuss changes in real-time. The role-based access ensures that only editors can approve final versions, and only admins can change project settings. This eliminates the chaos of email chains and version control issues.
Plagiarism Checker and Grammar Tools
Originality is critical for SEO and brand reputation. Narrato includes a plagiarism checker that scans your text against billions of web pages. It also has a grammar and style checker that catches spelling mistakes, punctuation errors, and awkward phrasing. These tools are integrated directly into the writing interface, so you don’t need to switch to a third-party app.
Integration with Popular CMS Platforms
Narrato connects directly with content management systems like WordPress, Webflow, and Medium. Once your content is approved, you can publish it to your website with a single click. The integration also syncs metadata like SEO titles, meta descriptions, and featured images, saving you from manual data entry.
How to Use Narrato: A Step-by-Step Practical Guide
Step 1: Creating a New Content Project
Start by clicking the “+ New Content” button in the Content Library. You will see several options: Blog Post, Social Media, Landing Page, and Custom Document. For this tutorial, we will use “Blog Post.” Give your document a working title (e.g., “Ultimate Guide to Email Marketing”).
Step 2: Generating Content with AI
Once the document opens, you will see a writing toolbar on the right side. Click the AI Writer icon. A sidebar will appear with different modes:
- Generate from Outline: First, write a brief outline of your main points. Narrato will expand each point into a full paragraph.
- Generate from Topic: Simply type your topic (e.g., “Benefits of email marketing automation”). The AI will create a complete draft.
- Generate from Keywords: Input a list of keywords, and the AI will weave them into a coherent article.
For beginners, the “Generate from Topic” mode is easiest. Type your topic, select the desired tone (Professional, Friendly, Persuasive), and choose the length. Click “Generate.” The AI will produce a draft in seconds. Read through it and use it as a foundation. You can then edit, add your own insights, or ask the AI to rewrite specific sections.
Step 3: Optimizing for SEO
After you have a solid draft, it is time to optimize. Click the SEO tab in the right sidebar. Narrato will analyze your content and give it a score out of 100. It will suggest a primary keyword if you haven’t added one. Look for the following recommendations:
- Keyword Density: Ensure your primary keyword appears naturally in the title, first paragraph, and a few subheadings.
- Readability: Short sentences and simple words score higher. Use the “Readability” score to adjust your writing.
- Meta Data: Write a compelling meta title (under 60 characters) and meta description (under 160 characters). Narrato provides a preview of how it will look in search results.
Use the Keyword Suggestions tool to find 3-5 related keywords (e.g., “email automation tools,” “email marketing ROI”) and sprinkle them naturally into your content. This signals to Google that your article is comprehensive.
Step 4: Collaborating with Your Team
To get feedback, click the Share button in the top right corner. You can invite specific team members by email or generate a shareable link. They can add comments directly to the text. For example, a reviewer might highlight a sentence and write, “Can we add a statistic here?” You can reply to the comment, resolve it, or make the change immediately. This keeps all feedback in one place.
Step 5: Managing Workflow and Deadlines
Navigate to the Workflows tab in the sidebar. Create a new workflow by naming it (e.g., “Blog Workflow”) and adding stages: “Drafting,” “Editing,” “Review,” “Approved.” Assign each stage to a specific team member. Back in your document, click the Status dropdown and select the first stage. As you complete each stage, the next person will receive a notification. This ensures accountability and prevents bottlenecks.
Step 6: Checking for Plagiarism and Grammar
Before finalizing, run the Plagiarism Checker by clicking the icon in the toolbar. Narrato will scan your text and report any matches. If it finds a match, rewrite that section using the AI Rewrite tool to make it original. Next, run the Grammar Checker. It will underline errors in red. Click on each error to see the suggested fix and apply it with one click.
Step 7: Publishing to Your CMS
Once your content is approved and polished, it is time to publish. Go to the Integrations section in the sidebar and connect your CMS (e.g., WordPress). You will need to provide your website URL and API credentials. After connecting, return to your document and click the Publish button. A dialog box will appear allowing you to set the publish date, category, tags, and featured image. Click “Publish” again, and Narrato will send the content directly to your website. You can also schedule it for a future date.
Tips for Getting the Most Out of Narrato
Tip 1: Use Content Templates to Save Time
Narrato allows you to create and save templates. If you write a lot of listicles or how-to guides, create a template with a standard structure (e.g., Introduction, Step 1, Step 2, Conclusion). Next time you start a project, load the template instead of starting from scratch. This keeps your content consistent and speeds up the drafting process.
Tip 2: Combine AI Generation with Human Editing
The AI is powerful, but it is not perfect. Always treat the AI output as a first draft. Add your unique perspective, personal anecdotes, or industry-specific data. The best content comes from a partnership between AI efficiency and human creativity. Use the AI to overcome writer’s block, not to replace your voice.
Tip 3: Leverage the Content Calendar for Long-Term Planning
Don’t just use the calendar for deadlines. Use it to plan content clusters. For example, if you are writing about “Email Marketing,” schedule a series of related articles over a month: “Basics,” “Automation,” “Design,” “Analytics.” This creates a cohesive content strategy that search engines love. You can color-code topics in the calendar to visualize your strategy at a glance.
Tip 4: Regularly Audit Your SEO Scores
After publishing, check the performance of your content using your analytics tool (e.g., Google Analytics). Go back to Narrato and compare the SEO score you achieved before publishing with the actual traffic. Over time, you will learn which SEO recommendations (e.g., specific keyword density or readability targets) correlate with higher rankings. Adjust your writing process accordingly.
Tip 5: Use Role-Based Access to Protect Your Workflow
As your team grows, misuse of permissions can cause chaos. Set strict roles from day one. For example, only allow “Admins” to delete documents or change workflows. “Writers” should only have permission to create and edit drafts. “Reviewers” can comment but not edit. This prevents accidental deletions or unauthorized publishing.
Tip 6: Explore the AI Rewrite Feature for Repurposing
Don’t limit yourself to generating new content. Use the AI Rewrite feature to repurpose old blog posts into social media captions, email newsletters, or LinkedIn articles. Paste your existing text, select “Shorten” or “Change Tone,” and the AI will transform it. This is a huge time-saver for maintaining an active social media presence without writing everything from scratch.
Narrato is more than just a writing tool; it is a complete ecosystem for content operations. By mastering the features outlined in this tutorial—from AI generation to CMS integration—you can significantly reduce the time spent on administrative tasks and focus on creating content that resonates with your audience. Start with one project, experiment with the AI tools, and gradually incorporate the workflow and collaboration features. Within a few weeks, you will wonder how you managed your content without it.
