Introduction
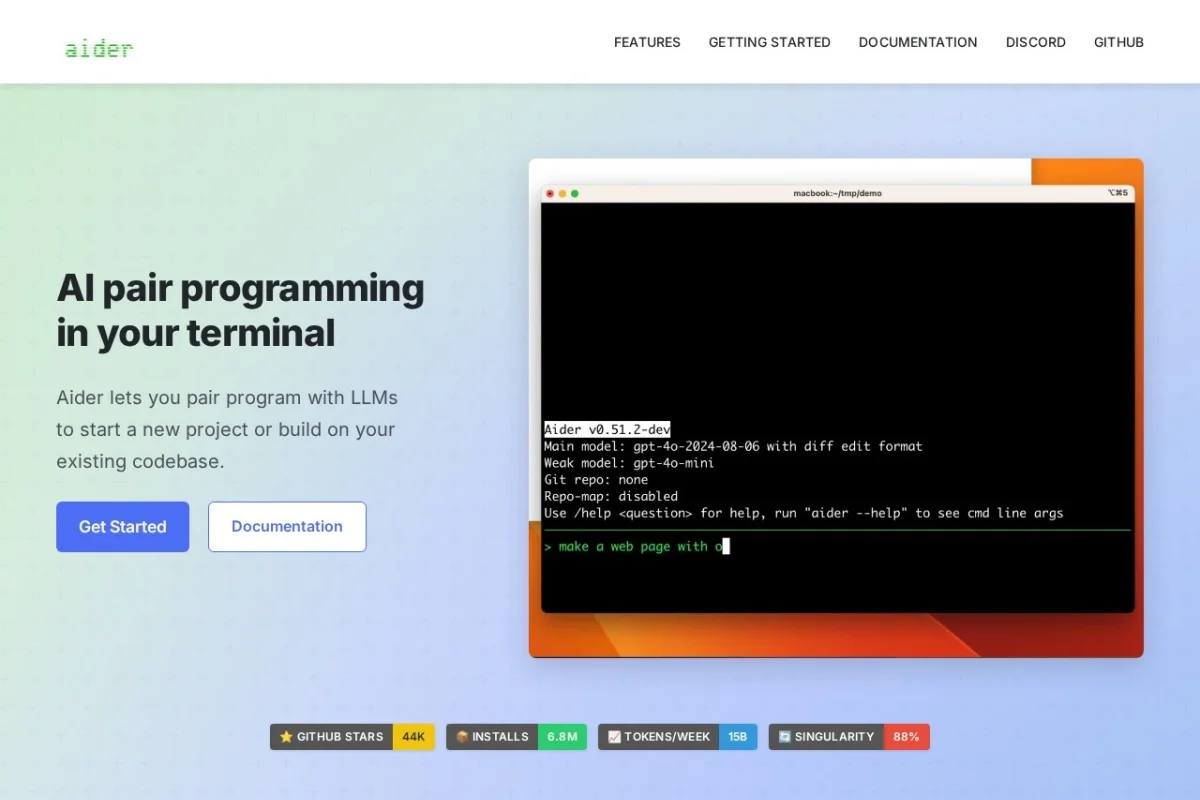
In the rapidly evolving world of software development, AI-powered tools have become indispensable for boosting productivity and code quality. Among these, Aider stands out as a powerful, open-source AI pair programming tool that operates directly in your terminal. Unlike web-based coding assistants that require constant context switching, Aider integrates seamlessly into your existing workflow, allowing you to collaborate with large language models (LLMs) without leaving the command line.
Aider is designed for both new projects and existing codebases. It supports a wide range of cloud-based and local LLMs, including Claude, DeepSeek, and OpenAI models. What makes Aider particularly powerful is its ability to map your entire codebase, providing the AI with deep context about your project structure, dependencies, and coding patterns. This results in more accurate, relevant suggestions and edits. With support for over 100 programming languages, automatic Git integration, voice-to-code functionality, and built-in linting and testing, Aider is a comprehensive tool that has earned high praise from developers worldwide.
This tutorial will guide you through everything you need to know to start using Aider effectively. Whether you are a beginner exploring AI-assisted coding or an experienced developer looking to streamline your workflow, this guide will help you harness the full potential of Aider.
Getting Started
System Requirements and Installation
Aider runs on any modern operating system that supports Python 3.8 or later. This includes Windows, macOS, and Linux. The installation process is straightforward and can be completed in a few minutes.
Step 1: Install Python
If you do not have Python installed, download it from the official Python website (python.org). During installation on Windows, ensure you check the box that says “Add Python to PATH.” On macOS and Linux, you can use your package manager or install it directly.
Step 2: Install Aider via pip
Open your terminal and run the following command:
pip install aider-chat
Alternatively, if you prefer using a virtual environment (recommended), create one first:
python -m venv aider-env
source aider-env/bin/activate (On Windows: aider-envScriptsactivate)
pip install aider-chat
Configuration and API Keys
Aider requires access to an LLM. For cloud-based models, you need an API key from your chosen provider. The most common options are:
- OpenAI: Get your API key from platform.openai.com. Set it as an environment variable:
export OPENAI_API_KEY="your-key-here" - Anthropic (Claude): Get your API key from console.anthropic.com. Set it as:
export ANTHROPIC_API_KEY="your-key-here" - DeepSeek: Obtain your key and set
export DEEPSEEK_API_KEY="your-key-here"
For local models, you can use tools like Ollama or LM Studio. Aider will automatically detect locally running models if they are configured properly.
After setting your API keys, you can test your installation by running:
aider --model gpt-4 (or claude-3-opus, etc.)
If everything is configured correctly, Aider will start and prompt you for input.
Key Features
Codebase Mapping for Deep Context
One of Aider’s standout features is its ability to map your entire codebase. When you open a project, Aider analyzes your files, dependencies, and directory structure. It then provides this context to the AI model, enabling it to understand how different parts of your application fit together. This means the AI can suggest changes that are consistent with your existing code style, avoid breaking dependencies, and even refactor across multiple files.
Multi-Model Support
Aider is model-agnostic. You can switch between different LLMs depending on your needs. Use a powerful cloud model like GPT-4 or Claude for complex refactoring, and a lightweight local model for quick suggestions or when you are offline. You can even run multiple models simultaneously for comparison.
Automatic Git Integration
Aider integrates natively with Git. Every change it makes is automatically committed with a sensible, descriptive commit message. This creates a clear history of AI-assisted changes, making it easy to review, revert, or cherry-pick modifications. You can also ask Aider to create branches, merge changes, or generate pull request descriptions.
Voice-to-Code
For developers who prefer speaking over typing, Aider supports voice input. You can dictate code changes, describe bugs, or request new features using natural language. This is particularly useful for brainstorming, accessibility, or when you want to keep your hands on the keyboard for other tasks.
Image and Web Page Context
Aider can process images and web page content. You can drag and drop a screenshot of a UI bug, and Aider will analyze it and suggest fixes. Similarly, you can provide a URL to a documentation page or a Stack Overflow thread, and Aider will incorporate that information into its reasoning.
Linting and Testing Automation
Before applying changes, Aider can run your project’s linter and test suite. If the AI’s suggested code introduces errors, Aider will automatically attempt to fix them. This creates a feedback loop that ensures the code not only looks correct but also passes your quality checks.
Copy/Paste Integration with Web Chat
Aider allows you to copy code from web-based AI chat interfaces (like ChatGPT or Claude.ai) and paste it directly into your terminal. This bridges the gap between web-based experimentation and local development.
How to Use Aider
Starting a New Project
To start a new project with Aider, navigate to an empty directory or create one:
mkdir my-new-project
cd my-new-project
aider --model gpt-4
Once Aider launches, you can start giving commands in natural language. For example:
- “Create a Python Flask web application with a single route that returns ‘Hello World'”
- “Initialize a Node.js project with Express and a basic REST API”
- “Set up a React app with a counter component”
Aider will generate the necessary files, install dependencies, and even initialize a Git repository if you wish.
Working on an Existing Codebase
For existing projects, navigate to your project root and run Aider:
cd /path/to/your/project
aider
Aider will scan your codebase and build a context map. You can then request changes like:
- “Add error handling to the database connection function”
- “Refactor the user authentication module to use JWT tokens”
- “Fix the bug in the payment processing logic”
- “Add unit tests for the utility functions”
Using Git Integration
Aider’s Git integration is automatic. When you make a change, Aider will commit it with a message like “feat: add error handling to database connection.” You can also use Git commands through Aider:
- “Create a new branch called ‘feature-login’ and switch to it”
- “Show me the commit history for the last 5 commits”
- “Generate a pull request description for the current branch”
Voice Commands
To use voice-to-code, ensure your system has a working microphone. Then, in the Aider interface, press the designated key (usually Ctrl+V or a configurable shortcut) to start voice input. Speak your request clearly, and Aider will transcribe it and execute it as a command.
Adding Context from Images and URLs
To add an image as context, simply drag and drop the image file into the terminal where Aider is running. For web pages, use the command:
/add-web https://example.com/documentation
Aider will fetch the content and include it in the AI’s context window.
Running Linting and Tests
Aider can be configured to run linters and tests automatically. You can also trigger them manually:
- “Run the linter and fix any issues”
- “Run the test suite and report results”
- “Add a test for the new function and ensure it passes”
Tips for Getting the Most Out of Aider
Be Specific in Your Requests
The quality of Aider’s output depends heavily on the clarity of your instructions. Instead of saying “Fix this code,” try “Refactor the calculate_total function to handle negative values by raising a ValueError.” Include file names, function names, and expected behavior whenever possible.
Use the Codebase Map to Your Advantage
Aider’s codebase map is one of its most powerful features. Before asking for a complex change, let Aider scan your project. You can check the context map by typing /map in the Aider interface. If you notice important files are missing, you can manually add them using /add filename.py.
Experiment with Different Models
Different LLMs have different strengths. For creative tasks like generating new features, GPT-4 or Claude may be best. For debugging or optimizing performance, try a specialized model. You can switch models mid-session without restarting Aider.
Leverage Git for Safe Experimentation
Because Aider automatically commits changes, you can experiment freely. If you do not like the result, simply revert the commit. You can also ask Aider to create a branch before making changes, allowing you to test multiple approaches simultaneously.
Use Voice for Rapid Prototyping
Voice-to-code is excellent for brainstorming. You can rapidly describe features, algorithms, or architectures without slowing down to type. Once you have a basic structure, you can refine it with typed commands.
Integrate with Your CI/CD Pipeline
Aider can be used in automated workflows. You can script it to review pull requests, generate documentation, or perform code reviews. Its non-interactive mode (--no-suggestions) allows it to run in CI environments.
Keep Your API Keys Secure
Never hardcode API keys in your scripts or share them publicly. Use environment variables or a .env file (which Aider supports). For local models, ensure your network is secure if the model is accessible remotely.
Review AI-Generated Code
While Aider produces high-quality code, always review changes before deploying. Aider’s Git commits make this easy—you can read the diff before pushing. Use Aider’s linting and testing features to catch obvious errors, but trust your own judgment for architectural decisions.
Customize Aider’s Behavior
Aider offers extensive configuration options. You can set your preferred model, adjust the verbosity of output, define custom linting commands, and more. Check the official documentation at aider.chat for a full list of options.
Join the Community
Aider is open source and has an active community. If you encounter issues or have feature requests, check the GitHub repository. The community is responsive and helpful, and contributing to the project is a great way to learn more about AI-assisted development.
By following this guide, you are now equipped to integrate Aider into your development workflow. Whether you are building a new project from scratch, maintaining a legacy codebase, or simply exploring the possibilities of AI pair programming, Aider provides a powerful, flexible, and beginner-friendly environment. Start your terminal, load your project, and let Aider help you write better code faster.
Aider - AI Pair Programming in Your Terminal
AI pair programming tool that works with LLMs in your terminal.