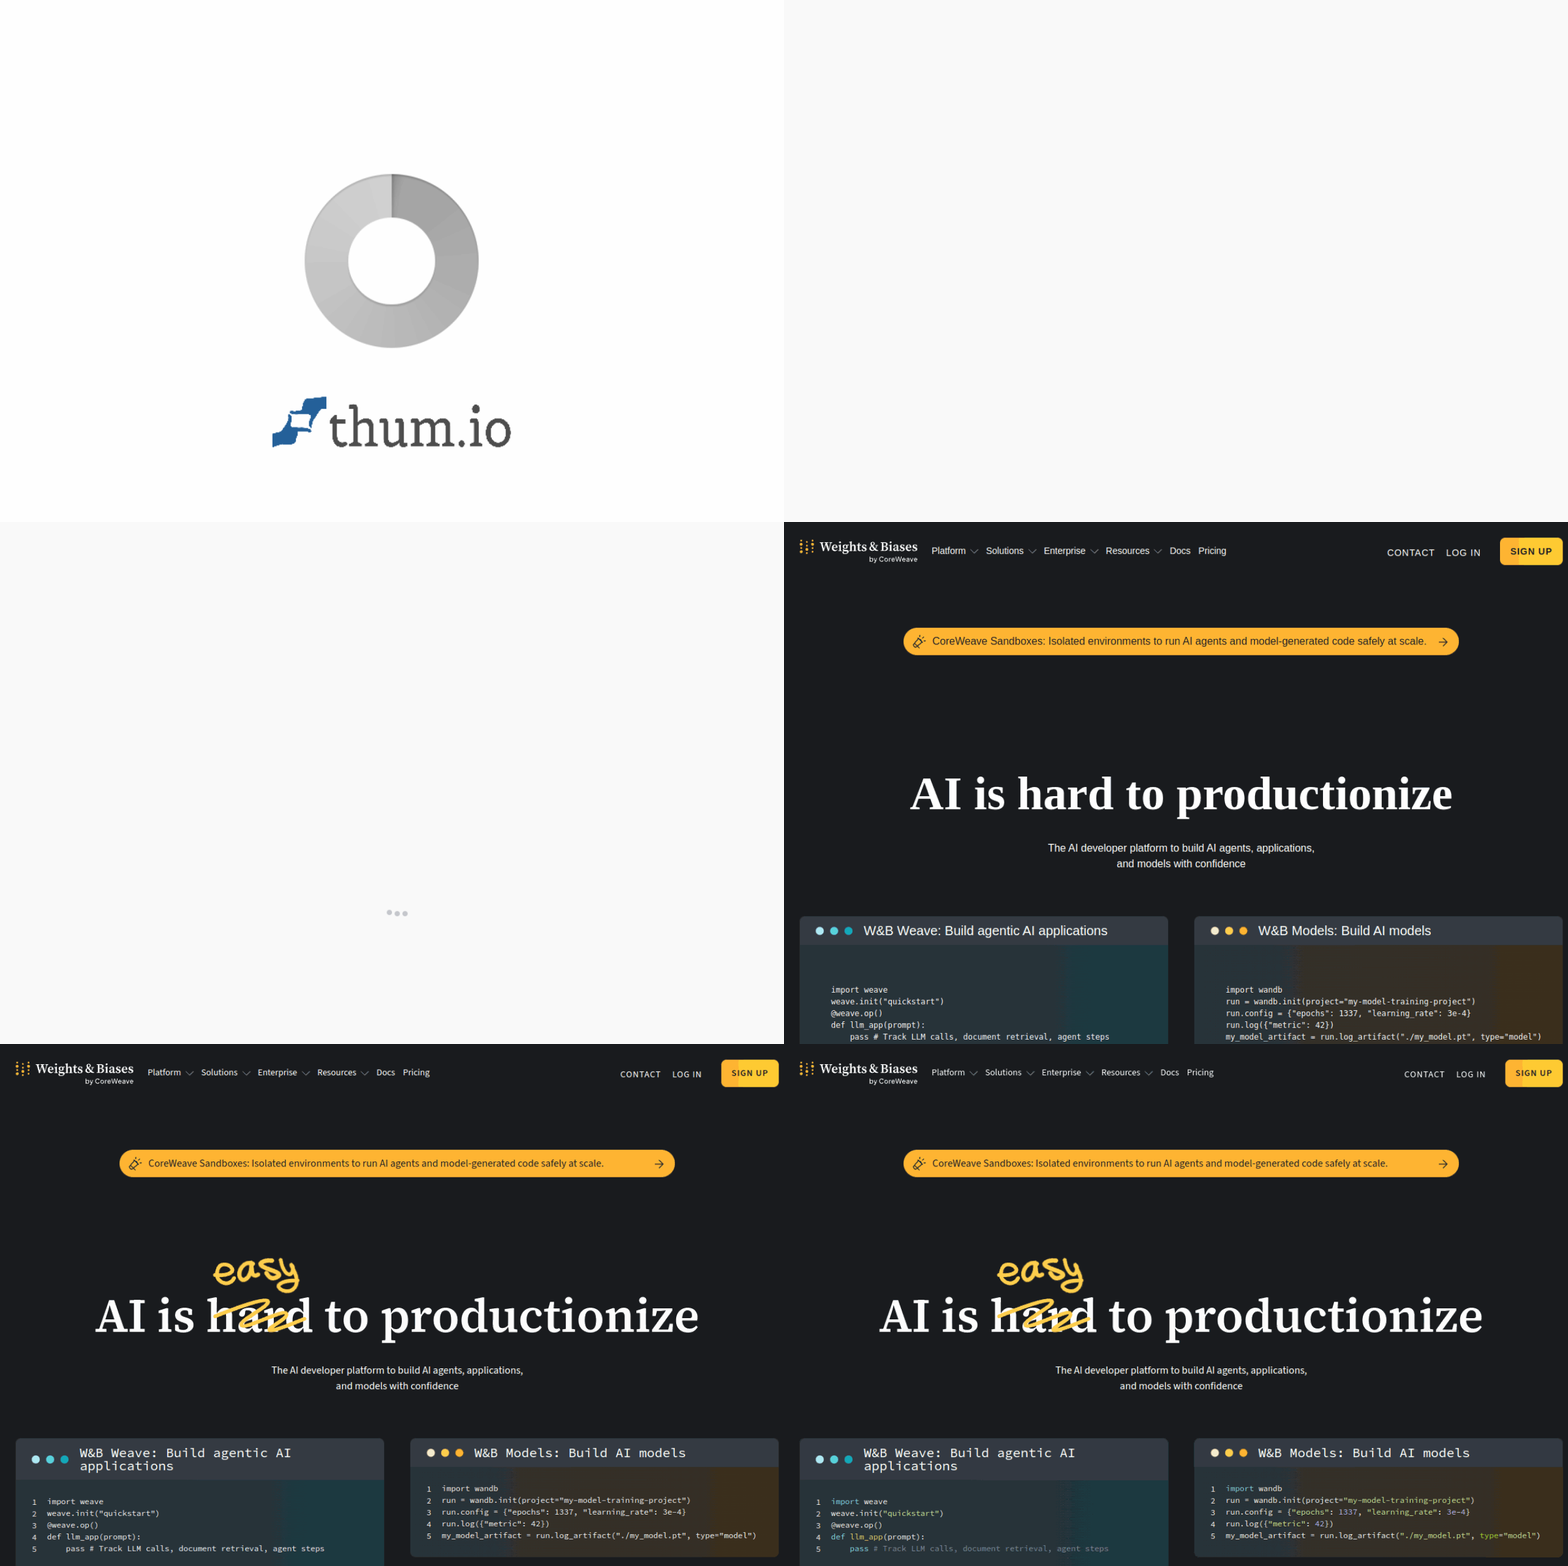
Introduction to Weights & Biases
Weights & Biases (often abbreviated as W&B) is a powerful machine learning operations (MLOps) platform designed to streamline the entire lifecycle of machine learning model development. It serves as a central hub where data scientists and ML engineers can track experiments, visualize results in real-time, manage datasets, and collaborate effectively with team members. Unlike traditional methods of logging metrics to local files or spreadsheets, W&B provides a cloud-based dashboard that automatically captures hyperparameters, output metrics, system resources, and even model artifacts.
The platform was created to solve a common pain point in ML development: the chaos of managing dozens or hundreds of experiments without a clear way to compare results. With W&B, every training run is automatically logged and organized, making it easy to see which combination of parameters produced the best model. It integrates seamlessly with popular frameworks such as PyTorch, TensorFlow, Keras, Hugging Face, and scikit-learn, requiring minimal code changes to get started.
W&B is used by teams at companies like OpenAI, Toyota, and NVIDIA, as well as by individual researchers and students. It offers a free tier for personal projects and small teams, making it accessible for learning and experimentation. This tutorial will guide you from complete beginner to a confident user, covering installation, core features, and practical tips to get the most out of the platform.
Getting Started with Weights & Biases
Creating an Account and Installing the Library
The first step is to sign up for a free account at wandb.ai. You can authenticate using your Google, GitHub, or email account. Once registered, you will be taken to your personal dashboard, which will initially be empty.
Next, install the W&B Python library. Open your terminal or command prompt and run:
pip install wandbIf you are using a virtual environment (which is highly recommended), make sure it is activated before running the install command. For Conda users, you can also use conda install -c conda-forge wandb.
Logging In and Initializing a Project
After installation, you need to authenticate your local environment with your W&B account. Run the following command in your terminal:
wandb loginThis will prompt you to enter an API key. You can find your API key in your W&B account settings under the “API Keys” section. Copy the key and paste it into the terminal. Alternatively, you can set the environment variable WANDB_API_KEY in your system.
Once logged in, you can start using W&B in your Python scripts. The basic workflow involves initializing a W&B run at the beginning of your training script. A “run” represents a single experiment. Here is a minimal example:
import wandb

# Initialize a new run
wandb.init(project="my-first-project", name="experiment-1")

# Log a metric
wandb.log({"accuracy": 0.85, "loss": 0.35})

# Finish the run (optional, but good practice)
wandb.finish()
When you run this script, W&B will automatically create a new project on your dashboard (if it does not exist) and log the metrics. You can view the results in real-time by refreshing your browser.
Key Features of Weights & Biases
1. Experiment Tracking with Automatic Logging
This is the core feature of W&B. It automatically captures your code’s hyperparameters, metrics, system resources (CPU/GPU usage, memory), and even the source code itself. You can log any Python object, including images, plots, audio, and text. The automatic logging works out-of-the-box with many frameworks. For example, if you use PyTorch with wandb.watch(model), it will automatically log gradients and model parameters.
2. Hyperparameter Sweeps and Optimization
W&B Sweeps allow you to automate hyperparameter tuning. You define a search space (e.g., learning rate between 0.001 and 0.1, batch size in [16, 32, 64]) and a search algorithm (random search, Bayesian optimization, grid search). The platform then launches multiple runs in parallel, tracking which combinations yield the best results. This saves hours of manual trial-and-error.
3. Model Registry and Versioning
Once you have a trained model, you can register it in the Model Registry. This creates a versioned record of your model, including its metadata, performance metrics, and the exact code and data used to produce it. You can promote models through stages (e.g., “Staging” to “Production”), making it easy to manage deployment pipelines.
4. Dataset Versioning and Lineage
W&B Artifacts allow you to version datasets and models. You can store a pointer to your dataset (or the dataset itself) and track which version was used for each experiment. This creates a complete lineage: you can trace any model back to the exact data and code that generated it. This is crucial for reproducibility and debugging.
5. Collaborative Dashboards and Reports
You can create interactive dashboards that display the results of multiple experiments side-by-side. Reports allow you to combine plots, tables, and text explanations into a shareable document. Team members can comment on runs, ask questions, and compare results without needing to run code themselves.
6. Framework Integrations
W&B integrates deeply with PyTorch, TensorFlow, Keras, Hugging Face Transformers, XGBoost, LightGBM, and many others. For example, using wandb.config automatically logs hyperparameters, and using wandb.log within a training loop sends real-time metrics. Many libraries have dedicated callbacks (e.g., WandbCallback for Keras) that require zero configuration.
How to Use Weights & Biases: A Step-by-Step Guide
Step 1: Set Up a Project and Configure Your Script
Begin by creating a new Python script or opening an existing ML training script. At the top, import wandb and initialize a run. Use wandb.config to store your hyperparameters:
import wandb

config = {
    "learning_rate": 0.001,
    "batch_size": 32,
    "epochs": 10,
    "optimizer": "adam"
}

wandb.init(project="image-classifier", config=config)
The config dictionary will be automatically logged and displayed in the W&B dashboard. You can also set environment variables like WANDB_PROJECT to avoid specifying the project name in every script.
Step 2: Log Metrics During Training
Inside your training loop, call wandb.log() to record metrics. You can log at every batch, every epoch, or at specific intervals. The function accepts a dictionary of key-value pairs:
for epoch in range(config["epochs"]):
    train_loss = train_one_epoch()
    val_loss, val_accuracy = evaluate()

    wandb.log({
        "epoch": epoch,
        "train_loss": train_loss,
        "val_loss": val_loss,
        "val_accuracy": val_accuracy
    })
W&B automatically creates charts for each metric. You can also log custom plots using wandb.plot or log images using wandb.Image(image_tensor).
Step 3: Use Sweeps for Hyperparameter Tuning
To run a sweep, first define a sweep configuration in a YAML file or a Python dictionary. Then launch the sweep agent. Here is a simple example using Python:
sweep_config = {
    "method": "bayes",  # or "grid" or "random"
    "metric": {"name": "val_accuracy", "goal": "maximize"},
    "parameters": {
        "learning_rate": {"min": 0.0001, "max": 0.1},
        "batch_size": {"values": [16, 32, 64]},
        "dropout": {"min": 0.1, "max": 0.5}
    }
}

sweep_id = wandb.sweep(sweep_config, project="image-classifier")
Then define a training function and start the sweep agent:
def train():
    wandb.init()
    config = wandb.config
    # Your training code here
    wandb.log({"val_accuracy": ...})

wandb.agent(sweep_id, function=train, count=20)
The agent will run 20 different configurations and log all results to the same project.
Step 4: Register a Model in the Registry
After training, you can save your model as a W&B Artifact and register it. First, log the model file:
model_artifact = wandb.Artifact("my_model", type="model")
model_artifact.add_file("model.pth")
wandb.log_artifact(model_artifact)
Then, go to the W&B dashboard, navigate to the “Artifacts” tab, and click “Register” on the specific version. You can add metadata and promote it through stages.
Step 5: Create a Report
To share your findings, click on “Reports” in the left sidebar of the W&B dashboard. Click “Create Report”. You can drag-and-drop plots from your runs, add markdown text, and include tables. Reports are live, meaning if you update your runs, the report updates automatically. Share the report link with your team.
Tips for Getting the Most Out of Weights & Biases
Tip 1: Use Tags and Notes to Organize Runs
As you run many experiments, it becomes easy to lose track. Use the tags parameter in wandb.init() to label runs (e.g., tags=["baseline", "dropout"]). You can also add notes to each run manually in the dashboard. This makes filtering and comparing experiments much easier.
Tip 2: Leverage System Metrics
W&B automatically logs system metrics like CPU usage, GPU temperature, memory consumption, and disk I/O. These are invaluable for debugging performance bottlenecks. In the dashboard, you can overlay system metrics with training metrics to see, for example, if your GPU is underutilized during training.
Tip 3: Set Up Alerts for Long-Running Jobs
You can configure W&B to send you an email or Slack notification when a run finishes, crashes, or reaches a certain metric threshold. Go to the project settings and set up “Alerts”. This is especially useful for training jobs that run overnight or on remote servers.
Tip 4: Use the W&B CLI for Quick Operations
W&B has a command-line interface that can do many things without writing Python code. For example, you can sync a local directory of logs to the cloud using wandb sync, or download a specific artifact version using wandb artifact get. Run wandb --help to see all commands.
Tip 5: Version Your Data Alongside Your Models
Even if your dataset is large and stored externally, you should log a reference to it as an artifact. Use wandb.Artifact with type “dataset” and add a file or a URL. This ensures that you can always reproduce an experiment by knowing exactly which data version was used.
Tip 6: Collaborate with Teams Using Projects and Teams
If you are working in a group, create a team in W&B (this requires a paid plan, but you can try it with a free trial). All runs within a team project are visible to all members. You can leave comments on specific runs, assign tasks, and use shared reports. This replaces the need for shared spreadsheets or screenshots.
Tip 7: Avoid Logging Too Frequently
Logging metrics at every single batch can slow down your training and create massive dashboards. For deep learning, logging every 100-500 batches or at the end of each epoch is usually sufficient. You can control this with a simple counter in your training loop.
Tip 8: Use the W&B App for Real-Time Monitoring
While a script is running, open the W&B dashboard in your browser and navigate to the project. You will see live updates of your charts. You can also use the “Run Viewer” to see the exact code, environment, and system state for each run. This is much more informative than watching terminal output.
Final Thoughts
Weights & Biases is more than just a logging tool; it is a complete platform for managing the ML lifecycle. By adopting it early in your workflow, you will save countless hours of manual record-keeping, improve reproducibility, and enable better collaboration. Start with experiment tracking, then gradually explore sweeps, artifacts, and the model registry. The free tier is generous enough for most individual projects and small teams, so there is no reason not to try it today. Happy experimenting!

Weights & Biases
MLOps platform for tracking experiments, managing models, and collaborating.