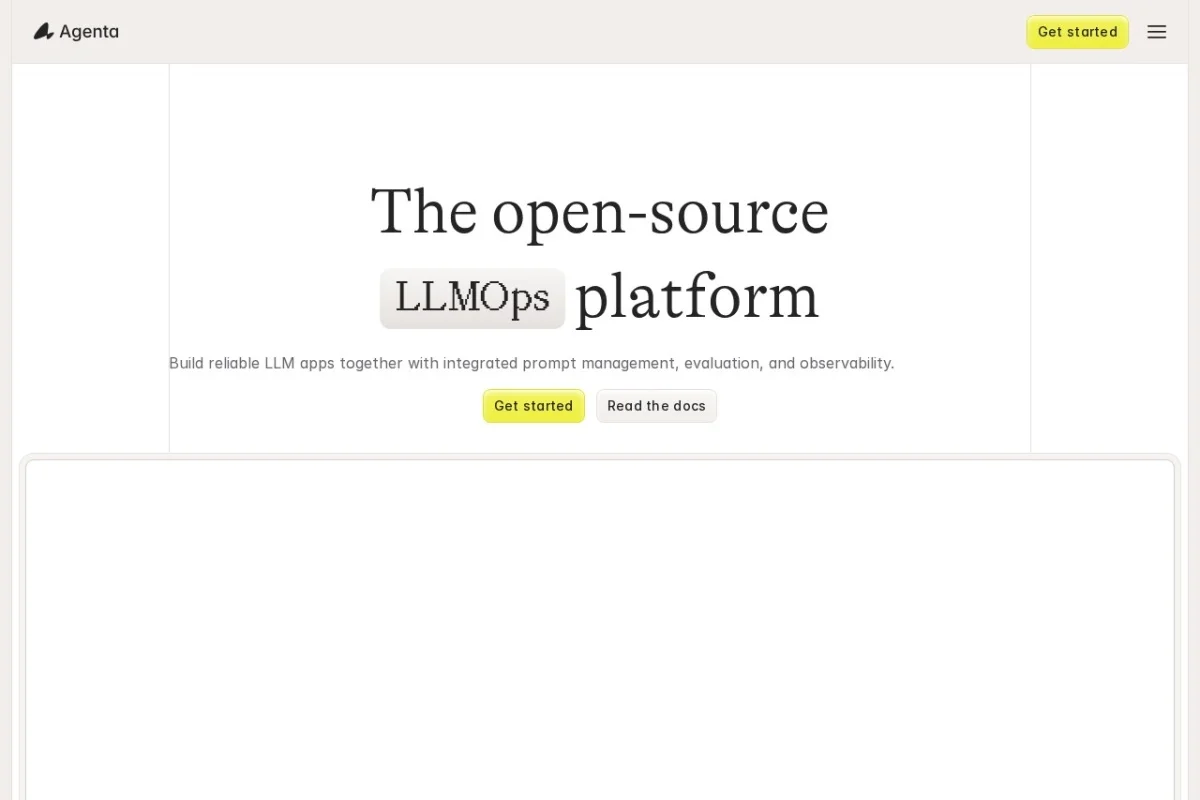
Introduction to Agenta AI
In the rapidly evolving world of Large Language Models (LLMs), building reliable and high-performing applications is a significant challenge. Developers often struggle with managing different prompt versions, comparing model outputs, and ensuring consistent quality across iterations. This is where Agenta AI comes into play.
Agenta is an open-source developer platform specifically designed to help teams build, evaluate, and deploy LLM-powered applications with confidence. Unlike simple prompt editors, Agenta provides a structured environment for prompt management, version control, A/B testing, and performance monitoring. It acts as a central hub where developers, product managers, and domain experts can collaborate to refine AI interactions.
The platform is built to support the entire lifecycle of an LLM application—from initial prompt drafting to production deployment. By offering features like collaborative workspaces and integrations with major LLM providers (such as OpenAI, Anthropic, and open-source models), Agenta ensures that teams can iterate quickly without sacrificing quality. Whether you are building a customer support chatbot, a content generation tool, or a complex reasoning agent, Agenta provides the infrastructure to manage the complexity of LLM development.
This tutorial will guide you through the core concepts of Agenta, show you how to get started, and provide practical tips to make the most of its features. By the end, you will be able to set up your first project, manage prompt versions, run A/B tests, and monitor performance—all within a collaborative environment.
Getting Started with Agenta
Prerequisites
Before you begin, ensure you have the following:
- Basic knowledge of Python (familiarity with virtual environments and pip is helpful).
- An API key from at least one LLM provider (e.g., OpenAI, Anthropic, or a local model like Ollama).
- Git installed on your machine (for version control features).
- Node.js and npm (optional, but recommended for running the web interface).
Installation
Agenta can be installed and run locally or deployed on a server. For this tutorial, we will use the local setup method.
Step 1: Clone the repository
Open your terminal and run the following command to clone the Agenta repository from GitHub:
git clone https://github.com/Agenta-AI/agenta.git
cd agenta
Step 2: Set up a virtual environment
It is recommended to use a Python virtual environment to avoid dependency conflicts:
python3 -m venv venv
source venv/bin/activate  # On Windows, use venvScriptsactivate
Step 3: Install dependencies
Install the required Python packages:
pip install -r requirements.txtStep 4: Start the backend server
Agenta requires a backend server to manage data and API calls. Run the following command to start it:
python manage.py runserverBy default, the server will run on http://localhost:8000.
Step 5: Launch the frontend
In a separate terminal window, navigate to the frontend directory and install the required Node.js packages:
cd frontend
npm install
npm start
The frontend will typically run on http://localhost:3000.
Step 6: Access the platform
Open your web browser and go to http://localhost:3000. You should see the Agenta login screen. Create a new account or log in using the default credentials (check the documentation for default admin credentials).
Connecting an LLM Provider
Once logged in, you need to connect Agenta to an LLM provider:
- Navigate to the Settings or Integrations section.
- Click on Add Provider and select your provider (e.g., OpenAI).
- Enter your API key and save the configuration.
- You can add multiple providers and switch between them during experiments.
Key Features of Agenta AI
1. Prompt Versioning and Management
Agenta treats prompts as code. Every time you modify a prompt, the platform automatically saves a new version. This allows you to:
- Track changes over time with detailed history logs.
- Roll back to previous versions if a change degrades performance.
- Compare versions side-by-side to see what was changed.
- Tag versions (e.g., “v1.0-production”, “v2.0-experimental”) for easy reference.
This feature is crucial for teams because it eliminates the chaos of “prompt drift”—where the prompt gradually changes without documentation.
2. A/B Testing of Prompts and Models
One of the most powerful features of Agenta is its ability to run controlled experiments. You can:
- Create variants of the same prompt (e.g., different wording, temperature settings).
- Test different models (e.g., GPT-4 vs. Claude 3) on the same input.
- Run experiments with a set of predefined test cases.
- View statistical results to determine which variant performs better based on metrics like response quality, latency, and cost.
A/B testing removes guesswork and provides data-driven insights for prompt optimization.
3. Evaluation and Performance Monitoring
Agenta includes built-in evaluation tools to measure the quality of LLM outputs:
- Custom metrics: Define your own evaluation criteria (e.g., correctness, fluency, adherence to format).
- Automated scoring: Use LLM-as-a-judge to automatically rate responses.
- Human review: Assign team members to manually rate outputs.
- Dashboard: View real-time performance metrics, including success rates, response times, and error rates.
This feature helps you catch regressions early and maintain high-quality outputs as you iterate.
4. Collaborative Workspace for Teams
Agenta is designed for teamwork. Key collaboration features include:
- Shared projects: All team members can access and edit prompts.
- Role-based permissions: Control who can view, edit, or deploy changes.
- Comments and annotations: Discuss specific prompt versions or evaluation results.
- Activity feed: See who made changes and when.
This makes Agenta ideal for cross-functional teams where product managers, engineers, and domain experts need to collaborate.
5. Integration with Multiple LLM Providers
Agenta is provider-agnostic. You can integrate with:
- OpenAI (GPT-3.5, GPT-4, GPT-4o).
- Anthropic (Claude models).
- Google AI (Gemini).
- Open-source models via Ollama, Hugging Face, or custom endpoints.
- Azure OpenAI Service for enterprise deployments.
This flexibility allows you to compare models without changing your workflow.
How to Use Agenta: A Step-by-Step Guide
Creating Your First Project
Step 1: After logging in, click the “New Project” button on the dashboard.
Step 2: Give your project a name (e.g., “Customer Support Bot”) and a brief description.
Step 3: Choose the default LLM provider and model for this project. You can change this later.
Step 4: Click Create. You will be taken to the project workspace.
Writing and Versioning a Prompt
Step 1: In the project workspace, click “New Prompt”.
Step 2: Write your prompt in the editor. For example:
You are a helpful customer support agent. Answer the user's question politely and concisely. If you don't know the answer, say "I'm sorry, I don't have that information."Step 3: Click Save as Version 1. The prompt is now saved with a timestamp and version number.
Step 4: Make a change to the prompt (e.g., add “Use bullet points for lists”). Click Save as Version 2.
Step 5: To view the version history, click the “History” tab. You can see all versions, compare them, and restore any previous version with one click.
Running an A/B Test
Step 1: In your project, click on “Experiments” then “New Experiment”.
Step 2: Give the experiment a name (e.g., “Politeness Test”).
Step 3: Add variants:
- Variant A: Select prompt version 1 (the original).
- Variant B: Select prompt version 2 (with bullet points).
Step 4: Create a set of test cases (inputs). For example:
- “How do I reset my password?”
- “What is your return policy?”
- “I want to speak to a human.”
Step 5: Click Run Experiment. Agenta will send each test case to both variants and collect the responses.
Step 6: After the experiment completes, view the Results tab. You can see side-by-side comparisons, latency, and cost per variant.
Step 7: Use the evaluation tools to rate the responses. The platform will show which variant performed better overall.
Monitoring Performance
Step 1: Navigate to the “Monitoring” or “Dashboard” section of your project.
Step 2: View the following metrics:
- Total requests over time.
- Average response time (latency).
- Error rate (e.g., API failures or invalid responses).
- Cost per request (if using paid models).
Step 3: Set up alerts to notify your team if error rates exceed a threshold (e.g., 5%).
Step 4: Use the “Logs” feature to inspect individual requests and responses for debugging.
Collaborating with Your Team
Step 1: Go to Project Settings and click “Invite Members”.
Step 2: Enter the email addresses of your team members.
Step 3: Assign roles:
- Admin: Full access, including deletion and settings.
- Editor: Can create and edit prompts and experiments.
- Viewer: Read-only access to results and logs.
Step 4: Team members can now leave comments on specific prompt versions or experiment results. Use the “Discussion” panel to communicate directly within the platform.
Tips for Getting the Most Out of Agenta
1. Start with a Clear Evaluation Criteria
Before running experiments, define what “good” looks like. For example:
- Is the response factually correct?
- Does it follow the required format (e.g., JSON, bullet points)?
- Is the tone appropriate for your audience?
Use Agenta’s custom metrics to automate this evaluation where possible. This saves time and ensures consistency.
2. Use Version Tags for Production Deployments
When you have a prompt version that works well in testing, tag it as “production” or “stable”. This makes it easy to roll back if a new version causes issues. Avoid deploying untagged versions directly to production.
3. Leverage A/B Testing for Small Changes
Even minor changes—like adding a single sentence or adjusting the temperature—can significantly impact LLM behavior. Run A/B tests for small tweaks before committing to them. Agenta’s statistical analysis will tell you if the change is statistically significant.
4. Monitor Cost and Latency
Different models have vastly different costs and speeds. Use Agenta’s monitoring dashboard to track these metrics. If you are using GPT-4 for a high-volume task, consider testing a cheaper model (like GPT-3.5 or Claude Haiku) with the same prompts. You might find that the cheaper model performs adequately for most cases.
5. Involve Non-Technical Team Members
Agenta’s interface is user-friendly enough for product managers and domain experts to use. Encourage them to:
- Write test cases that reflect real user scenarios.
- Rate responses based on domain knowledge.
- Suggest prompt improvements.
This collaboration often leads to better prompts than developers working alone.
6. Keep Test Cases Updated
As your application evolves, your test cases should too. Add new edge cases and remove outdated ones. Agenta allows you to import test cases from CSV files, making it easy to update them in bulk.
7. Use the LLM-as-a-Judge Feature
For rapid evaluation, enable the “LLM-as-a-judge” feature. This uses a separate LLM (e.g., GPT-4) to rate your responses based on criteria you define. While not perfect, it provides a quick baseline for comparing variants. Always supplement with human review for critical applications.
8. Explore the API and SDK
Agenta provides a REST API and Python SDK for advanced users. You can programmatically create experiments, fetch results, and deploy prompts. This is particularly useful for CI/CD pipelines where you want to automatically test prompts before deployment.
9. Backup Your Data
Since Agenta is open-source and self-hosted, ensure you have regular backups of the database. This protects your prompt history, experiments, and evaluation results from accidental loss.
10. Join the Community
Agenta has an active community on GitHub and Discord. If you encounter issues or want to share best practices, join the community. You can also contribute features or bug fixes if you are comfortable with the codebase.
Conclusion
Agenta AI is a powerful platform that brings structure and rigor to LLM application development. By providing robust version control, A/B testing, evaluation tools, and collaborative features, it helps teams move from chaotic experimentation to reliable, production-ready AI systems. Whether you are a solo developer or part of a large team, Agenta enables you to iterate faster while maintaining high quality.
Start by setting up a local instance, create a simple project, and run your first A/B test. As you become more comfortable, explore the advanced features like custom metrics, API integration, and team collaboration. With Agenta, you are not just writing prompts—you

Agenta AI
Open-source platform for building, evaluating, and deploying LLM applications.