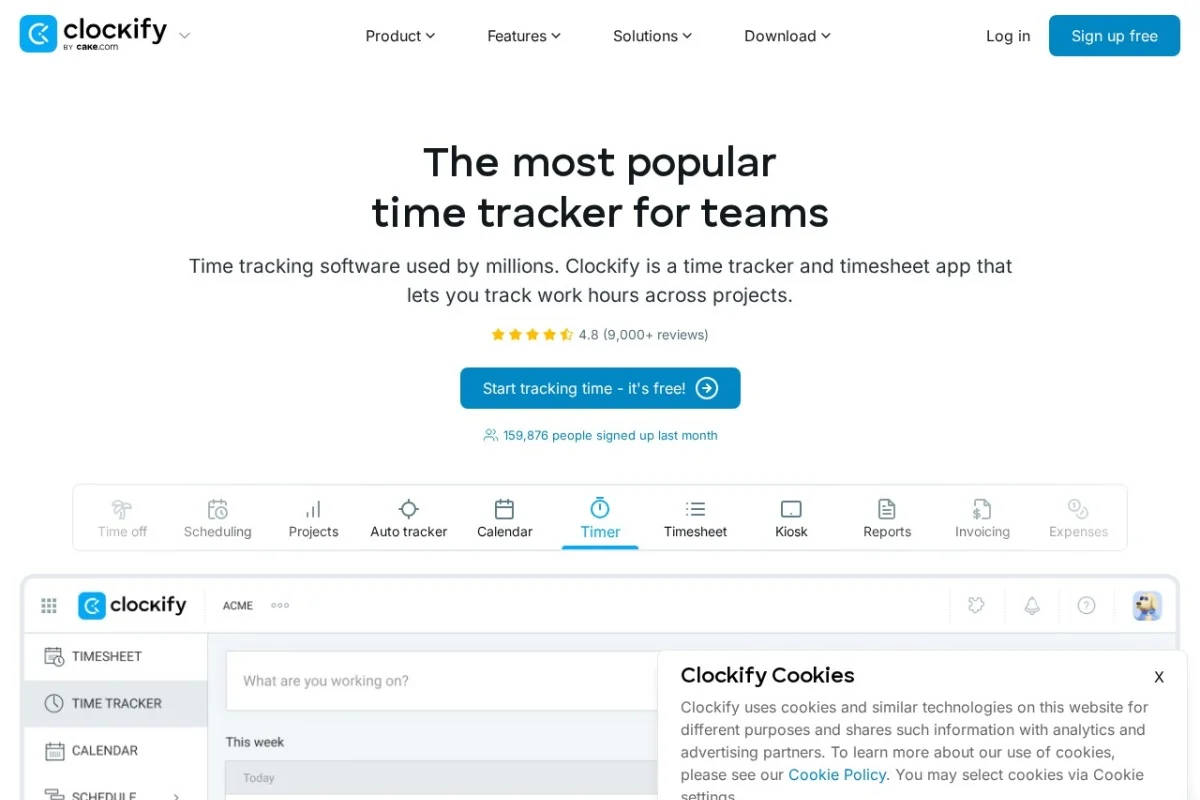
Introduction to Clockify: Your Free Time Tracking Solution
Clockify is a powerful, completely free time tracking and timesheet software designed for teams of all sizes, from solo freelancers to large corporations. Unlike many other tools that limit features behind paywalls, Clockify offers unlimited time tracking, project management, and reporting at no cost. This makes it one of the most accessible productivity tools available today.
Whether you need to track billable hours, monitor employee productivity, or simply understand where your day goes, Clockify provides a robust set of tools accessible via web browsers, desktop applications (Windows, macOS, Linux), and mobile apps (iOS and Android). The platform also includes invoicing, billing rates, and integrations with popular tools like Trello, Asana, and Jira, making it a comprehensive solution for modern workflows.
This tutorial will guide you through every aspect of Clockify, from creating your first account to generating detailed reports. By the end, you will have the confidence to implement this tool in your daily routine, whether you are managing a remote team or tracking your freelance projects.
Getting Started with Clockify
Creating Your Account
To begin, navigate to https://clockify.me/. Click the prominent “Start FREE” button. You can sign up using your Google account, Microsoft account, or a dedicated email address. The registration process takes less than one minute. After confirming your email, you will be directed to your dashboard.
Understanding the Dashboard
The Clockify dashboard is your command center. Upon first login, you will see a clean interface with a timer module at the top, a sidebar on the left, and a main workspace area. The sidebar contains links to the main sections: Time Tracker, Projects, Clients, Tags, Reports, and Settings. Take a moment to click through these tabs to familiarize yourself with the layout.
Setting Up Your Workspace
A “Workspace” in Clockify is your primary organizational unit. If you are a freelancer, your personal workspace is sufficient. For teams, you can invite members by clicking on “Settings” in the sidebar, then “Workspace,” and selecting “Add Members.” Enter their email addresses, and they will receive an invitation. You can assign roles such as Admin, Project Manager, or User to control permissions.
Key Features of Clockify
Unlimited Time Tracking
Unlike many competitors, Clockify does not limit the number of time entries you can create. You can track time manually or using the built-in timer. This feature is available across all platforms, ensuring you never lose a billable second.
Timesheet Management
The timesheet view allows you to see your week or month at a glance. You can edit, delete, or duplicate entries directly from the timesheet grid. This is particularly useful for managers who need to approve or review team hours.
Project and Task Tracking
You can create unlimited projects and tasks within those projects. Each project can have its own color code, hourly rate, and budget. This granularity helps in analyzing which activities consume the most time.
Reporting and Analytics
Clockify offers several pre-built reports: Summary, Detailed, Weekly, and Project reports. You can filter by date, client, project, or user. Reports can be exported as PDF, CSV, or Excel files, making it easy to share with stakeholders.
Billing and Invoicing
Set hourly rates for projects or individual team members. Clockify automatically calculates billable amounts. You can then generate invoices directly from your tracked time and send them to clients via email or download them as PDFs.
Employee Monitoring
For team managers, Clockify provides features like activity levels (tracking keyboard and mouse usage), app and website tracking, and screenshots (with user permission). These tools help ensure accountability without being overly intrusive.
Integrations with Popular Tools
Clockify integrates with over 80 tools, including project management platforms (Asana, Trello, Monday.com), CRM systems (Salesforce, HubSpot), and development tools (GitHub, GitLab). These integrations allow you to start and stop timers directly from your existing workflow.
How to Use Clockify: A Step-by-Step Guide
Step 1: Tracking Time Manually
Click on the “Time Tracker” tab in the sidebar. You will see a form at the top of the page. Enter a description of your task. Select the project and any relevant tags (e.g., “Client Meeting” or “Development”). Then, click the green “Add” button. A new entry will appear in your list. To edit the duration, click on the time value and enter the correct hours and minutes.
Step 2: Using the Timer
For real-time tracking, click the “Start” button (the play icon) next to the “Add” button. The timer will begin counting. When you finish the task, click the “Stop” button (the square icon). Clockify will automatically save the entry with the exact duration. You can later edit the description or project if needed.
Step 3: Creating Projects and Tasks
Go to the “Projects” tab in the sidebar. Click “New Project.” Enter a name (e.g., “Website Redesign”). You can optionally set a color, hourly rate, and budget. Once created, click on the project name to add tasks. Tasks are specific items within a project, such as “Homepage Layout” or “Database Migration.” This structure helps in detailed reporting.
Step 4: Managing Timesheets
Click on the “Timesheet” tab. You will see a grid view of your week. Each row represents a project or task, and each column represents a day. Click on any cell to add time for that specific day. You can also bulk-edit by selecting multiple cells. This view is excellent for filling in time at the end of the day or week.
Step 5: Generating Reports
Navigate to the “Reports” tab. Choose the type of report you need. For example, the “Summary” report shows total hours grouped by project or user. Use the date range filter to narrow down your data. Click “Run Report.” You can then click “Export” to download the report as a PDF or CSV. For team managers, the “Weekly” report is useful for seeing who is over or under their expected hours.
Step 6: Setting Up Billing and Invoicing
First, ensure your projects have hourly rates. Go to “Projects,” click on a project, and set the “Hourly Rate.” Then, go to the “Invoices” tab (under Reports or in the sidebar). Click “New Invoice.” Select the project and the date range. Clockify will automatically calculate the total based on tracked hours. You can customize the invoice with your logo, payment terms, and notes. Finally, click “Send” to email the invoice or “Download” to save it as a PDF.
Step 7: Using Integrations
Go to “Settings” and click on “Integrations.” You will see a list of available apps. For example, to integrate with Trello, click “Connect.” Authorize Clockify to access your Trello account. Once connected, you can add a Clockify button to your Trello cards. Clicking this button will start a timer linked to that specific Trello task. The time will automatically sync to Clockify.
Tips for Getting the Most Out of Clockify
Tip 1: Use Keyboard Shortcuts
Clockify supports keyboard shortcuts to speed up your workflow. On the web app, press Ctrl + Shift + S (Windows) or Cmd + Shift + S (Mac) to start or stop the timer. Press Ctrl + Shift + K to open the quick time entry form. These shortcuts save you from clicking through menus.
Tip 2: Leverage Tags for Granularity
Tags are underutilized but powerful. Create tags for specific activities like “Meetings,” “Research,” “Coding,” or “Admin.” When tracking time, always add a tag. Later, you can filter reports by tag to see exactly how much time you spent on meetings versus deep work. This insight is invaluable for productivity audits.
Tip 3: Set Budgets and Alerts
For client projects, set a time or cost budget in the project settings. Clockify will show a progress bar indicating how much of the budget has been used. You can also set alerts to notify you when you reach 80% or 100% of the budget. This prevents cost overruns and helps you manage client expectations.
Tip 4: Use the Mobile App for On-the-Go Tracking
Download the Clockify mobile app from your app store. Use it to track time when you are away from your desk, such as during client meetings, travel, or field work. The app syncs instantly with your web account. You can also use the mobile app to start a timer with a single tap, making it easy to capture every billable moment.
Tip 5: Regularly Review Your Weekly Report
Set a recurring appointment every Friday to review your weekly report. Look for patterns: Are you spending too much time on low-value tasks? Are you underreporting time? Use the “Weekly” report view to compare your planned hours against actual hours. This habit will dramatically improve your time management over time.
Tip 6: Customize Your Dashboard
Clockify allows you to pin your most-used reports and projects to the dashboard. Click the star icon next to any project or report. This creates a shortcut on your main dashboard, reducing the number of clicks needed to access frequently used data.
Tip 7: Train Your Team on Best Practices
If you are a team administrator, invest time in training your team. Create a simple guide with your team’s naming conventions for projects and tasks. Encourage everyone to track time in real-time rather than filling in timesheets at the end of the month. Consistent usage leads to accurate data, which is the foundation of good business decisions.
Tip 8: Use the API for Custom Workflows
For advanced users, Clockify offers a public API. You can use it to automate time entry, pull reports into custom dashboards, or integrate with internal tools. This is particularly useful for development teams who want to build custom time tracking solutions on top of Clockify’s free infrastructure.
Conclusion
Clockify is more than just a timer; it is a comprehensive time management ecosystem that grows with your needs. By following this tutorial, you have learned how to set up your account, track time effectively, manage projects, generate insightful reports, and even bill your clients. The key to success with Clockify is consistency. Start by tracking one project for a week. Review the data. Adjust your workflow. Soon, you will wonder how you ever managed time without it.
Remember, the tool is free, but the value you extract from it depends entirely on your commitment to using it correctly. Take advantage of the integrations, explore the reporting features, and encourage your team to adopt the same practices. With Clockify, you are not just tracking time—you are gaining control over your most valuable resource.

Clockify - Free Time Tracking Software
Track time and manage projects with the leading free time tracker.