Introduction
In the era of information overload, professionals, students, and researchers often find themselves drowning in lengthy documents, PDFs, research papers, and legal files. Extracting the precise information you need from a 100-page report can take hours of tedious reading and note-taking. Humata is an artificial intelligence tool designed to solve this exact problem. By uploading your documents to Humata’s secure platform, you can instantly “chat” with your files, asking questions and receiving concise, accurate answers in seconds.
Humata functions as a specialized AI assistant that reads, understands, and remembers the content of your uploaded documents. Instead of manually searching for keywords or scanning entire pages, you simply type a question, and Humata returns the relevant answer, often with direct citations from the source material. This tutorial will guide you through everything you need to know to start using Humata effectively, from your first upload to advanced questioning techniques. Whether you are a legal professional reviewing contracts, a student analyzing academic papers, or a business analyst processing market reports, Humata can dramatically reduce your research time.
Getting Started with Humata
Creating Your Account
To begin using Humata, navigate to https://humata.ai/ using any modern web browser. Click on the prominent “Get Started” or “Sign Up” button. You can register using your Google account, Microsoft account, or by providing your email address and creating a password. The free tier offers a limited number of pages you can upload and questions you can ask, which is perfect for testing the tool. For heavier usage, subscription plans are available that increase page limits and provide additional features.
Understanding the Interface
Once logged in, you will see a clean, minimal dashboard. The main components include:
- Upload Button: Usually located in the center or top-left of the screen. This is where you add your documents.
- Document Library: A list or grid view of all the files you have uploaded. Each file shows its name, upload date, and a thumbnail icon representing the file type.
- Chat Panel: After selecting a document, the interface splits into two sections. On the left, you see the document content; on the right, a chat window where you can type your questions.
- Settings & Profile: Located in the top-right corner, where you can manage your account, subscription, and privacy preferences.
Supported File Types
Humata supports a wide range of document formats. The most commonly used include:
- PDF (Portable Document Format) – Ideal for reports, research papers, and contracts.
- Word Documents (.docx) – For letters, proposals, and manuscripts.
- PowerPoint Presentations (.pptx) – Useful for extracting information from slide decks.
- Text Files (.txt) – For plain text notes or code.
- CSV Files – For structured data and spreadsheets (limited analysis).
- EPUB – For e-books.
Note that scanned PDFs (image-based) may not be fully readable unless they have undergone Optical Character Recognition (OCR). For best results, use text-based or digitally created PDFs.
Key Features of Humata
Chat with Your Documents
The core feature of Humata is its conversational interface. After uploading a document, you can ask questions in natural language. For example, if you upload a 50-page research paper on climate change, you can ask, “What are the main causes of rising sea levels according to this paper?” Humata will scan the entire document and provide a synthesized answer, often highlighting the exact paragraph or page where the information was found. This is far more efficient than manually searching for the phrase “sea level.”
Instant Answers and Summaries
Humata excels at providing quick summaries. If you have a lengthy contract, you can ask for a “one-paragraph summary of key obligations.” The AI will condense the document’s most important points. You can also ask for bullet-point lists of pros and cons, key findings, or action items. The summaries are context-aware, meaning they adjust based on the document’s content and your specific request.
AI-Powered Analysis and Insights
Beyond simple Q&A, Humata can perform analytical tasks. For instance, you can ask comparative questions like, “How does the budget for 2023 differ from the budget for 2024 in this financial report?” or “What are the conflicting statements in these two legal clauses?” The AI identifies patterns, contradictions, and trends within the document. This feature is particularly valuable for due diligence, academic research, and data validation.
Secure Data Handling
Humata places a strong emphasis on security. According to their documentation, uploaded files are encrypted both in transit and at rest. The platform is designed to meet enterprise-grade security standards, including SOC 2 compliance. Your documents are not used to train public AI models, and you retain full ownership of your data. This makes Humata suitable for confidential business documents, legal files, and sensitive research. Always review the latest privacy policy on their website for the most current security certifications.
Multi-Document Support
You can upload multiple documents into a single “project” or folder. This allows you to ask questions that span across several files. For example, if you upload three different quarterly reports, you can ask, “Which quarter had the highest revenue growth?” and Humata will search all three documents to find the answer. This cross-document analysis is a powerful feature for comprehensive research.
How to Use Humata: A Step-by-Step Guide
Step 1: Upload Your Document
Click the “Upload” button on the dashboard. Select a file from your computer. The upload process is usually fast, even for large files (up to several hundred pages). A progress bar will indicate when the processing is complete. Once uploaded, the document will appear in your library. You can rename the document by clicking on its title for better organization.
Step 2: Open the Document for Chat
Click on the document name or thumbnail. The interface will change to a split-screen view. On the left side, you will see a preview of the document (usually the first few pages). You can scroll through it, but the primary interaction happens on the right side in the chat panel. A welcome message from Humata may appear, suggesting you ask a question.
Step 3: Ask Your First Question
In the chat input box at the bottom right, type your question. Be as specific as possible for the best results. For example, instead of asking, “What is this about?” ask, “What are the three main conclusions of this research paper?” Press Enter or click the send icon. Humata will process your query and return an answer within a few seconds. The answer will include a citation, often with a page number or a highlighted section in the document preview on the left.
Step 4: Refine Your Questions
If the first answer is not precise enough, you can ask follow-up questions. Humata remembers the context of the conversation. For example, if you first ask, “What are the risks mentioned in this contract?” and then ask, “Which risk is considered the most severe?” the AI will use the previous answer to provide a more specific response. You can also ask the AI to “explain this in simpler terms” or “give me an example from the text.”
Step 5: Request a Summary
For a quick overview of any document, type commands like:
- “Summarize this document in 3 bullet points.”
- “Give me a one-paragraph executive summary.”
- “List the key figures mentioned in the report.”
Humata will generate a concise summary based on the entire document. You can copy this summary to your clipboard for use in emails or notes.
Step 6: Export or Save Your Answers
Humata does not currently have a direct “export chat” button on all plans, but you can manually copy the answers from the chat panel. You can also take screenshots of the chat for record-keeping. Some premium plans may offer a “share” feature that generates a link to your conversation. Check your account settings for the latest export options.
Tips for Getting the Most Out of Humata
Tip 1: Ask Specific, Direct Questions
The quality of Humata’s answers depends heavily on how you phrase your questions. Vague questions yield vague answers. Instead of asking, “Tell me about the document,” ask, “What is the main argument in Chapter 3 regarding renewable energy costs?” Use keywords that are likely to appear in the text. If you are looking for numerical data, specify the units or context, such as, “What was the total revenue in 2022 according to the income statement?”
Tip 2: Use Follow-Up Questions for Depth
Treat the chat as a conversation. Start with a broad question, then drill down. For example:
- First question: “What are the main findings of this study?”
- Follow-up: “What methodology was used to obtain the first finding?”
- Follow-up: “Are there any limitations mentioned about that methodology?”
This chain of questions allows you to explore the document systematically without having to re-upload or re-read anything.
Tip 3: Compare and Contrast Across Documents
If you have uploaded multiple related documents (e.g., two versions of a contract or several annual reports), you can ask comparative questions. For example: “Compare the warranty clause in Document A with the warranty clause in Document B. What are the key differences?” Humata will scan both documents and highlight the discrepancies. This is incredibly useful for legal reviews or competitive analysis.
Tip 4: Verify Answers with Citations
Always check the citations that Humata provides. While the AI is highly accurate, it is not infallible. The citation will usually show the page number or a direct quote. Click on the citation to jump to that part of the document in the preview pane. This verification step ensures you are not relying on a misinterpretation. For critical decisions (e.g., legal or financial), always read the original text.
Tip 5: Organize Your Documents into Folders
As your document library grows, use folders or tags to keep things organized. For example, create folders for “Research Papers,” “Client Contracts,” “Financial Reports,” and “Meeting Notes.” This makes it easier to find documents later and allows you to ask questions within a specific folder context. A well-organized library saves time and reduces confusion.
Tip 6: Use Humata for Learning
Students and lifelong learners can use Humata as a study aid. Upload a textbook chapter or a lecture transcript. Then, ask the AI to quiz you: “Generate five multiple-choice questions based on this chapter.” Or ask for explanations: “Explain the concept of quantum entanglement as described in this paper, using simple language.” Humata can act as a personalized tutor that never gets tired.
Tip 7: Be Mindful of Page Limits
The free tier of Humata has a limited number of pages you can upload (typically around 60 pages total). If you have a very large document, consider summarizing it in parts or upgrading to a paid plan. Also, note that each question you ask consumes a small amount of “credit” on the free plan. To maximize your free usage, ask concise questions that cover multiple points at once, rather than many single-point questions.
Tip 8: Keep Sensitive Data Off Public Plans
While Humata has strong security protocols, it is always a best practice to avoid uploading highly sensitive personal information (e.g., social security numbers, bank account details) unless you are on an enterprise plan with a signed data processing agreement. For most business and academic documents, the standard security is sufficient. However, if you work with classified or proprietary data, consult your organization’s IT department before using any cloud-based AI tool.
Conclusion
Humata is a powerful AI tool that transforms static documents into interactive conversations. By following this tutorial, you can quickly upload files, ask intelligent questions, and extract meaningful insights in a fraction of the time it would take to read manually. The key to success with Humata lies in asking clear, specific questions and using the citation feature to verify information. Whether you are a student, a professional, or a researcher, integrating Humata into your workflow can boost your productivity and deepen your understanding of complex materials. Start with a single document today, and experience how AI can change the way you work with information.

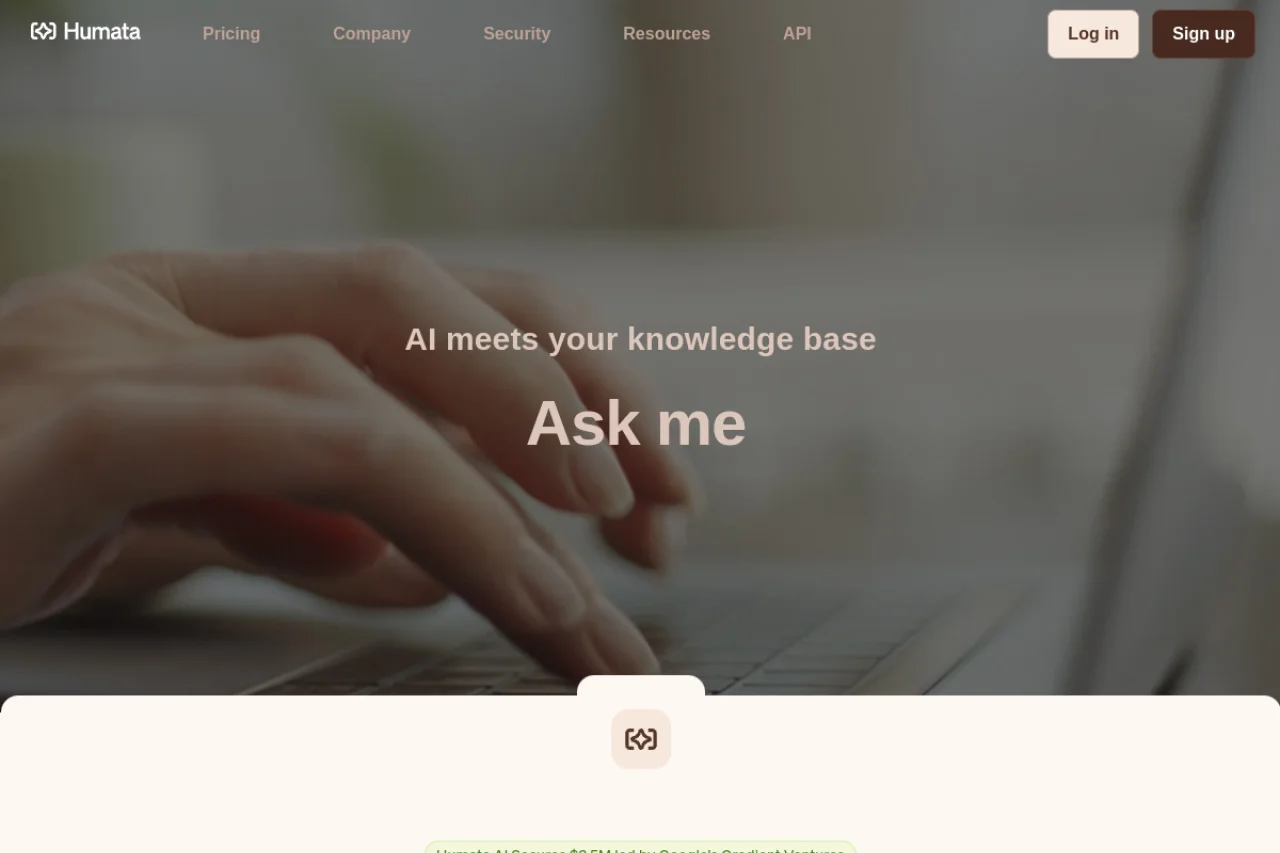
Humata
AI-powered tool to chat with your documents and knowledge base.