Introduction
In the fast-paced world of content creation, time is often the most valuable currency. Video editing, in particular, can be a labor-intensive process that involves trimming dead air, syncing captions, and piecing together the most engaging moments. Enter Wisecut, an AI-powered video editor designed to automate the most tedious parts of post-production. By analyzing both audio and video tracks, Wisecut can intelligently remove silences, generate accurate subtitles, reduce background noise, and even create highlight reels automatically.
Wisecut is not just another editing tool; it is a productivity booster for YouTubers, educators, podcasters, and social media managers. Instead of spending hours manually cutting gaps between sentences, you can let the AI handle the heavy lifting. The platform supports multi-language subtitles, making it ideal for global audiences. Best of all, it runs entirely in your browser, so there is no need for powerful hardware or complicated software installations.
This tutorial will walk you through everything you need to know about Wisecut—from setting up your account to mastering its core features. Whether you are a complete beginner or a seasoned creator looking to streamline your workflow, you will find practical steps and insider tips to get the most out of this tool.
Getting Started
Creating an Account
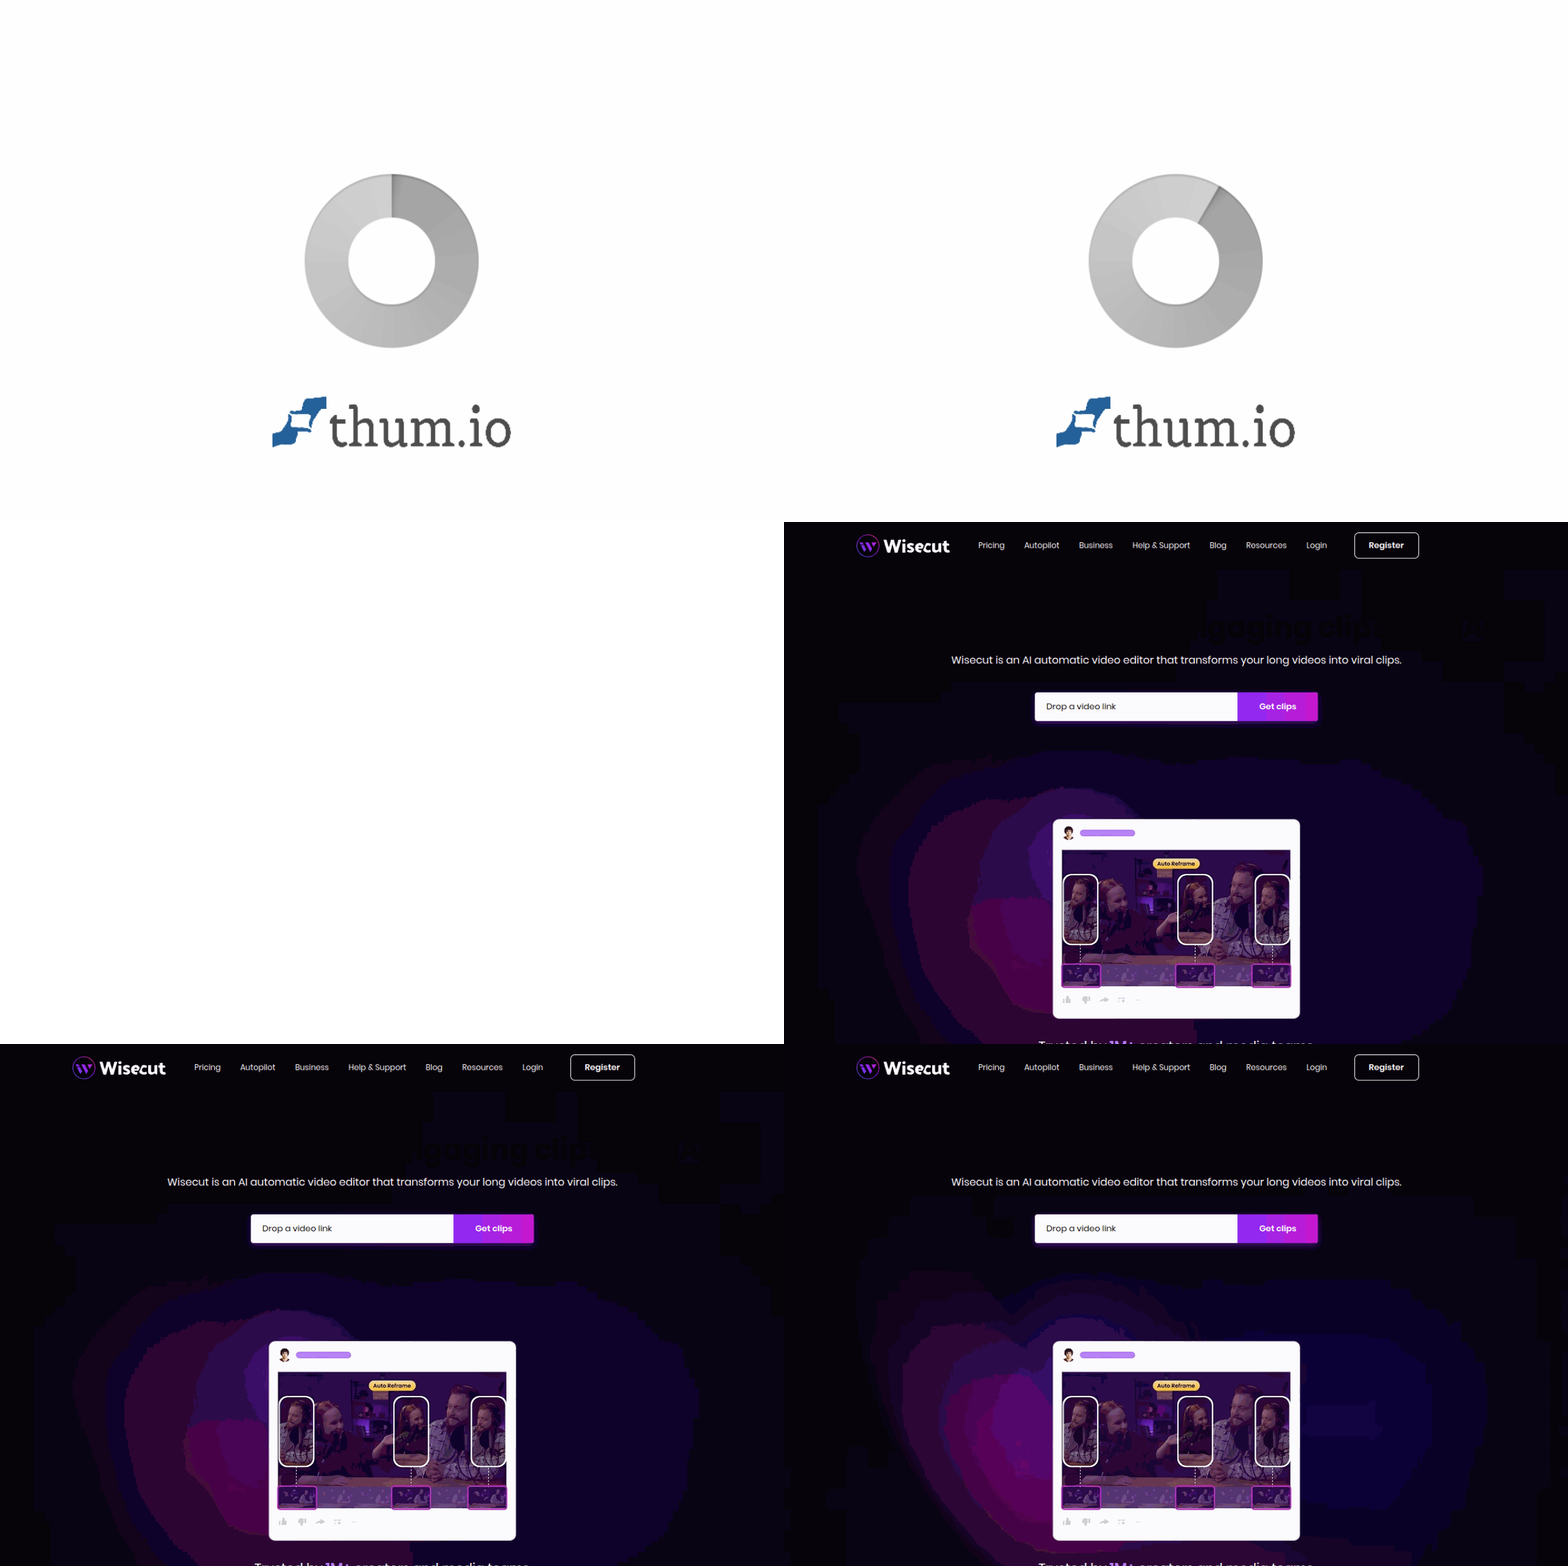
To begin using Wisecut, navigate to the official website at https://www.wisecut.ai/. Click on the “Get Started” or “Sign Up” button, typically located in the top-right corner of the homepage. You can register using your Google account or an email address. The free tier offers a limited number of export minutes per month, which is perfect for testing the waters.
Understanding the Dashboard
Once logged in, you will land on the main dashboard. This is your command center. On the left side, you will see a menu with options such as “New Project,” “My Projects,” “Templates,” and “Settings.” The central area displays your recent projects. Take a moment to explore the interface—it is intentionally minimalistic to reduce the learning curve.
Importing Your First Video
Click on the “New Project” button. You will be prompted to upload a video file. Wisecut supports common formats like MP4, MOV, and AVI. You can drag and drop your file directly into the upload zone or click to browse your computer. The upload speed depends on your internet connection and file size. For best results, use videos with clear dialogue and minimal background chaos.
Key Features
Automatic Silence Removal
The cornerstone of Wisecut is its ability to detect and remove pauses, ums, and awkward silences. When you upload a video, the AI scans the audio waveform to identify moments of low or zero volume. It then automatically cuts those sections, creating a seamless flow. This feature is especially valuable for interview recordings, lectures, or vlogs where natural speech often contains gaps.
You can adjust the sensitivity of the silence detection. A higher sensitivity removes even tiny pauses, while a lower setting preserves natural breathing room. This control ensures your video does not feel rushed or robotic.
AI-Generated Subtitles and Captions
Wisecut uses speech-to-text technology to generate subtitles with impressive accuracy. After processing your video, it displays a transcript alongside the timeline. You can edit any misheard words directly in the text editor. The subtitles are automatically synced to the audio, so you do not need to manually align them frame by frame.
Beyond simple captions, Wisecut offers styled subtitle templates. You can change fonts, colors, background opacity, and positioning. This is useful for creating branded content or making your videos accessible to hearing-impaired viewers.
Auto Highlight Reel Creation
If you have a long video but only want to share the best parts, the auto highlight feature is a game-changer. Wisecut analyzes the audio for changes in tone, volume, and pacing to identify exciting or important moments. It then compiles these segments into a short highlight reel. You can customize the length of the final reel (e.g., 30 seconds, 1 minute) and manually adjust which clips are included.
Background Noise Reduction
Poor audio quality can ruin an otherwise great video. Wisecut includes a noise reduction filter that dampens background hums, fan noises, and ambient chatter. This feature works best on consistent, low-level noise. It is not a replacement for a good microphone, but it can salvage recordings made in less-than-ideal environments.
Multi-Language Subtitle Support
Wisecut can generate subtitles in over 20 languages, including English, Spanish, French, German, Japanese, and Korean. After creating the initial transcript, you can translate it into another language with a single click. This opens up your content to international audiences without needing to hire a translator.
How to Use Wisecut
Step 1: Upload and Process
After creating a new project and uploading your video, Wisecut will begin processing. This usually takes a few minutes, depending on the video length. A progress bar will show the status. You can leave the page and come back later—the processing continues in the cloud.
Step 2: Review and Adjust Silence Removal
Once processing is complete, you will see the edited timeline. The blue waveform represents your audio, and the sections that have been removed are marked with a red line or a gap. Play through the video to check the flow. If you notice that too much silence was cut (making speech sound rushed), go to the “Silence Removal” settings in the right panel and lower the sensitivity. Conversely, if there are still awkward pauses, increase the sensitivity.
Step 3: Edit Subtitles
Click on the “Subtitles” tab. You will see the transcript broken into segments. Each segment corresponds to a subtitle block. Click on any word to edit it. This is particularly useful for correcting names, technical terms, or accents that the AI may have misinterpreted. You can also adjust the timing of each subtitle block by dragging its edges on the timeline.
To add multi-language support, click the “Translate” button. Select your target language, and Wisecut will generate a new subtitle track. You can switch between languages using a dropdown menu in the preview player.
Step 4: Create a Highlight Reel
If you want to extract a shorter version of your video, navigate to the “Highlights” section. Wisecut will suggest several clips based on audio analysis. You can select or deselect individual clips. Use the “Reel Length” slider to set a target duration. The AI will automatically trim or extend clips to fit. Preview the reel and make manual adjustments if needed—simply drag the start and end points of any clip.
Step 5: Apply Noise Reduction
In the “Audio” settings, you will find a toggle for “Background Noise Reduction.” Enable it and play a sample of your video. You should hear a noticeable improvement in clarity. Be cautious not to over-apply this filter, as it can sometimes make voices sound slightly hollow or artificial.
Step 6: Export Your Video
Once you are satisfied with the edits, click the “Export” button in the top-right corner. Choose your desired resolution (e.g., 1080p, 720p) and format (MP4 is recommended for most platforms). If you have multiple subtitle tracks, you can choose which one to embed. The export time varies, but Wisecut will notify you via email when the file is ready for download.
Tips for Getting the Most Out of Wisecut
Tip 1: Start with Clean Audio
While Wisecut can reduce background noise, it performs best when the original audio is clear. Use a microphone, record in a quiet room, and minimize echo. This will improve the accuracy of both silence removal and subtitle generation.
Tip 2: Review the Transcript Carefully
AI speech recognition is not perfect. Always proofread the generated subtitles before exporting. Common errors include homophones (e.g., “their” vs. “there”) and misinterpreted proper nouns. A quick review can prevent embarrassing mistakes in your final video.
Tip 3: Use the Highlight Reel for Social Media
The auto highlight feature is perfect for repurposing long-form content into short clips for TikTok, Instagram Reels, or YouTube Shorts. Experiment with different reel lengths to see what performs best with your audience. You can also create multiple highlight reels from the same video.
Tip 4: Adjust Silence Sensitivity Per Project
Different types of content require different silence settings. A fast-paced vlog may benefit from aggressive silence removal, while a meditation guide or podcast might need longer pauses for effect. Always preview the result and tweak the sensitivity accordingly.
Tip 5: Leverage Multi-Language Subtitles for Reach
If your content has global appeal, take advantage of the translation feature. Even if you only speak one language, generating subtitles in Spanish, French, or Hindi can dramatically increase your viewership. Just remember that machine translation may not be perfect, so consider having a native speaker review the translated subtitles for critical content.
Tip 6: Keep Your Project Organized
Wisecut saves your projects in the cloud. Use descriptive names and folders to keep track of different videos. This is especially helpful if you are working on multiple projects simultaneously or collaborating with a team.
Tip 7: Use the Preview Player Often
Do not rely solely on the timeline or settings. Use the built-in preview player to watch your video from start to finish before exporting. This helps you catch timing issues, awkward cuts, or subtitle synchronization problems that might not be obvious in the editor.
Tip 8: Export in the Highest Quality Possible
Always export in the highest resolution and bitrate that your subscription allows. You can always compress the file later for specific platforms, but you cannot regain lost quality. This ensures your video looks professional regardless of where it is uploaded.
Tip 9: Experiment with Subtitle Styles
Wisecut offers several subtitle templates. Try different font styles and background opacities to match your brand. For example, a semi-transparent black background with white text is readable on most footage. Avoid overly decorative fonts that may be hard to read on small screens.
Tip 10: Combine Wisecut with Other Tools
Wisecut is excellent for automating the boring parts of editing, but it is not a full-featured video editor. For advanced effects, color grading, or complex transitions, consider exporting from Wisecut and then importing into a tool like DaVinci Resolve or Adobe Premiere Pro. This hybrid workflow saves time while still giving you creative control.
Conclusion
Wisecut democratizes video editing by putting powerful AI tools into the hands of anyone with a video file. Whether you are a solo creator, a small business owner, or a teacher, the ability to automatically remove silences, generate subtitles, and create highlight reels can cut your editing time by hours. The learning curve is shallow, and the results are consistently professional.
Start with a simple project—perhaps a short vlog or a recorded lecture. Experiment with the silence removal and subtitle features. As you become more comfortable, explore the highlight reel and noise reduction tools. Before long, you will wonder how you ever edited videos without AI assistance.
For more details and updates, visit the official Wisecut website: https://www.wisecut.ai/. Happy editing!

Wisecut
AI-powered video editing tool for automatic subtitles and highlights.