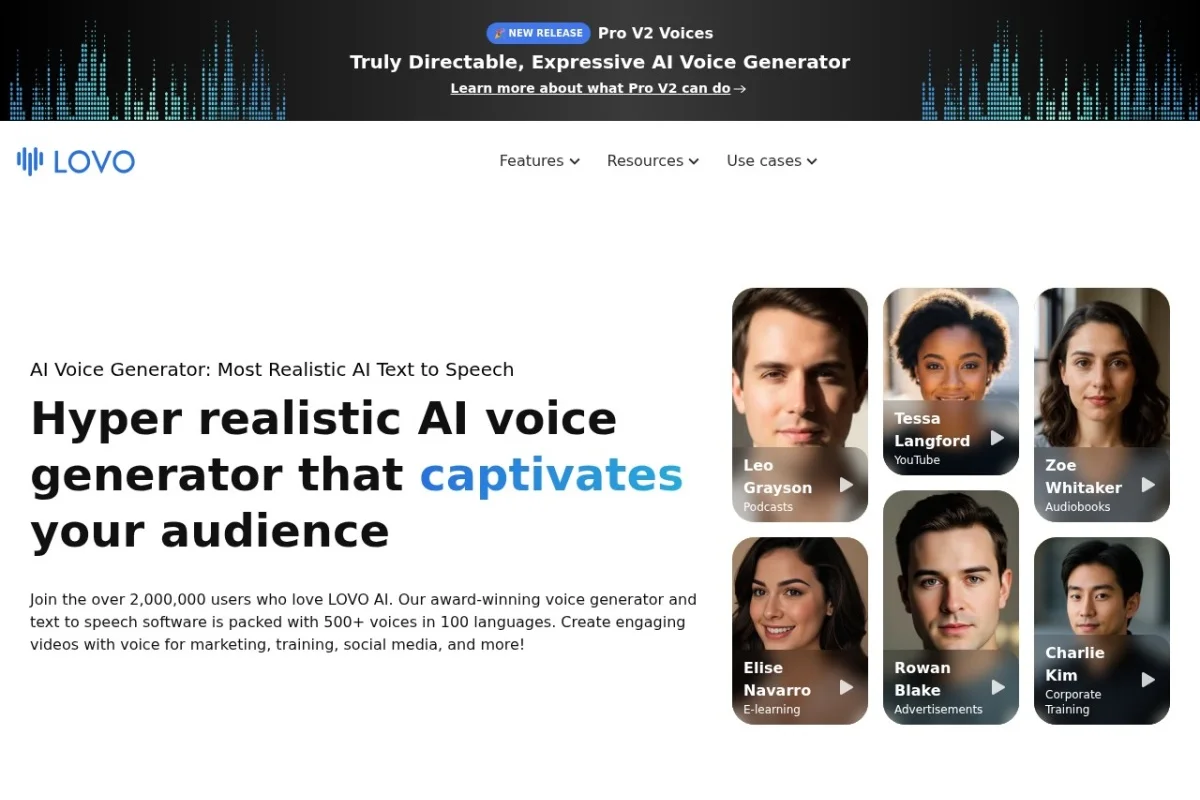
Introduction to LOVO AI Voice Generator
In the rapidly evolving world of digital content creation, high-quality voiceovers have become essential for engaging audiences. Whether you are producing YouTube videos, corporate presentations, e-learning modules, or podcasts, the human voice adds a layer of connection that text alone cannot achieve. However, hiring professional voice actors or recording your own voice can be time-consuming, expensive, and logistically challenging. This is where LOVO AI Voice Generator steps in as a transformative solution.
LOVO is a cloud-based, free AI voice generator and text-to-speech platform that converts written text into remarkably realistic, natural-sounding speech. Unlike older text-to-speech systems that sounded robotic and flat, LOVO leverages advanced deep learning algorithms to produce voices with proper intonation, emotion, and pacing. The platform boasts an extensive library of voices spanning multiple languages, accents, and styles, making it a versatile tool for creators, educators, marketers, and business professionals.
One of the most appealing aspects of LOVO is its accessibility. Because it operates entirely in the cloud, there is no need to download or install any software. You simply visit the website, create a free account, and begin generating voiceovers immediately. The free tier offers generous usage limits, allowing you to experiment and produce substantial content without any upfront cost. This tutorial will guide you through every aspect of LOVO, from your first login to advanced customization techniques, ensuring you can produce professional-grade audio with confidence.
Getting Started with LOVO
Creating Your Account
To begin using LOVO, navigate to https://lovo.ai/ using any modern web browser. On the homepage, locate and click the “Sign Up” button, typically found in the upper right corner. You can register using your Google account for a quick one-click signup, or use your email address to create a traditional account. If you choose email registration, you will need to verify your email address by clicking a confirmation link sent to your inbox. Once verified, you can log in and access the main dashboard.
Navigating the Dashboard
After logging in, you will be greeted by the LOVO dashboard. The interface is designed with simplicity in mind, making it easy for beginners to find their way around. The primary workspace is the text-to-speech editor, where you will spend most of your time. On the left side, you will find a panel for selecting voices, adjusting settings, and managing your projects. The central area is a large text box where you input or paste your script. At the top, there is a menu bar with options for creating new projects, accessing your saved files, and adjusting account settings.
Understanding the Free Tier
Before diving into production, it is important to understand what the free tier offers. LOVO provides a generous allocation of free credits each month, which you can use to generate audio. These credits reset periodically, so you can consistently produce content without paying. While the free version includes access to a wide selection of voices, some premium or specialty voices may be locked behind a paid subscription. However, for most common use cases such as narration, tutorials, and social media content, the free voices are more than sufficient. The platform also allows you to preview audio before finalizing, so you never waste credits on a voice that does not fit your project.
Key Features of LOVO AI Voice Generator
Realistic AI Voices with Natural Intonation
The core strength of LOVO lies in the quality of its voices. Unlike basic text-to-speech systems that produce monotone output, LOVO uses neural network technology to generate speech that mimics human patterns. This includes natural pauses, rising and falling pitch at the end of sentences, and appropriate emotional emphasis. When you listen to a LOVO voiceover, it is often difficult to distinguish it from a human recording. This realism is crucial for maintaining audience engagement, especially in longer content like audiobooks or e-learning courses.
Multi-Language and Accent Support
LOVO supports a broad range of languages including English, Spanish, French, German, Italian, Portuguese, Chinese, Japanese, Korean, and many more. Within each language, you can often choose from different regional accents. For example, English voices are available in American, British, Australian, and Indian accents. This feature is invaluable for content creators who want to reach a global audience or need to produce localized versions of their material. The accents are authentic and not exaggerated, ensuring your message is clear and culturally appropriate.
Customizable Speech Speed and Pitch
Every project has unique requirements. A fast-paced promotional video might need energetic, quick speech, while a meditation guide requires slow, soothing tones. LOVO gives you full control over the speed and pitch of the generated voice. You can adjust the speed from very slow to very fast using a simple slider, and similarly modify the pitch to make the voice sound deeper or higher. These adjustments can be made in real-time while previewing the audio, allowing you to fine-tune the output until it matches your vision perfectly.
Cloud-Based, No Installation Needed
Because LOVO is entirely cloud-based, you can access your projects from any device with an internet connection. This includes Windows PCs, Macs, Chromebooks, and even tablets or smartphones. Your work is saved automatically in the cloud, so you never have to worry about losing progress due to a computer crash. This also means there are no system requirements to meet; as long as your browser is up to date, you are ready to create.
How to Use LOVO AI Voice Generator: A Step-by-Step Guide
Step 1: Create a New Project
Once you are logged in to your dashboard, click the “New Project” button, usually labeled prominently. You will be prompted to give your project a name. Choose something descriptive, such as “Product Demo Script” or “History Lesson Module,” so you can easily find it later. After naming the project, you will enter the main text-to-speech editor.
Step 2: Input Your Script
In the central text box, type or paste the text you want to convert to speech. You can enter anything from a single sentence to several pages of content. For longer scripts, it is advisable to break your text into paragraphs or logical sections, as this makes it easier to manage and adjust later. LOVO supports standard punctuation, and you can use commas, periods, question marks, and exclamation points to guide the voice’s natural pauses and intonation.
Step 3: Select a Voice
On the left panel, you will see a list of available voices. You can browse by language, accent, or style. For example, you might filter for “English (US)” and then choose between voices labeled “Friendly,” “Professional,” “Energetic,” or “Calm.” Click on any voice to preview a short sample. Take your time to listen to several options before deciding. The voice you choose will significantly impact the tone of your final product, so select one that aligns with your content’s purpose. For a corporate training video, a professional and clear voice works best. For a children’s story, a warm and expressive voice is ideal.
Step 4: Customize Speech Settings
After selecting a voice, you can adjust the speed and pitch using the sliders provided in the settings panel. Start by listening to the default setting, then slowly move the speed slider to the right for faster speech or to the left for slower speech. For pitch, moving the slider up makes the voice higher, while moving it down makes it deeper. Click the “Preview” button to hear how your adjustments sound. Repeat this process until you are satisfied. Remember, small adjustments can have a big impact, so tweak gradually.
Step 5: Generate and Preview
Once you have your script entered and your voice settings configured, click the “Generate” or “Play” button. LOVO will process your text and produce the audio. You can listen to the entire generated audio directly in the browser. If you hear any issues, such as a mispronunciation or awkward pacing, you can edit the text or adjust the settings and generate again. The preview feature does not consume your monthly credits, so feel free to experiment as much as you need.
Step 6: Download Your Audio
When you are completely happy with the generated voiceover, click the “Download” button. LOVO typically offers audio files in MP3 or WAV format. MP3 is recommended for most uses because it balances quality with file size. Choose a location on your computer to save the file, and give it a clear filename. Your audio is now ready to be imported into video editing software, presentation tools, or any other platform you use.
Tips for Getting the Best Results from LOVO
Write for the Ear, Not the Eye
Text that looks good on paper does not always sound natural when spoken aloud. When writing your script, read it out loud to yourself. Look for long, complex sentences that might be hard to follow audibly. Break them into shorter, simpler phrases. Use conversational language rather than formal, academic wording. For example, instead of writing “The implementation of the new protocol will commence next quarter,” write “We will start using the new system next quarter.” This makes the voiceover feel more natural and engaging.
Use Punctuation to Control Pacing
Punctuation is your secret weapon for controlling how the AI voice delivers your script. A period creates a full stop and a brief pause. A comma indicates a shorter pause. An ellipsis (…) can suggest a trailing thought or a dramatic pause. Exclamation points add energy and emphasis. By strategically placing punctuation, you can guide the AI to deliver your script with the rhythm and emotion you intend. For instance, adding a comma after introductory phrases like “However,” or “In conclusion,” gives the listener a moment to process.
Add Phonetic Spelling for Difficult Words
AI voices sometimes struggle with unusual names, technical terms, or words that have multiple pronunciations. If you notice the AI mispronouncing a word, try spelling it phonetically in your script. For example, if the name “Nguyen” is being pronounced incorrectly, you might write it as “Win” or “N’win” in parentheses. Similarly, for acronyms, decide whether you want them spelled out letter by letter or spoken as a word. You can write “NASA” as “N-A-S-A” if you want the letters, or simply “NASA” if you want it said as a word. Experiment until the AI gets it right.
Keep Paragraphs Short for Easy Editing
When working on longer projects, avoid putting your entire script into one large text block. Instead, divide your script into smaller paragraphs or even individual sentences. This approach makes it much easier to edit specific sections without regenerating the entire audio. If you need to change one sentence in a 10-minute script, you only need to regenerate that one small part and splice it in later using audio editing software. This saves time and credits.
Layer Voices for Dynamic Content
For advanced projects like podcasts or narrated documentaries, consider using multiple voices to create a more dynamic listening experience. LOVO allows you to create different sections of your project with different voices. For example, you could use one voice for the main narration and a different voice for quoted material or character dialogue. This technique keeps the audio interesting and helps listeners distinguish between different parts of your content.
Test on Multiple Devices
Before finalizing a large project, test your generated audio on different playback devices. What sounds clear on your computer speakers might sound muddy on a smartphone or tinny on headphones. Listen to your audio on at least two different devices to ensure the quality is consistent. Pay attention to volume levels, background noise, and clarity. If the audio sounds good everywhere, you can be confident in your final output.
Conclusion
LOVO AI Voice Generator is a powerful, accessible tool that democratizes professional voiceover production. By following the steps outlined in this tutorial, you can transform any written text into high-quality, natural-sounding speech in minutes. The platform’s realistic voices, extensive language support, and customization options make it suitable for a wide range of applications, from educational content to marketing materials. Remember to write conversationally, use punctuation wisely, and experiment with different voices and settings to find what works best for your specific project. With practice, you will be able to produce audio that rivals traditional recording studios, all from the convenience of your web browser. Start your first project today and experience the future of voice generation.

LOVO AI Voice Generator
Free AI voice generator and text-to-speech tool with natural voices.