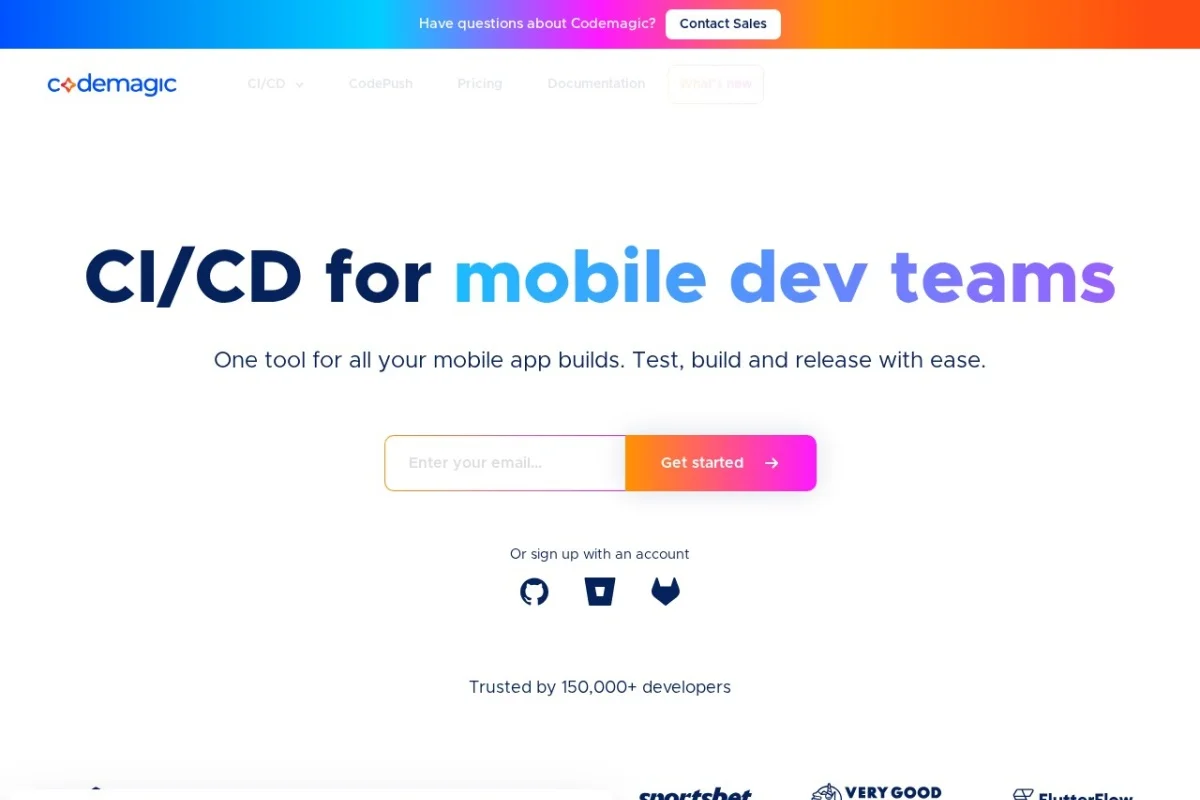
Introduction to Codemagic CI/CD
In the fast-paced world of mobile app development, manual build processes and testing workflows can quickly become a bottleneck. Every time a developer pushes a new feature or fixes a bug, the code must be compiled, tested, signed, and distributed. Doing this manually is not only time-consuming but also prone to human error. This is where Codemagic CI/CD comes into play.
Codemagic is a cloud-based continuous integration and continuous delivery platform specifically designed for mobile app development teams. Unlike generic CI/CD tools that require extensive configuration to handle mobile-specific tasks like code signing and store uploads, Codemagic is built from the ground up to understand the unique needs of mobile projects. It supports a wide range of frameworks including Flutter, React Native, native Android (Kotlin/Java), native iOS (Swift/Objective-C), Ionic, and even Unity projects.
The core philosophy of Codemagic is simplicity without sacrificing power. You can get started with a few clicks using its intuitive web interface, or you can dive deep into customization using the codemagic.yaml configuration file. Whether you are a solo indie developer or part of a large enterprise team, Codemagic automates the entire pipeline: building your app, running tests, managing code signing certificates, and ultimately distributing your app to the Google Play Store, Apple App Store, or as a downloadable artifact.
This tutorial will guide you through everything you need to know to set up your first pipeline, understand the key features, and adopt best practices for a smooth CI/CD experience.
Getting Started with Codemagic
Creating an Account and Connecting a Repository
The first step to using Codemagic is to create a free account. Visit https://codemagic.io/ and sign up using your GitHub, GitLab, Bitbucket, or Azure DevOps account. This integration is fundamental because Codemagic needs access to your source code to trigger builds automatically when you push changes.
Once logged in, you will be greeted by the dashboard. Click the “Add application” button. You will be prompted to select the Git provider you used to sign up. After authorizing Codemagic to access your repositories, you can search for and select the specific project you want to build. Codemagic will automatically detect the type of project you have (e.g., Flutter, React Native) and suggest a default build configuration.
Understanding the Build Environment
Codemagic runs your builds on fully hosted cloud infrastructure. You do not need to maintain your own build servers. The platform offers a variety of hardware configurations, including standard macOS and Linux machines, as well as high-performance machines with more RAM and faster processors for larger projects. You can select the machine type that best fits your budget and build time requirements. For iOS builds, Codemagic uses Apple Silicon M1 and M2 machines, ensuring fast compilation times for Xcode projects.
The Two Configuration Methods: UI vs. codemagic.yaml
Codemagic offers two distinct ways to configure your build pipeline. For beginners, the Workflow Editor (UI) is the easiest path. It provides a visual, form-based interface where you can set up build triggers, environment variables, and post-build actions without writing any code.
For advanced users who need version-controlled configuration, Codemagic supports a codemagic.yaml file. This file lives in the root of your repository and defines every aspect of your pipeline. Using YAML gives you fine-grained control over scripts, caching, and multi-workflow setups. If a codemagic.yaml file is detected in your repository, Codemagic will prioritize it over the UI settings.
Key Features of Codemagic
Multi-Platform Build Support
Codemagic is not limited to mobile phones. It can build for Android, iOS, web, and desktop (macOS, Windows, Linux) depending on your framework. For example, a Flutter project can be configured to produce an APK, an iOS archive, a web build, and a macOS application all from a single pipeline. This eliminates the need to juggle multiple CI tools for different platforms.
Automated Code Signing
Code signing is often the most frustrating part of mobile deployment. Codemagic simplifies this dramatically. For Android, you can securely upload your keystore file as an environment variable or use the Codemagic UI to manage signing. For iOS, Codemagic integrates with Apple Developer Portal to automatically manage certificates and provisioning profiles. It can even handle the renewal of expiring certificates automatically when configured correctly.
Automated Distribution and Changelogs
Once your app is built and signed, Codemagic can automatically upload it to the Google Play Store (via Google Play Console API) or the Apple App Store (via App Store Connect API). It can also publish to internal testing platforms like Firebase App Distribution, TestFlight, or simply provide a downloadable link. Additionally, you can configure Codemagic to automatically generate changelogs based on your commit messages between the last successful build and the current one.
Integration with Major Git Providers
Codemagic seamlessly integrates with Azure DevOps, GitHub, GitLab, and Bitbucket. You can set up webhooks so that a build is triggered automatically on every push to a specific branch, on pull request creation, or on tag creation. This ensures that every change is tested before it is merged.
How to Use Codemagic: A Step-by-Step Guide
Step 1: Setting Up Your First Workflow via the UI
After adding your application, click on the project name to enter the build settings. You will see the Workflow Editor tab. Here, you can define the following:
- Build Triggers: Choose which branches should trigger automatic builds. For example, you might want to build on every push to the main and develop branches, but only on pull requests for feature branches.
- Environment Variables: Add sensitive data like API keys, app store credentials, or signing passwords. Codemagic encrypts these variables and makes them available during the build runtime.
- Build Steps: Select the platforms you want to build (Android, iOS, etc.). Codemagic will generate the necessary commands (e.g., flutter build apk or xcodebuild) automatically based on your project type.
- Testing: Enable unit tests, widget tests, or integration tests. Codemagic will run these and report the results directly in the build log.
- Post-Build Actions: Choose where to publish your app. You can upload to Google Play (internal or alpha track), App Store Connect (TestFlight or App Store), or Firebase App Distribution.
Once you save the configuration, you can click “Start new build” to manually trigger your first pipeline.
Step 2: Using codemagic.yaml for Advanced Configuration
If you need more control, create a file named codemagic.yaml in the root of your repository. Here is a minimal example for a Flutter project:
Example codemagic.yaml structure:
- workflows: Defines one or more workflows (e.g., a workflow for Android and a separate one for iOS).
- name: A descriptive name for your workflow.
- instance_type: Specifies the hardware (e.g., mac_mini_m1 for iOS, linux for Android).
- environment: Defines environment variables and groups.
- scripts: A list of shell commands to execute. This is where you run your build commands.
- artifacts: Specify which files to save (e.g., .apk, .ipa).
- publishing: Configure where to send the final build.
By committing this file, you version-control your CI/CD configuration, making it reproducible across your team.
Step 3: Managing Code Signing for iOS
iOS code signing is the trickiest part. In Codemagic, go to the Code Signing tab in your project settings. You have two options:
- Automatic signing: Codemagic can connect to your Apple Developer account and manage certificates and profiles for you. You will need to provide your Apple ID and app-specific password.
- Manual signing: Upload your distribution certificate (.p12) and provisioning profile (.mobileprovision). Codemagic will install them during the build.
For Android, simply upload your keystore.jks file and provide the keystore password, key alias, and key password as environment variables.
Step 4: Reviewing Build Logs and Artifacts
Once a build is running, you can watch the logs in real time. If a build fails, Codemagic highlights the error in red. You can download the full log for offline analysis. If the build succeeds, you can download the generated artifacts (APK, IPA, etc.) directly from the build page, or access them via the distribution link you configured.
Tips for Using Codemagic Effectively
Tip 1: Optimize Build Caching
One of the biggest time-savers in CI/CD is caching. Codemagic automatically caches dependencies like Flutter SDK, CocoaPods, npm packages, and Gradle caches. However, you can fine-tune this. In your codemagic.yaml, use the cache directive to specify additional folders to cache. This can reduce build times by 50% or more, especially for projects with large dependency trees.
Tip 2: Use Environment Groups for Different Environments
You likely have different configurations for development, staging, and production. Codemagic allows you to create Environment Groups. For example, you can create a group called Production with your production API keys and a group called Staging with test keys. Then, assign the appropriate group to each workflow. This prevents accidental deployment of debug keys to production.
Tip 3: Set Up Pull Request Checks
To maintain code quality, configure Codemagic to run builds on every pull request. In your workflow settings, enable the “Build on pull request” trigger. Codemagic will comment directly on the PR with a link to the build log and the status (pass/fail). This gives reviewers immediate feedback without leaving GitHub or GitLab.
Tip 4: Leverage the codemagic.yaml for Multi-Workflow Projects
If your project has multiple apps (e.g., a white-label app for different clients), you can define multiple workflows in a single codemagic.yaml file. Each workflow can have its own environment variables, build scripts, and publishing destinations. This keeps your CI configuration organized and centralized.
Tip 5: Monitor Usage and Costs
Codemagic offers a free tier with a limited number of build minutes per month. If you are on a paid plan, monitor your usage from the Billing section. To save minutes, avoid building on every single commit. Instead, use build triggers wisely: build only on pushes to main branches and on pull requests. For draft PRs, you can disable automatic builds entirely.
Tip 6: Test on Real Devices via Device Farms
While Codemagic runs your tests on emulators and simulators by default, you can integrate with cloud device testing services like Firebase Test Lab or BrowserStack. Add a script in your codemagic.yaml to upload your APK/IPA to these services after a successful build. This catches device-specific bugs before release.
Conclusion
Codemagic CI/CD is a powerful yet accessible tool that brings enterprise-grade automation to mobile app development. By abstracting away the complexities of code signing, multi-platform builds, and store distribution, it allows developers to focus on what they do best: writing great code. Whether you choose the simplicity of the Workflow Editor or the flexibility of codemagic.yaml, the platform scales with your needs. Start by connecting your repository, configure your first build, and watch as Codemagic handles the heavy lifting from commit to store release. With the tips provided in this guide, you are well-equipped to build a robust, efficient, and reliable CI/CD pipeline for your mobile projects.
