Introduction to MicroAgent AI
In the rapidly evolving landscape of artificial intelligence, finding the right tool for a specific task can be overwhelming. Hundreds of AI agents, assistants, and frameworks are released every month, each claiming to solve a unique problem. This is where MicroAgent AI steps in as a powerful discovery and comparison platform. Designed for professionals, hobbyists, and business owners alike, MicroAgent AI curates a comprehensive collection of AI agents organized by category, allowing you to browse, compare, and select the perfect tool for your needs.
Whether you are a graphic designer looking for an AI that generates vector illustrations, a developer seeking a coding assistant built on the AutoGen framework, or a marketer in need of a content generation agent, MicroAgent AI provides detailed descriptions, comparison tools, and direct links to learn more. The platform is entirely web-based, accessible at https://microagent.ai/, and requires no complex installation. This tutorial will guide you through every aspect of the platform, from your first visit to advanced comparison techniques, ensuring you get the maximum value from this resource.
MicroAgent AI stands out because it does not simply list AI tools; it provides structured data about each agent, including the underlying framework (such as AutoGen, CrewAI, or LangChain), the primary use case, and the user interface type. This information is invaluable when you need to choose between a general-purpose assistant like Manus AI and a specialized coding agent. By the end of this tutorial, you will be able to navigate the platform with confidence, compare agents side by side, and make informed decisions that save you time and money.
Getting Started with MicroAgent AI
Accessing the Platform
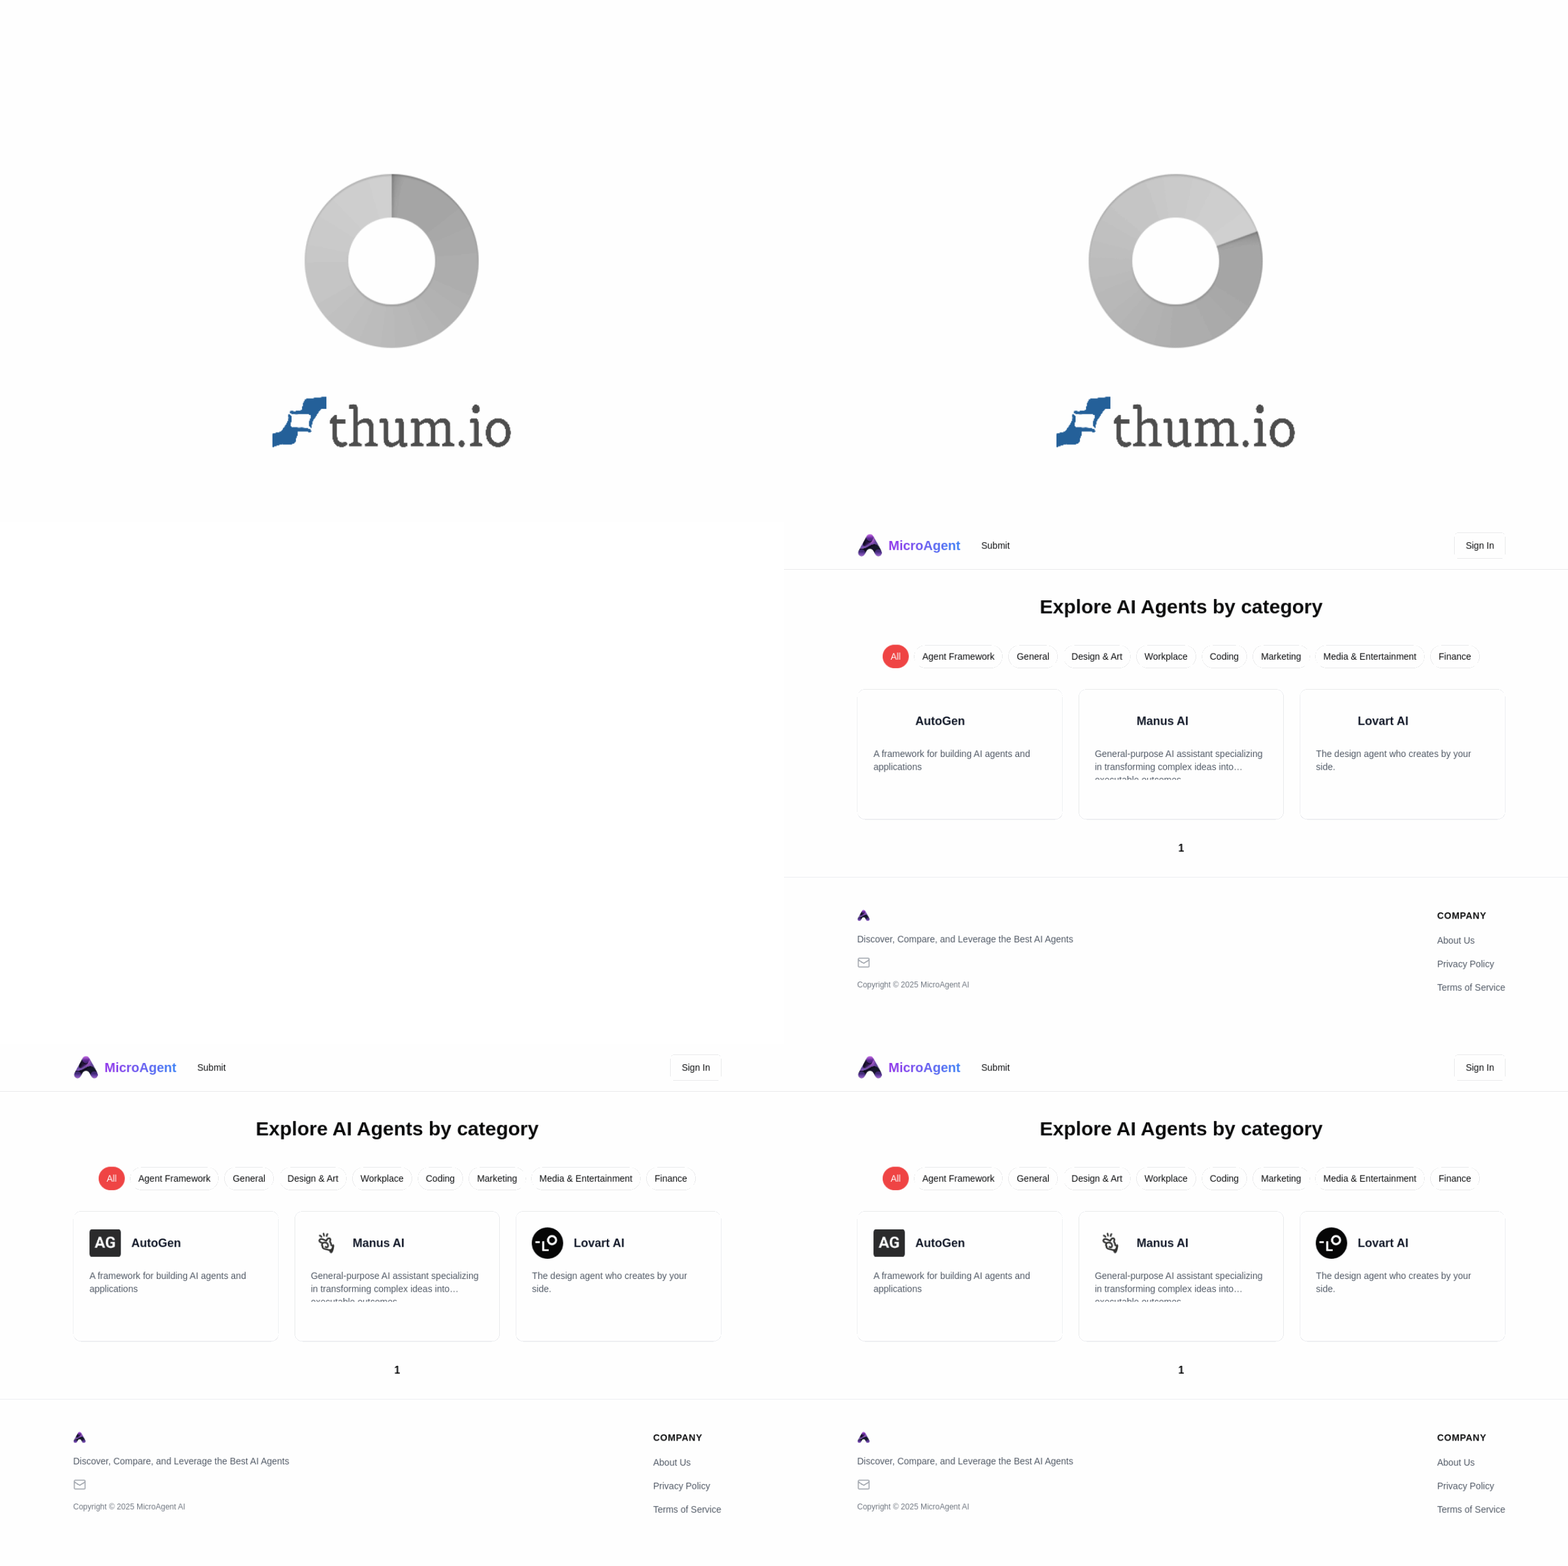
To begin using MicroAgent AI, open your preferred web browser and navigate to https://microagent.ai/. The platform is fully responsive, meaning it works seamlessly on desktop computers, tablets, and smartphones. No download or installation is required. Upon loading the homepage, you will be greeted by a clean, user-friendly interface featuring a search bar, category navigation, and a grid of featured AI agents.
Creating an Account vs. Browsing as a Guest
One of the most practical aspects of MicroAgent AI is that you can browse the entire collection without creating an account. However, signing in offers several advantages:
- Save Favorites: Registered users can bookmark agents for quick access later.
- Submit Agents: If you have developed or discovered an AI agent that is not listed, signing in allows you to submit it for inclusion in the directory.
- Personalized Experience: The platform may offer recommendations based on your browsing history once you are signed in.
To sign in, click the “Sign In” button located in the top-right corner of the homepage. You can typically use your Google account or create a new account with an email address. For first-time users, I recommend starting as a guest to explore the interface, then signing up once you find the platform valuable.
Understanding the Homepage Layout
The homepage is divided into several key areas:
- Top Navigation Bar: Contains the MicroAgent AI logo, search bar, sign-in button, and a “Submit” button for adding new agents.
- Category Tiles: Below the navigation, you will see large, clickable tiles for categories such as Design, Workplace, Coding, Marketing, Media, and Finance. These tiles are your primary entry point for browsing.
- Featured Agents Section: A rotating or grid-based display of popular or newly added AI agents. Clicking on any agent card will take you to its detailed description page.
- Footer: Contains links to privacy policy, terms of service, and contact information.
Key Features of MicroAgent AI
1. Browse AI Agents by Category
The core functionality of MicroAgent AI is its organized categorization. Each category contains agents specifically tailored to that domain. For example:
- Design: Agents for generating images, creating logos, editing photos, and designing user interfaces.
- Coding: Agents that write code, debug errors, explain code snippets, and assist with software architecture. Many of these agents are built on frameworks like AutoGen or LangChain.
- Marketing: Agents for writing ad copy, generating social media posts, analyzing SEO, and creating email campaigns.
- Media: Agents that generate music, edit videos, transcribe audio, or create voiceovers.
- Finance: Agents for budgeting, stock analysis, invoice generation, and financial forecasting.
- Workplace: General-purpose assistants that help with scheduling, note-taking, meeting summaries, and task management.
Clicking on any category tile loads a dedicated page showing all agents in that category, along with their short descriptions and key tags.
2. Compare Different AI Agents Side by Side
Perhaps the most powerful feature of MicroAgent AI is the ability to compare multiple agents simultaneously. When you are on a category page or a search results page, each agent card has a checkbox or a “Compare” button. By selecting two or more agents, you can view a side-by-side comparison table that highlights:
- Framework: Shows whether the agent uses AutoGen, CrewAI, LangChain, or a custom framework.
- Pricing Model: Indicates if the agent is free, freemium, subscription-based, or pay-per-use.
- User Interface: Describes whether the agent is a chatbot, a web app, an API, or a plugin.
- Primary Use Case: A concise statement of what the agent does best.
- Supported Languages: Lists the human languages the agent can work with.
This comparison feature is invaluable when deciding between two similar agents, such as a general-purpose coding assistant versus a specialized AutoGen-based debugging agent.
3. Access Detailed Agent Descriptions and Learn More Links
Every agent listed on MicroAgent AI has a dedicated detail page. To access it, simply click on the agent’s name or card. The detail page includes:
- Full Description: A comprehensive overview of what the agent does, its capabilities, and its limitations.
- Key Features: A bulleted list of the most important functionalities.
- Technical Specifications: Information about the framework, model size, API availability, and integration options.
- User Reviews: Ratings and comments from other users (if available).
- “Learn More” Button: A direct link to the agent’s official website, GitHub repository, or documentation page. This ensures you can always access the most up-to-date information.
4. Discover Agents for Design, Coding, Marketing, and More
MicroAgent AI is constantly updated with new agents. The platform offers several ways to discover tools you might not have encountered otherwise:
- Trending Section: Shows agents that have recently gained popularity.
- New Arrivals: Lists agents added within the last 7 days.
- Random Agent: A fun feature that shows you a random agent from the collection, encouraging serendipitous discovery.
5. User-Friendly Interface with Sign-In and Submission Options
The platform has been designed with usability in mind. The search bar supports natural language queries. For example, typing “AI that can write Python scripts” will return relevant coding agents. The submission option allows developers and companies to add their own AI agents to the directory, ensuring the collection remains fresh and comprehensive.
How to Use MicroAgent AI: A Step-by-Step Guide
Step 1: Finding the Right Category
Begin by identifying the type of task you need help with. If you are a graphic designer, click on the “Design” category tile. If you are a developer, click on “Coding”. For general office tasks, choose “Workplace”. Each category page will display a grid of agent cards. You can further filter these by using the search bar at the top of the category page. For instance, within the Coding category, you can search for “AutoGen” to find all agents built on that specific framework.
Step 2: Reading Agent Details
Once you see an agent that looks promising, click on its name to open the detail page. Read the full description carefully. Pay special attention to the “Framework” field if you have technical constraints. For example, if your project requires an agent compatible with the AutoGen ecosystem, this field will tell you immediately whether the agent qualifies. Also, check the “Pricing Model” to ensure the tool fits your budget. Many agents offer free tiers, which are perfect for testing before committing.
Step 3: Using the Compare Feature
When you have narrowed your choices to two or three agents, use the compare feature. Navigate back to the category page or search results. Look for the checkbox icon on each agent card. Select the agents you want to compare. A “Compare” button will appear, usually at the top or bottom of the page. Click it to open a comparison table. Study the differences in frameworks, pricing, and use cases. For example, you might find that Agent A is free but limited to text generation, while Agent B has a subscription fee but supports multi-modal inputs (text and images). This comparison will help you make an informed decision.
Step 4: Following the “Learn More” Link
After selecting the best agent for your needs, click the “Learn More” button on its detail page. This will take you to the agent’s official website. There, you can sign up for the service, read the full documentation, or download the necessary software. Some agents are web-based and require no installation, while others may need you to install a plugin or a desktop application. The “Learn More” link is your gateway to actually using the AI tool.
Step 5: Submitting Your Own Agent (Optional)
If you have developed an AI agent or know of one that is missing from the directory, you can submit it. Click the “Submit” button in the top navigation bar. You will be prompted to sign in if you haven’t already. Fill out the submission form, which typically asks for:
- Agent name
- Category (Design, Coding, etc.)
- Short description
- Full description
- Framework used (if applicable)
- Pricing model
- Official website URL
- Your contact information
Once submitted, the MicroAgent AI team will review your submission and add it to the directory if it meets their quality standards. This process helps the community grow and ensures that valuable tools are not overlooked.
Tips for Getting the Most Out of MicroAgent AI
Tip 1: Use Specific Keywords in the Search Bar
The search bar is more powerful than it first appears. Instead of searching for “AI agent,” try specific phrases like “AutoGen coding agent,” “free image generator,” or “marketing copywriter.” The platform indexes descriptions, tags, and framework names, so specific queries yield more relevant results. For example, searching for “Manus AI” will take you directly to that general-purpose assistant’s detail page.
Tip 2: Bookmark Your Favorite Agents
As you explore, you will likely find several agents that you want to return to. If you are signed in, use the bookmark or favorite feature (usually a heart icon or a star icon) to save agents to your personal list. This saves time when you need to quickly access a tool you have previously vetted.
Tip 3: Check for Framework Compatibility
If you are a developer working with multi-agent systems, pay close attention to the framework field. Agents built on AutoGen are designed to work well together, as they share a common communication protocol. Similarly, agents built on CrewAI or LangChain have their own ecosystems. Mixing agents from different frameworks may require additional integration work. MicroAgent AI makes it easy to identify compatible agents by displaying the framework prominently on both the card and the detail page.
Tip 4: Read User Reviews When Available
Some agent detail pages include user reviews and ratings. These are invaluable for understanding real-world performance. Look for reviews that mention specific use cases similar to yours. For example, if you need an agent for generating social media images, look for reviews from other marketers. Be cautious of agents with very few reviews, as they may be new or untested.
Tip 5: Explore Beyond Your Primary Category
Do not limit yourself to one category. Many AI agents have cross-functional capabilities. For instance, a coding agent might also be useful for generating technical documentation, which falls under the “Workplace” category. A design agent might include features for creating marketing banners. By browsing multiple categories, you might discover a versatile agent that solves several problems at once.
Tip 6: Use the Compare Feature Even for a Single Agent
Even if you are only considering one agent, using the compare feature can be educational. Select your candidate agent and one other random agent from the same category. The comparison table will highlight features of the second agent that you might not have considered. This can prompt you to refine your search criteria or discover a better alternative you overlooked.
Tip 7: Stay Updated with New Arrivals
The AI field moves fast. New agents are released daily. Make it a habit to check the “New Arrivals” section once a week. You might find a cutting-edge tool that gives you a competitive advantage. Subscribing to the MicroAgent AI newsletter (if available) is another way to stay informed.
Tip 8: Verify Pricing Before Committing
While MicroAgent AI provides pricing information, always verify the details on the agent’s official website. Pricing models can change, and some agents offer limited-time discounts or enterprise plans that are not listed on the directory. Click the “Learn More” link and look for a pricing page before signing up.
Tip 9: Contribute to the Community
If you find an agent particularly useful, consider leaving a review on its detail page. Your feedback helps other users make better decisions. Likewise, if you notice an error in the description or a broken link, use the contact form to report it. The platform improves with community participation.
Tip 10: Combine Multiple Agents for Complex Workflows
MicroAgent AI is not just about finding a single tool; it is about building a toolkit. For a complex project, you might use a design agent to create visuals, a coding agent to build a landing page, and a marketing agent to write the copy. Use the platform to assemble a suite of compatible agents that work together. The framework information is particularly useful here, as agents sharing the same framework (like AutoGen) can often be integrated with minimal effort.
By following this guide, you are now equipped to navigate MicroAgent AI like a pro. Whether you are a seasoned AI user or a complete beginner, the platform offers a structured, efficient way to discover and compare the best AI agents on the market. Start exploring today, and transform the way you work with artificial intelligence.