Introduction
In the world of music production, the voice is often the most expressive and challenging element to manipulate. Traditional pitch correction and formant shifting tools can only take you so far, often leaving results that sound artificial or robotic. Enter Audimee, a powerful vocal conversion tool that redefines what’s possible with recorded vocals. Whether you are a seasoned producer, a bedroom musician, or a content creator, Audimee allows you to transform raw vocal recordings into any voice you can imagine—with studio-quality sound.
Audimee is not just a simple pitch shifter. It uses advanced AI-driven algorithms to analyze the timbre, tone, and characteristics of a source vocal and then maps those qualities onto a target voice. The result is a natural, seamless conversion that retains the emotional delivery of the original performance. Beyond basic conversion, the platform offers a library of royalty-free voices, the ability to train your own custom voices, vocal isolation, voice mixing, harmony generation, and stem splitting. This tutorial will guide you through everything you need to know to get started with Audimee, from the initial setup to advanced creative techniques.
By the end of this guide, you will be able to confidently use Audimee to create copyright-free cover vocals, blend multiple voices, and unlock new levels of creative freedom in your music projects.
Getting Started with Audimee
Creating Your Account and Navigating the Dashboard
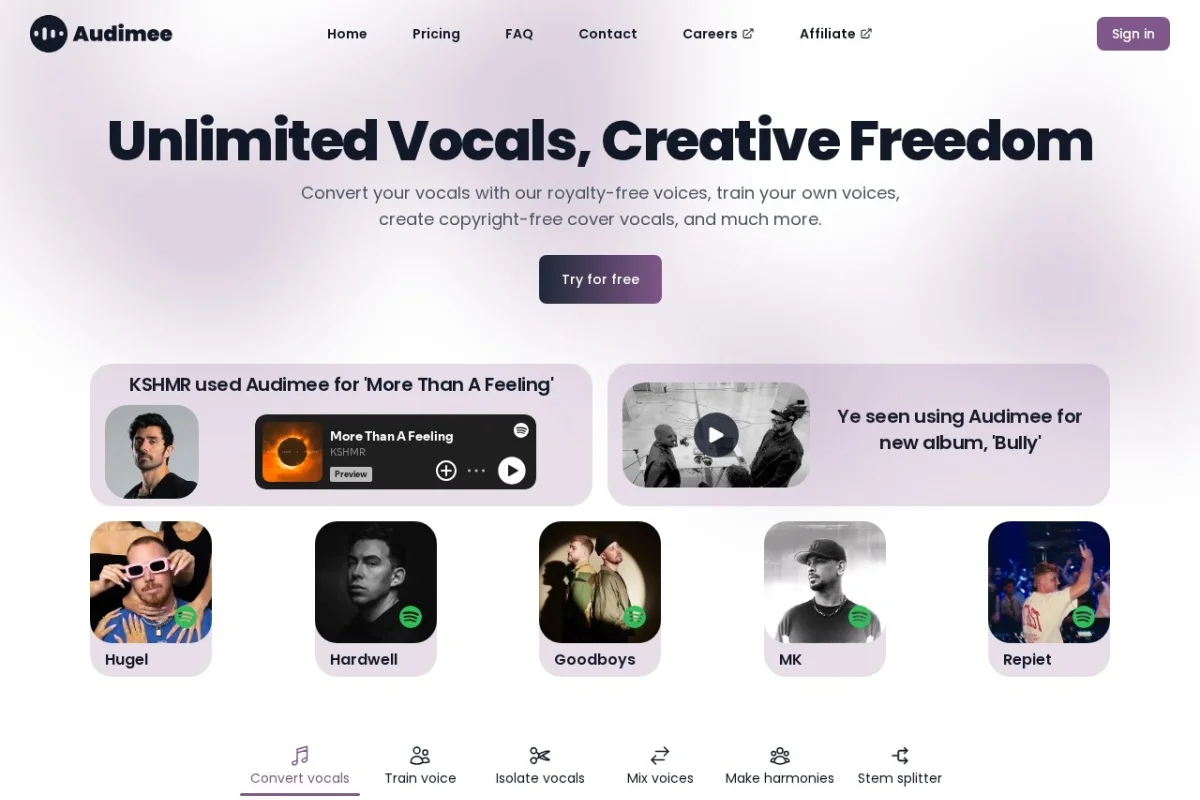
To begin using Audimee, visit the official website at https://audimee.com/. Click on the “Sign Up” button located in the top right corner. You can register using your email address or connect via a Google or Apple account for quicker access. After verifying your email, you will be directed to the main dashboard.
The dashboard is designed with simplicity in mind. The left sidebar contains the primary navigation menu, including sections for Convert, Custom Voices, Stem Splitter, and My Projects. The central area is where you will upload your audio files and manage your projects. Take a few minutes to explore the interface; you’ll notice that most tasks follow a logical three-step workflow: upload, select, and export.
Understanding Audio File Requirements
Audimee works best with clear, dry vocal recordings. For optimal results, follow these guidelines:
- File Format: WAV, MP3, FLAC, or M4A. WAV is recommended for the highest quality.
- Sample Rate: 44.1kHz or 48kHz are standard and work well.
- Bit Depth: 16-bit or 24-bit.
- Length: Files can be up to 10 minutes long, depending on your subscription plan.
- Quality: Ensure the recording has minimal background noise, reverb, or echo. The cleaner the input, the better the conversion.
If your recording includes background music or other instruments, use the Stem Splitter feature first to isolate the vocals before conversion.
Key Features of Audimee
1. Vocal Conversion with Studio Quality
The core feature of Audimee is its ability to convert any vocal recording into another voice while maintaining studio-quality sound. The AI preserves the nuances of the original performance—such as vibrato, breathiness, and emotional inflections—and applies them to the target voice. This means you can take a rough demo recorded on a phone and transform it into a polished, professional-sounding vocal track.
2. Library of Royalty-Free Voices
Audimee comes pre-loaded with a diverse library of royalty-free voices. These range from pop and R&B styles to deep male vocals, bright female vocals, and even character voices. Because these voices are royalty-free, you can use them in commercial projects without worrying about licensing fees or copyright claims. The library is regularly updated, giving you fresh options for every project.
3. Custom Voice Training
For those who want something truly unique, Audimee allows you to train your own custom voices. By uploading a small dataset of audio samples from a specific person (or a character you’ve created), the AI learns the unique characteristics of that voice. Once trained, you can use this custom voice for any conversion. This is particularly useful for creating consistent vocal identities for brand content, video game characters, or personal projects.
4. Vocal Isolation and Stem Splitting
Audimee includes a built-in Stem Splitter that can separate vocals from instrumental tracks with impressive accuracy. This feature is essential for remixing, creating acapellas, or extracting clean vocals for conversion. The stem splitter can also separate drums, bass, and other instruments, giving you full control over your mix.
5. Voice Mixing and Harmony Generation
Beyond simple conversion, you can mix multiple voices together to create blended textures or thick harmonies. The Harmony Generator automatically creates harmonized vocal parts based on your original melody. You can adjust the number of harmony voices, intervals, and timing to fit your arrangement perfectly.
How to Use Audimee: A Step-by-Step Guide
Converting a Vocal Recording to a Different Voice
This is the most common task in Audimee. Follow these steps:
- Upload Your Audio: From the dashboard, click on “Convert.” Drag and drop your vocal file into the upload area, or click to browse your computer. Wait for the file to process.
- Select a Target Voice: Once uploaded, you will see a list of available voices. Browse the library or search by style (e.g., “pop,” “deep,” “female”). Click on a voice to preview it. You can hear a short sample of the target voice to ensure it fits your project.
- Adjust Settings: Before converting, you can fine-tune parameters such as pitch shift, formant shift, and the intensity of the conversion. For beginners, leaving these at default settings usually produces great results. For advanced users, small adjustments can make the voice sound more natural or more stylized.
- Convert and Preview: Click the “Convert” button. The process takes a few seconds to a minute, depending on the length of your file. Once done, you can preview the result directly in the browser. If you are satisfied, click “Export” to download the converted file in your chosen format (WAV or MP3).
- Save Your Project: Audimee automatically saves your projects, so you can return later to tweak settings or try different voices.
Training a Custom Voice
Creating a custom voice requires a bit more preparation but is straightforward:
- Gather Audio Samples: Collect 5 to 10 minutes of clean, spoken or sung audio from the person whose voice you want to clone. Ensure the samples cover a range of pitches and emotions. Avoid background noise.
- Upload Samples: Go to the “Custom Voices” section in the sidebar. Click “Create New Voice.” Upload your audio files. The system will analyze them and begin training. This process can take 15 to 30 minutes, depending on the amount of data.
- Name Your Voice: Give your custom voice a recognizable name. Once training is complete, it will appear in your voice library alongside the pre-made options.
- Use It in Conversions: Now, when you convert a vocal, your custom voice will be available as a target. You can also share it with collaborators if your plan allows.
Isolating Vocals Using the Stem Splitter
To extract vocals from a full mix:
- Navigate to the “Stem Splitter” section.
- Upload your mixed audio file (e.g., a full song or a track with instruments).
- Choose which stems to extract: Vocals, Drums, Bass, or Other. For vocal conversion, select only “Vocals.”
- Click “Split.” The AI will process the file and separate the stems. This may take a few minutes.
- Download the isolated vocal stem. You can then use this clean vocal in the conversion module.
Creating Harmonies
To add harmonies to your converted vocal:
- After converting your main vocal, go to the “Harmony” tab within the project.
- Select the number of harmony voices (e.g., 2 or 3 additional parts).
- Choose the interval (e.g., thirds, fifths) and the timing offset (how much later the harmonies start).
- Preview the mix. You can adjust the volume of each harmony part relative to the main vocal.
- Export the full harmony stack as a single audio file or as separate tracks for further mixing in your DAW.
Tips for Getting the Best Results
1. Start with Clean Audio
The quality of your output depends heavily on the quality of your input. Always try to record in a quiet space with a decent microphone. Remove background noise using a gate or noise reduction tool before uploading. If you are working with a mixed track, always use the stem splitter first to isolate the vocals.
2. Experiment with Different Target Voices
Don’t settle on the first voice you try. The same original recording can sound dramatically different depending on the target voice. Try a few contrasting options—a breathy female voice, a gritty male voice, or a synthetic-sounding character. You might discover a combination that fits your song perfectly.
3. Use the Formant and Pitch Controls Sparingly
While Audimee’s AI does a great job automatically, you can manually adjust formant and pitch to change the character of the voice. Small tweaks (e.g., +2 semitones or -0.5 formant) can make the voice sound more natural or more stylized. Avoid extreme changes, as they can introduce artifacts.
4. Layer Voices for Depth
One of Audimee’s strengths is the ability to create layered vocal textures. Try converting the same vocal line into two different voices, then pan them left and right. Add a third voice in the center at a lower volume. This creates a rich, professional-sounding wall of vocals without needing multiple singers.
5. Use Custom Voices for Branding
If you are a content creator, consider training a custom voice for your brand. Whether it’s a podcast intro, a YouTube channel voiceover, or a video game character, having a consistent vocal identity helps build recognition. Once trained, you can generate new content in that voice instantly.
6. Combine with Your DAW for Final Polish
Audimee exports high-quality audio, but you can always enhance the results in your digital audio workstation (DAW). Apply subtle reverb, compression, and EQ to blend the converted vocal with your instrumental track. A touch of saturation can also add warmth and presence.
7. Respect Copyright and Licensing
The pre-made voices in Audimee are royalty-free, but always double-check the terms of use for your specific plan. If you train a custom voice using someone else’s audio, ensure you have permission. For commercial projects, it’s safest to use only voices you own or have licensed.
Conclusion
Audimee is a game-changer for anyone who works with vocals. It removes the technical barriers of traditional vocal processing and opens up a world of creative possibilities. Whether you want to transform a rough demo into a polished track, create harmonies for a chorus, or build a custom voice for a unique project, this tool makes it accessible and affordable.
Start by experimenting with the pre-made voices and the stem splitter. Once you are comfortable, dive into training custom voices and layering multiple conversions. With practice, you will develop an intuitive sense for how to shape vocals to fit your vision. Visit https://audimee.com/ today and start transforming your vocal recordings with the power of AI.