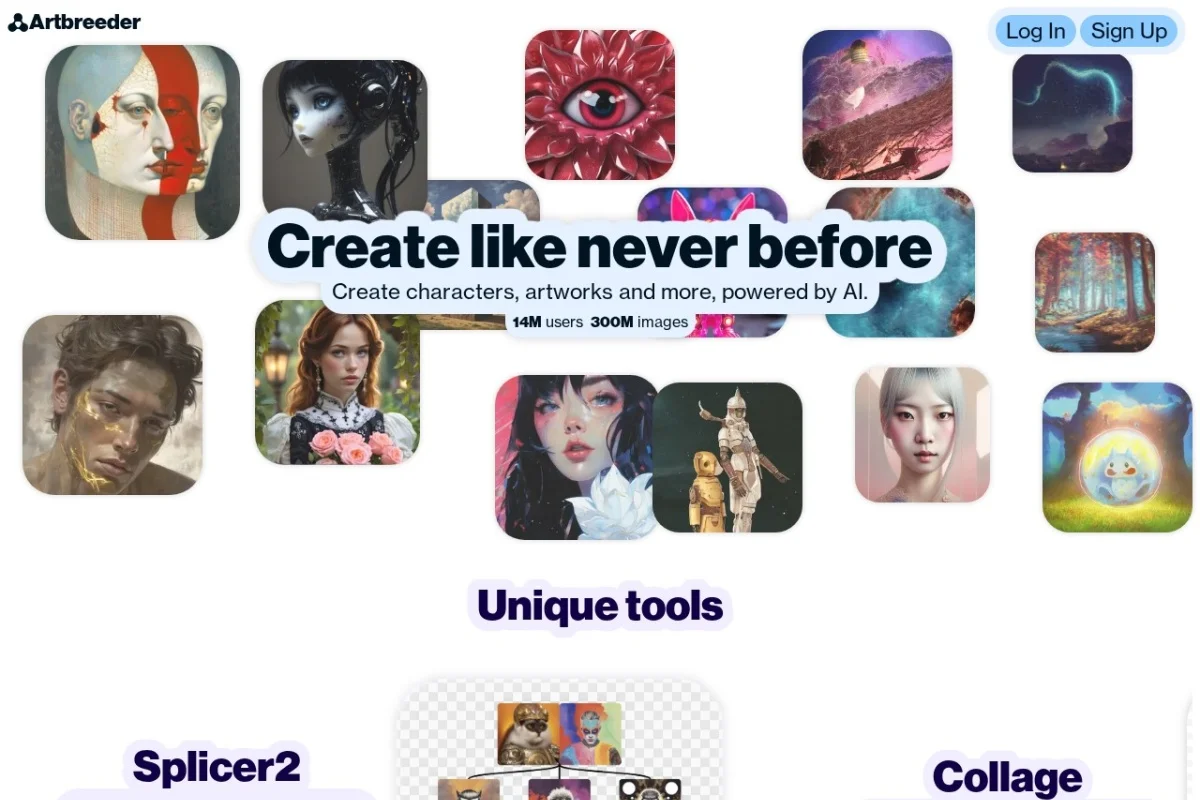
Introduction to Artbreeder
Artbreeder is a groundbreaking AI-powered creative platform that has revolutionized the way people generate and manipulate visual art. Unlike traditional image editing software that requires years of technical training, Artbreeder leverages generative adversarial networks (GANs) and latent space exploration to allow anyone—regardless of artistic skill—to create stunning, unique images. At its core, Artbreeder treats images as living organisms that can be “bred” together, much like selective breeding in biology. By combining the genetic information of two or more images, you can produce entirely new variations that inherit traits from each parent. This genetic approach, combined with intuitive slider controls, makes it feel less like using a tool and more like collaborating with an artificial artist.
Whether you are a digital artist looking for inspiration, a writer needing character portraits, a game designer prototyping assets, or simply someone curious about AI creativity, Artbreeder offers an accessible entry point. The platform is free to start, with premium tiers that unlock higher resolutions, more control, and commercial usage rights. Since its launch, Artbreeder has grown a vibrant community of creators who share their work, remix each other’s creations, and push the boundaries of what AI-generated art can be. This tutorial will guide you from your first login to creating polished, professional-looking images.
Getting Started
Creating an Account
To begin using Artbreeder, navigate to https://www.artbreeder.com. Click the “Sign Up” button in the top-right corner. You can register using your email address or by connecting a Google account. After confirming your email, you will be taken to the main dashboard. The free tier gives you a limited number of “credits” each month, which are used when generating high-resolution images or using advanced features. For most beginners, the free tier is more than sufficient to explore and learn.
Understanding the Interface
The Artbreeder interface is divided into three main areas:
- The Navigation Bar (top): Contains links to “Create,” “Explore,” “My Images,” and your account settings.
- The Gallery (center): Shows a grid of images from the community or your personal collection.
- The Creation Panel (right side): Appears when you open an image or start a new creation. This is where the sliders and blending tools live.
When you first log in, the “Explore” page will greet you with thousands of user-generated images. You can scroll through these to get a feel for what is possible. Clicking any image opens it in the creation panel, allowing you to see how it was made and even remix it yourself.
Key Features
1. Genetic Blending (Breeding)
This is Artbreeder’s signature feature. You can take two or more images and “cross-breed” them. The AI analyzes the latent features of each parent image—such as face shape, lighting, color palette, texture, and composition—and generates offspring that combine these traits in novel ways. You can adjust the influence of each parent using a slider, giving you fine control over which parent dominates the result.
2. Attribute Sliders
Once you have an image, you can tweak it using a set of intuitive sliders. For portraits, common sliders include Age, Gender, Hair Color, Eye Color, Skin Tone, Facial Hair, and Expression. For landscapes, you might find sliders for Time of Day, Season, Cloud Cover, and Vegetation Density. These sliders operate in latent space, meaning the AI understands how to morph the image realistically rather than simply overlaying filters.
3. Prompt-Based Generation
Artbreeder now supports text-to-image generation. You can type a description (e.g., “a steampunk owl with brass feathers”) and the AI will generate an image from scratch. This feature is especially useful for creating concepts that have no existing visual reference. The prompt box is found in the creation panel when you start a new project.
4. Community Gallery and Remixing
Every image on Artbreeder is public by default (unless you set it to private in your settings). This means you can browse the community gallery, find an image you like, and click “Remix” to use it as a starting point for your own creation. Remixing is a fantastic way to learn because you can see exactly which sliders and parents were used to create a particular effect.
5. High-Resolution Export
Once you are satisfied with your creation, you can export it. Free users can export at 512×512 pixels. Paid subscribers can export at 1024×1024 or higher. For most social media and web use, 512px is adequate. For print or professional projects, consider upgrading.
How to Use Artbreeder
Step 1: Starting a New Creation
Click the “Create” button in the navigation bar. You will see two options: “Breed” and “Prompt”. Choose “Breed” if you want to combine existing images. Choose “Prompt” if you want to generate from text. For this tutorial, we will start with Prompt.
Step 2: Writing Your First Prompt
In the prompt box, type a clear, descriptive sentence. For example: “A young woman with curly red hair, freckles, wearing a vintage leather jacket, soft lighting, photorealistic.” Click “Generate.” The AI will produce four variations. You can click on any variation to open it in the editor. If you are not happy with the results, refine your prompt. Add adjectives like “cinematic,” “detailed,” or “moody” to guide the style.
Step 3: Fine-Tuning with Sliders
Once you have a base image, the sliders panel appears on the right. Start with the Randomize button to see a few quick variations—this helps you understand what each slider does. Then, manually adjust sliders one at a time. For portraits, try moving the Age slider to see how the face ages or de-ages. Move Gender slightly to see androgynous features. Use Hair Length and Hair Color to change hairstyles. Each adjustment is instant, so you can experiment freely.
Step 4: Blending Two Images (Breeding)
To use the breed feature, start from the “Create” menu and choose “Breed.” You will see two empty slots. Drag an image from your library or the community gallery into the first slot. For the second slot, find another image that has traits you want to combine. For example, you might put a portrait with a specific face shape in slot one, and a portrait with dramatic lighting in slot two. Click “Breed.” A new image appears, blending both. Use the Mix slider (0% to 100%) to control how much influence each parent has. You can also add a third parent image for even more complex combinations.
Step 5: Saving and Exporting
When you are happy with your creation, click the Save button (disk icon) at the top of the panel. Give your image a title and add tags (e.g., “portrait,” “fantasy,” “cyberpunk”) so others can find it. To export, click the Download button. Free users can download a 512px PNG file. If you need a higher resolution, you will be prompted to upgrade or use credits.
Step 6: Remixing Community Images
Go to the “Explore” page. Find an image you like. Click on it, then click the “Remix” button in the upper-right corner of the creation panel. This creates a copy of that image in your workspace. You can now adjust its sliders, breed it with other images, or change its prompt. Remixing is an excellent way to learn from advanced users because you can see the original settings and then modify them to create something new.
Tips for Beginners and Advanced Users
Tip 1: Start Simple, Then Iterate
Do not try to create a masterpiece on your first try. Begin with a simple prompt like “a cat” or “a sunset.” Use the sliders to make small changes. Save multiple versions. As you become comfortable, you can combine breeds and use more complex prompts. The iterative process is where the magic happens—each small adjustment teaches you how the AI thinks.
Tip 2: Use Descriptive Prompts for Better Results
When using the prompt feature, specificity matters. Instead of “a person,” write “a middle-aged man with a beard, glasses, and a worried expression, oil painting style.” Include references to art styles (e.g., “impressionist,” “cyberpunk,” “Renaissance”) and lighting (e.g., “golden hour,” “neon lights,” “soft diffused light”). The AI has been trained on millions of images, so it understands these terms.
Tip 3: Breed with Intent
When breeding, choose parent images that have complementary strengths. For example, if you want a realistic face with fantastical colors, breed a photorealistic portrait with a colorful abstract image. Use the mix slider to balance realism and creativity. A 70/30 split often yields interesting results without losing coherence.
Tip 4: Explore the Community for Inspiration
Artbreeder’s community is one of its greatest assets. Spend time browsing the “Explore” page. Use the search bar to find specific themes like “dragon,” “space,” or “vintage.” When you see an image you love, click on it and study its settings. Notice which sliders were adjusted and which parent images were used. You can even remix it and then undo the changes to see the original state.
Tip 5: Manage Your Credits Wisely
Free users receive a limited number of credits each month. High-resolution exports and certain advanced features consume credits. To conserve credits, work at the default resolution (512px) until you are ready for a final export. Also, avoid exporting every small variation—save them to your online library instead, where they remain accessible without using credits.
Tip 6: Use the “Lock” Feature for Consistency
When breeding multiple images, you can lock certain attributes. For example, if you want to keep the same eye color across a series of portraits, lock the “Eye Color” slider before breeding. This ensures that the offspring retain that specific trait while varying other features. The lock icon appears next to each slider.
Tip 7: Experiment with Non-Portrait Genres
While Artbreeder is famous for portraits, it excels at landscapes, abstract art, and even architectural concepts. Try creating a “fantasy castle,” “alien planet,” or “surreal dreamscape.” The sliders for landscapes include “Atmosphere,” “Terrain,” and “Color Palette.” Breeding a landscape with a portrait can produce surreal, humanoid landscapes that are perfect for concept art.
Tip 8: Save Your Work Frequently
Artbreeder autosaves, but it is good practice to manually save versions of your work as you progress. Use the “Save As New” option to keep multiple iterations. This allows you to backtrack if an experiment goes wrong, and it gives you a library of starting points for future projects.
Tip 9: Respect Copyright and Licensing
All images on Artbreeder are created by users. While the platform encourages remixing, always check the licensing of an image before using it commercially. Your own creations are yours to use, but if you remix someone else’s image, the original creator retains rights. When in doubt, create entirely from scratch using prompts or your own uploaded images.
Tip 10: Join the Community
Artbreeder has an active Discord server and forums. Join these to share your work, ask for feedback, and learn advanced techniques. Many experienced users share “recipes” for creating specific effects, such as “how to make a dragon” or “how to get anime-style portraits.” Engaging with the community will accelerate your learning curve dramatically.
Conclusion
Artbreeder is more than a tool—it is a creative partner that expands your imagination. By understanding its genetic approach to image generation, mastering the sliders, and leveraging the community, you can produce art that is uniquely yours. Whether you are a hobbyist or a professional, the platform offers endless possibilities for exploration. Start with a simple prompt, breed with curiosity, and do not be afraid to make “mistakes”—in Artbreeder, every unexpected result is a potential new direction. Happy breeding!

Artbreeder
Create and explore AI-generated images by blending and evolving artwork.