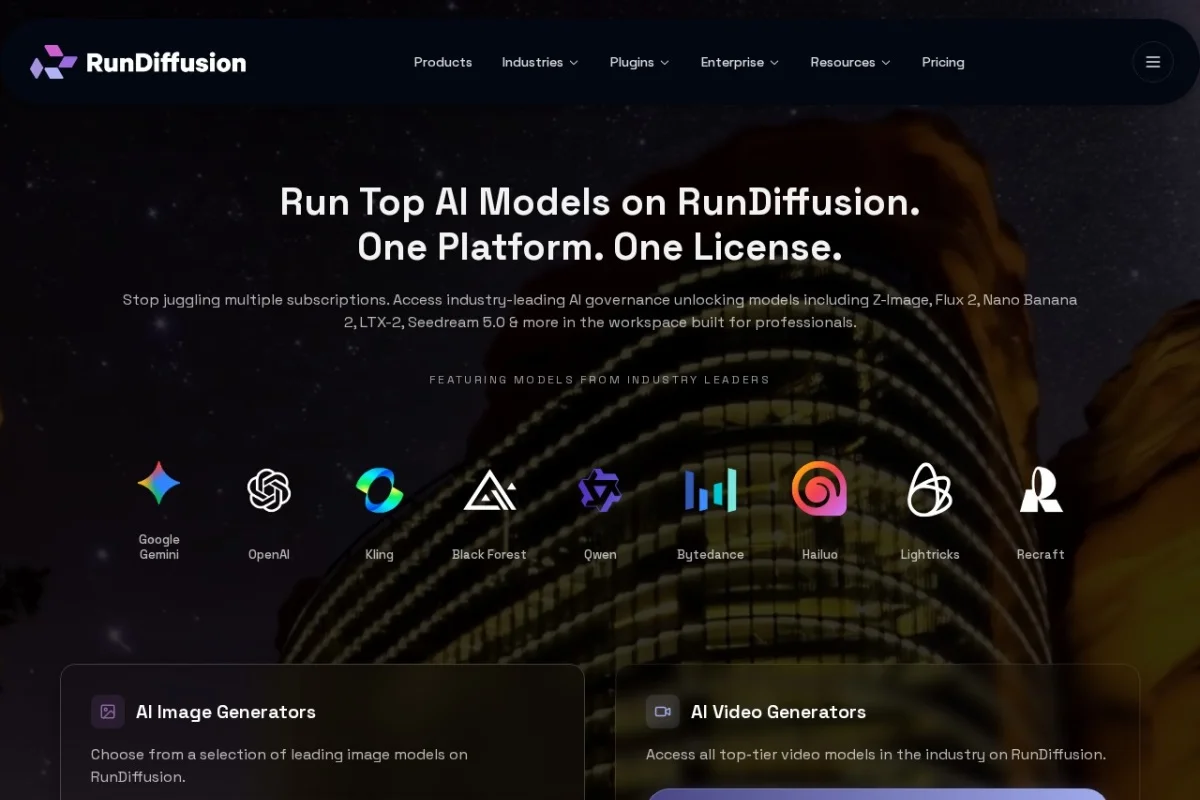
Introduction to RunDiffusion
RunDiffusion is a powerful cloud-based platform that democratizes access to advanced AI image and video generation. Instead of requiring expensive local hardware or complex software installations, RunDiffusion provides a professional, browser-based environment where you can run cutting-edge models like Flux 2, Nano Banana Pro, Seedream 4, Veo 3, and Kling. The platform is built for speed, offering GPU-powered processing that turns your prompts into high-quality visual content in seconds.
What sets RunDiffusion apart is its focus on professional workflows. It includes private workspaces, collaborative team spaces, usage analytics, and budgeting controls. This makes it suitable not only for individual creators but also for agencies, architecture firms, advertising teams, fashion designers, interior design studios, and game developers. The platform also integrates with popular tools like Photoshop, Miro, and Revit, allowing you to incorporate AI-generated visuals directly into your existing projects.
Whether you are a beginner exploring AI art for the first time or a professional seeking reliable, scalable generation tools, RunDiffusion offers a practical solution. This tutorial will guide you through everything you need to know to start creating effectively.
Getting Started with RunDiffusion
Creating Your Account
To begin, navigate to https://rundiffusion.com/. Click on the Sign Up or Get Started button, typically located in the top-right corner of the homepage. You can register using your email address or through a Google account for quicker access. After providing your details, you will receive a verification email. Click the link inside to activate your account.
Choosing a Plan
Upon logging in, you will be prompted to select a subscription plan. RunDiffusion offers several tiers, including a free trial with limited credits. For serious work, consider a paid plan that provides more GPU time, higher resolution outputs, and priority processing. The platform uses a credit system where each generation consumes a certain number of credits based on model complexity and output size. Review the pricing page to understand which plan aligns with your usage needs.
Navigating the Dashboard
Once inside, you will see the main dashboard. The interface is divided into key areas:
- Workspace Selector: Located on the left sidebar, this allows you to switch between private workspaces and shared team spaces.
- Model Library: A central panel displaying available models like Flux 2, Nano Banana Pro, Seedream 4, Veo 3, and Kling. Each model has a thumbnail and description.
- Generation Queue: Shows your current and past generation tasks. You can view progress, download results, or cancel jobs here.
- Settings & Analytics: Accessible via icons in the top bar, this section lets you manage your profile, view usage history, and set budget limits.
Understanding Credits and GPU Time
RunDiffusion operates on a credit system. Each generation task deducts credits from your balance. The number of credits consumed depends on the model used, the output resolution, and the number of steps (quality). For example, generating a single high-resolution image with Flux 2 may cost more credits than a smaller image with Nano Banana Pro. You can monitor your remaining credits in the top-right corner of the dashboard. When you run low, you can purchase additional credits or upgrade your plan.
Key Features of RunDiffusion
Multiple AI Models
RunDiffusion provides access to a diverse range of models, each optimized for different tasks:
- Flux 2: Excellent for photorealistic images and detailed compositions. Ideal for product shots, architectural renders, and advertising visuals.
- Nano Banana Pro: A fast, lightweight model perfect for rapid prototyping and generating multiple variations quickly. Good for brainstorming sessions.
- Seedream 4: Specializes in artistic and stylized outputs, including illustrations, concept art, and fantasy scenes.
- Veo 3: A video generation model that creates short animated clips from text prompts. Useful for social media content and motion graphics.
- Kling: Another video-focused model, known for smooth motion and coherent scene transitions. Great for narrative videos and cinematic effects.
Cloud GPU Infrastructure
All processing happens on RunDiffusion’s remote servers. This means you never need to install drivers, manage GPU memory, or worry about overheating your computer. The platform automatically allocates the necessary hardware resources, allowing you to run multiple generations simultaneously without performance degradation.
Professional Interface with Private Workspaces
The interface is designed for efficiency. Private workspaces keep your projects organized and secure. You can create separate workspaces for different clients, projects, or experiments. Within each workspace, you can save prompts, generation history, and settings. This prevents clutter and makes it easy to revisit previous work.
Collaborative Team and Client Spaces
RunDiffusion supports real-time collaboration. You can invite team members or clients to a shared workspace. Permissions can be set to control who can generate, view, or edit. This is particularly useful for creative teams where multiple people need to iterate on the same visual concept. Comments and feedback can be added directly to generated images.
Usage and Prompt Analytics
The platform tracks your generation activity. You can see which models you use most frequently, how many credits you spend per project, and the success rate of your prompts. This data helps you optimize your workflow and identify which prompts yield the best results. Analytics are accessible from the dashboard under the Reports tab.
Budgeting, Governance, and Spend Controls
For teams and businesses, RunDiffusion offers administrative controls. You can set monthly spending limits for each user or workspace. Governance features allow you to restrict access to certain models or features. This ensures that usage stays within budget and aligns with company policies.
Plugins for Photoshop, Miro, and Revit
RunDiffusion integrates directly with popular creative tools. The Photoshop plugin lets you generate images from within Photoshop and automatically add them as layers. The Miro plugin enables you to generate visuals directly on your Miro boards, which is helpful for brainstorming and mind mapping. The Revit plugin is designed for architects, allowing you to generate conceptual renders based on your 3D models. These plugins are available from the respective software’s extension marketplace.
How to Use RunDiffusion: Step-by-Step Guide
Generating an Image
- Select a Workspace: From the left sidebar, choose the workspace where you want to work. If you are starting fresh, create a new workspace by clicking the + icon and naming it.
- Choose a Model: In the model library, click on the model you wish to use. For beginners, Nano Banana Pro is a good starting point due to its speed. For high-quality results, select Flux 2.
- Enter Your Prompt: In the text input field at the bottom of the screen, type a description of the image you want. Be specific. For example, instead of “a cat,” try “a fluffy orange cat sitting on a wooden table in a sunlit kitchen, photorealistic style.”
- Adjust Settings: Below the prompt input, you will see options for Width, Height, Steps, and Seed. Higher steps generally improve quality but consume more credits. Leave Seed blank for random results, or enter a specific number to reproduce a previous result.
- Generate: Click the Generate button. The platform will show a progress indicator. Depending on the model and settings, the image will appear in a few seconds to a minute.
- View and Download: Once generated, the image appears in the results area. You can click on it to view full size. Use the download button to save it to your computer, or click the Save to Workspace icon to keep it in your project.
Generating a Video
- Select a Video Model: From the model library, choose Veo 3 or Kling. These models are optimized for video output.
- Write a Video Prompt: Describe the scene and motion. For example: “A slow-motion shot of a red sports car driving along a coastal road at sunset, cinematic lighting.”
- Set Duration and Style: Video models usually allow you to set the length (e.g., 4 seconds, 8 seconds) and style (realistic, animated). Adjust these options as needed.
- Generate: Click Generate. Video generation takes longer than images due to the complexity. The platform will notify you when the video is ready.
- Preview and Export: Preview the video in the results panel. You can download it as an MP4 file or share a link directly from the platform.
Using Prompts Effectively
The quality of your output heavily depends on your prompt. RunDiffusion supports natural language, but structured prompts yield better results. Include details about subject, environment, lighting, style, and mood. For example: “A minimalist interior design of a modern living room with a white sofa, large windows, natural light, Scandinavian style, high resolution.” You can also use negative prompts to exclude unwanted elements, such as “no people, no text.”
Collaborating with a Team
- Create a Team Workspace: Go to the workspace selector and click New Team Workspace. Give it a name.
- Invite Members: Click the Invite button and enter the email addresses of your team members. They will receive an invitation to join.
- Set Permissions: For each member, choose their role: Admin (full control), Editor (can generate and edit), or Viewer (can only see results).
- Work Together: All members can now generate images in the same workspace. Generated results are visible to everyone. Use the comment feature to provide feedback on specific images.
Using Plugins
To use the Photoshop plugin, install it from the Adobe Exchange marketplace. After installation, you will see a RunDiffusion panel in Photoshop. Log in with your RunDiffusion account, enter a prompt, and the generated image will be placed as a new layer in your document. The Miro and Revit plugins work similarly, allowing you to generate and insert visuals directly within those applications.
Tips for Getting the Best Results
Start with Simple Prompts
If you are new to AI generation, begin with short, clear prompts. For example, “a red apple on a white table.” As you become comfortable, gradually add more details. This helps you understand how each model interprets language.
Experiment with Different Models
Each model has strengths. If you are creating a realistic product image, Flux 2 is usually the best choice. For artistic illustrations, try Seedream 4. For quick concept sketches, use Nano Banana Pro. Do not stick to one model; test several to see which matches your vision.
Use Negative Prompts
Negative prompts tell the model what to avoid. For instance, if you are generating a portrait and do not want glasses, add “no glasses” to the negative prompt field. This significantly improves output accuracy. Most models in RunDiffusion support negative prompts.
Adjust Step Count Carefully
Higher step counts (e.g., 50 or 100) produce more detailed images but cost more credits and take longer. For initial drafts, use 20-30 steps. For final outputs, increase to 50-70. Beyond that, the improvement is often marginal.
Save and Reuse Good Seeds
When you generate an image you like, note the Seed number displayed in the results. If you want to create a similar image with slight changes, reuse that seed and modify your prompt. This gives you consistent base compositions.
Monitor Your Credits
Keep an eye on your credit balance, especially during long sessions. Set a budget alert in the settings to avoid unexpected charges. If you are working on a large project, consider a higher-tier plan with more credits upfront.
Organize with Workspaces
Use separate workspaces for different projects or clients. This prevents confusion and makes it easier to find past generations. Name your workspaces clearly, such as “Client A – Ad Campaign” or “Personal Art Experiments.”
Leverage Analytics for Improvement
Review your usage analytics weekly. Identify which prompts and models give you the best results. If a particular model is consuming too many credits without good outputs, switch to a more efficient one. Analytics help you refine your workflow.
Collaborate and Get Feedback
Share your workspace with a colleague or client early in the process. Their feedback can save you time and credits. Use the comment feature to discuss changes directly on the generated visuals.
Explore the Plugin Ecosystem
If you use Photoshop, Miro, or Revit regularly, install the corresponding RunDiffusion plugins. They streamline your workflow by eliminating the need to switch between browser tabs. For example, you can generate a background image in Photoshop and immediately see how it fits with your design.
RunDiffusion is a versatile tool that grows with your skills. By following this tutorial, you can confidently navigate the platform, create stunning visuals, and collaborate effectively. As you gain experience, you will discover advanced techniques like using image-to-image generation, adjusting CFG scale, and combining multiple models for unique effects. The key is to practice, experiment, and take advantage of the platform’s professional features to produce work that stands out.

RunDiffusion
All the best AI tools in one cloud platform for professionals.