Introduction
Artificial intelligence has moved beyond simple chatbots and into complex, multi-step workflows. However, building these advanced AI agents—where a Large Language Model (LLM) must reason, call external tools, and maintain context—is often a messy process of writing thousands of lines of code. Debugging a chain of prompts can feel like trying to fix a car engine while blindfolded.
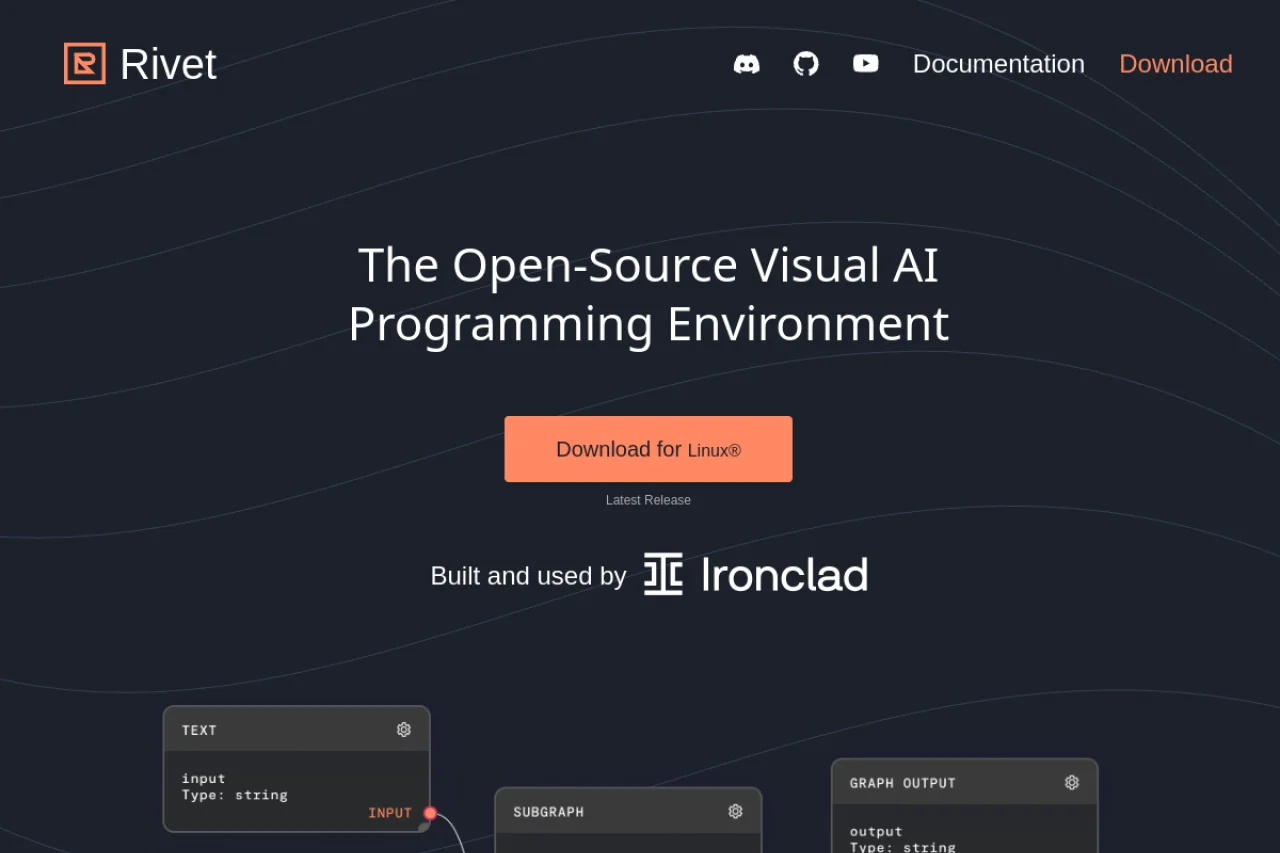
Enter Rivet, an open-source visual programming environment developed by Ironclad. Rivet changes the game by allowing you to design, debug, and deploy AI agents using a visual graph interface. Instead of staring at JSON blobs or Python dictionaries, you can see exactly how your data flows from one prompt to the next. Because Rivet is open-source and stores its graphs as YAML files, your entire team can collaborate using standard code review tools like GitHub. Whether you are a seasoned machine learning engineer or a product manager who wants to prototype an AI feature, Rivet provides a practical, visual way to build production-ready LLM applications.
This tutorial will walk you through everything you need to know: from installation and the core interface to advanced debugging and deployment tips. By the end, you will be able to build your first AI agent graph and understand how to integrate it into your own application.
Getting Started
Installation and Setup
Rivet is a desktop application that runs on Windows, macOS, and Linux. Because it is open-source, you have two primary ways to get it running:
- Download the pre-built binary: Visit the official Rivet website at https://rivet.ironcladapp.com/. Navigate to the “Download” section and select the installer for your operating system. This is the easiest method for beginners.
- Build from source: If you are a developer who prefers to run the latest code, you can clone the GitHub repository (search for “rivet” under the Ironclad organization). You will need Node.js and npm installed. Run
npm installand thennpm run devto launch the application.
The Rivet Interface
When you first open Rivet, you will see a blank canvas. This is your workspace. The interface is divided into three main areas:
- The Node Palette (Left Sidebar): This contains all the building blocks you can use. The most important ones are Prompt (for sending text to an LLM), Input/Output (for defining what data enters and leaves your graph), Code (for running JavaScript or Python snippets), and Tool (for calling external APIs).
- The Canvas (Center): This is where you drag nodes and connect them. Connections are made by clicking and dragging from the output port (a small circle on the right side of a node) to the input port (a small circle on the left side of another node).
- The Inspector Panel (Right Sidebar): When you click on a node, this panel shows its properties. For a Prompt node, you will see the system message, the user message template, and model settings like temperature and max tokens.
Setting Up Your API Key
Before you can run any prompts, you need to connect Rivet to an LLM provider. Rivet supports OpenAI, Anthropic, and local models via Ollama.
- Click on the Settings icon (usually a gear icon in the top right corner).
- Select API Keys.
- Enter your API key for your chosen provider. For OpenAI, this starts with
sk-.... Make sure you have billing set up on your OpenAI account. - Click Save. Rivet will now use this key whenever you run a Prompt node.
Key Features
Visual Prompt Chain Builder
Rivet’s core strength is its visual graph editor. You can build complex chains of prompts without writing a single line of glue code. For example, you can create a graph where the output of one prompt (e.g., “Summarize this text”) becomes the input for a second prompt (e.g., “Translate the summary to French”). This visual representation makes it easy for non-technical team members to understand the logic of the AI agent.
Real-Time Remote Debugging
One of the most powerful features of Rivet is its ability to debug a running agent from a remote server. You can deploy your agent to a cloud server, and then connect your local Rivet application to that running instance. This allows you to watch the data flow through each node in real-time, inspect the exact prompt being sent to the LLM, and see the raw output. This is incredibly useful for finding “hallucinations” or logical errors in production.
YAML-Based Collaboration
Every graph you build in Rivet is saved as a .rivet.yaml file. This is a plain text file that describes the entire graph structure. Because it is text-based, you can check it into your Git repository. Your team can then use standard code review tools (like GitHub Pull Requests) to comment on changes to the AI workflow. This bridges the gap between AI development and software engineering best practices.
Production Deployment
Rivet is not just a prototyping tool. You can export your graph and run it inside your own application environment. Rivet provides a JavaScript/TypeScript runtime library that you can install via npm. This allows your application to execute the graph locally or on your server, giving you full control over latency, security, and data privacy.
How to Use
Step 1: Creating Your First Graph
Let’s build a simple “Customer Support Classifier” agent. This agent will read a customer message and decide if it is a “Billing Issue,” a “Technical Issue,” or “General Inquiry.”
- Drag an Input node from the palette onto the canvas. Rename it to “Customer Message” in the Inspector panel.
- Drag a Prompt node onto the canvas. Connect the output port of the Input node to the input port of the Prompt node.
- Click on the Prompt node. In the Inspector panel, under “System Message,” type: “You are a customer support classifier. Classify the following message into one of these categories: Billing Issue, Technical Issue, or General Inquiry. Only output the category name.”
- Under “User Message,” type:
{{input}}. This is a variable that will be replaced by the text coming from the Input node. - Set the “Model” to “gpt-4o-mini” (or a model you have access to) and set “Temperature” to 0 (for deterministic outputs).
- Drag an Output node onto the canvas. Connect the output of the Prompt node to the Output node.
Step 2: Running and Testing
- In the top toolbar, you will see a text box labeled “Input”. This is where you provide the initial data for the Input node.
- Type a sample customer message: “I was charged twice for my subscription last month.”
- Click the Run button (the play icon).
- Watch the nodes light up as data flows through them. The Prompt node will highlight green when the LLM responds. The Output node will show the result: “Billing Issue”.
Step 3: Adding Logic with the Code Node
Now, let’s make the agent more useful. Instead of just classifying, we want it to generate a specific response based on the category.
- Add a Code node to the canvas. Connect the output of the Prompt node (the classifier) to the input of the Code node.
- Click on the Code node. In the Inspector panel, you will see a code editor. Select “JavaScript” as the language.
- Write the following code:
const category = input.trim(); let response; if (category === "Billing Issue") { response = "I understand billing is frustrating. Let me look into that double charge."; } else if (category === "Technical Issue") { response = "Let me help you troubleshoot that technical problem."; } else { response = "Thank you for contacting us. How can I help you today?"; } return { reply: response }; - Now, add a second Prompt node. Connect the output of the Code node to this new Prompt node.
- In the new Prompt node, set the System Message to: “You are a friendly customer support agent. Based on the following instruction, write a short, empathetic reply to the customer.”
- Set the User Message to:
{{input.reply}}. - Connect the output of this second Prompt node to the Output node.
Step 4: Saving and Version Control
- Go to File > Save As. Save your graph as
customer_support_agent.rivet.yaml. - Open a terminal in the folder where you saved the file. Initialize a Git repository (
git init) and commit the file (git add .andgit commit -m "Initial customer support agent"). - Now, your team can review the YAML file. Open it in a text editor. You will see a human-readable structure listing all nodes, their connections, and their properties. This is what your team will review in a Pull Request.
Step 5: Remote Debugging
To debug a graph running on a server:
- Deploy your graph using the Rivet runtime (see the official documentation for the npm package
@ironclad/rivet-node). - In your Rivet desktop app, go to Debug > Connect to Remote.
- Enter the URL of your running server (e.g.,
http://localhost:3000/debug). - Once connected, you can trigger the agent from your application, and you will see the graph execute live on your screen. You can pause execution, inspect intermediate values, and see exactly which prompt was sent to the LLM.
Tips for Success
Start Simple, Then Branch
It is tempting to build a massive graph with dozens of nodes on your first try. Resist this urge. Start with a single Prompt node and get it working. Once you have verified that the LLM returns the correct format, add a Code node to parse the output, then add conditional branches. Rivet supports “Router” nodes that can direct data flow based on conditions, but they are easier to use once you understand the basic data flow.
Use Variables for Reusability
You do not have to hardcode every value. In the Prompt node, you can reference variables from Input nodes or Code nodes using the {{variableName}} syntax. For example, if you have a Code node that outputs an object like { language: "French" }, you can use {{input.language}} in your prompt to dynamically change the translation language.
Leverage the YAML for Documentation
Because the graph is stored as YAML, you can add comments directly to the file. Before committing to Git, add a comment at the top of the file describing the purpose of the graph. You can also add descriptions to individual nodes in the Inspector panel. These descriptions will be saved in the YAML file and serve as inline documentation for your team.
Test Edge Cases in the Code Node
LLMs are powerful but unpredictable. Always use a Code node after a Prompt node to validate the output. For example, if you ask the LLM to output a number, the Code node can check if the output is actually a number. If it is not, you can return a fallback value or route the data to a retry loop. This makes your agent robust enough for production.
Monitor API Costs
Every time you hit the “Run” button in Rivet, you are making an API call to the LLM provider. If you are using GPT-4, costs can add up quickly. During development, use cheaper models like “gpt-4o-mini” or “claude-3-haiku.” You can switch to a more powerful model only when you are ready for final testing.
Export for Production Early
Do not wait until the graph is “perfect” before trying to run it in your app. Rivet’s runtime library allows you to execute the graph programmatically. Export the YAML file and load it using the Rivet Node.js SDK early in your development process. This will help you catch integration issues (like missing environment variables or incorrect data types) long before you deploy to production.
Collaborate on the Graph, Not Just the Code
Encourage your product managers and domain experts to open the Rivet desktop app. The visual interface is much more accessible than code. They can inspect the prompt templates and suggest changes. Because those changes are saved as YAML, a developer can then review and approve them via a standard Pull Request. This workflow democratizes AI development without sacrificing engineering rigor.
Conclusion
Rivet is more than just a visual editor; it is a bridge between the messy world of prompt engineering and the disciplined world of software engineering. By using graphs, YAML files, and remote debugging, you can build AI agents that are not only powerful but also maintainable and collaborative. Start with the simple classifier we built in this tutorial, then expand it with tool calls, database lookups, and multi-step reasoning chains. The visual nature of Rivet will help you spot logical flaws instantly, and the YAML-based version control will keep your team aligned. Download Rivet today and start building AI agents you can actually see.

Rivet: Open-Source Visual AI Programming Environment
Visual programming environment for building AI agents with LLMs.