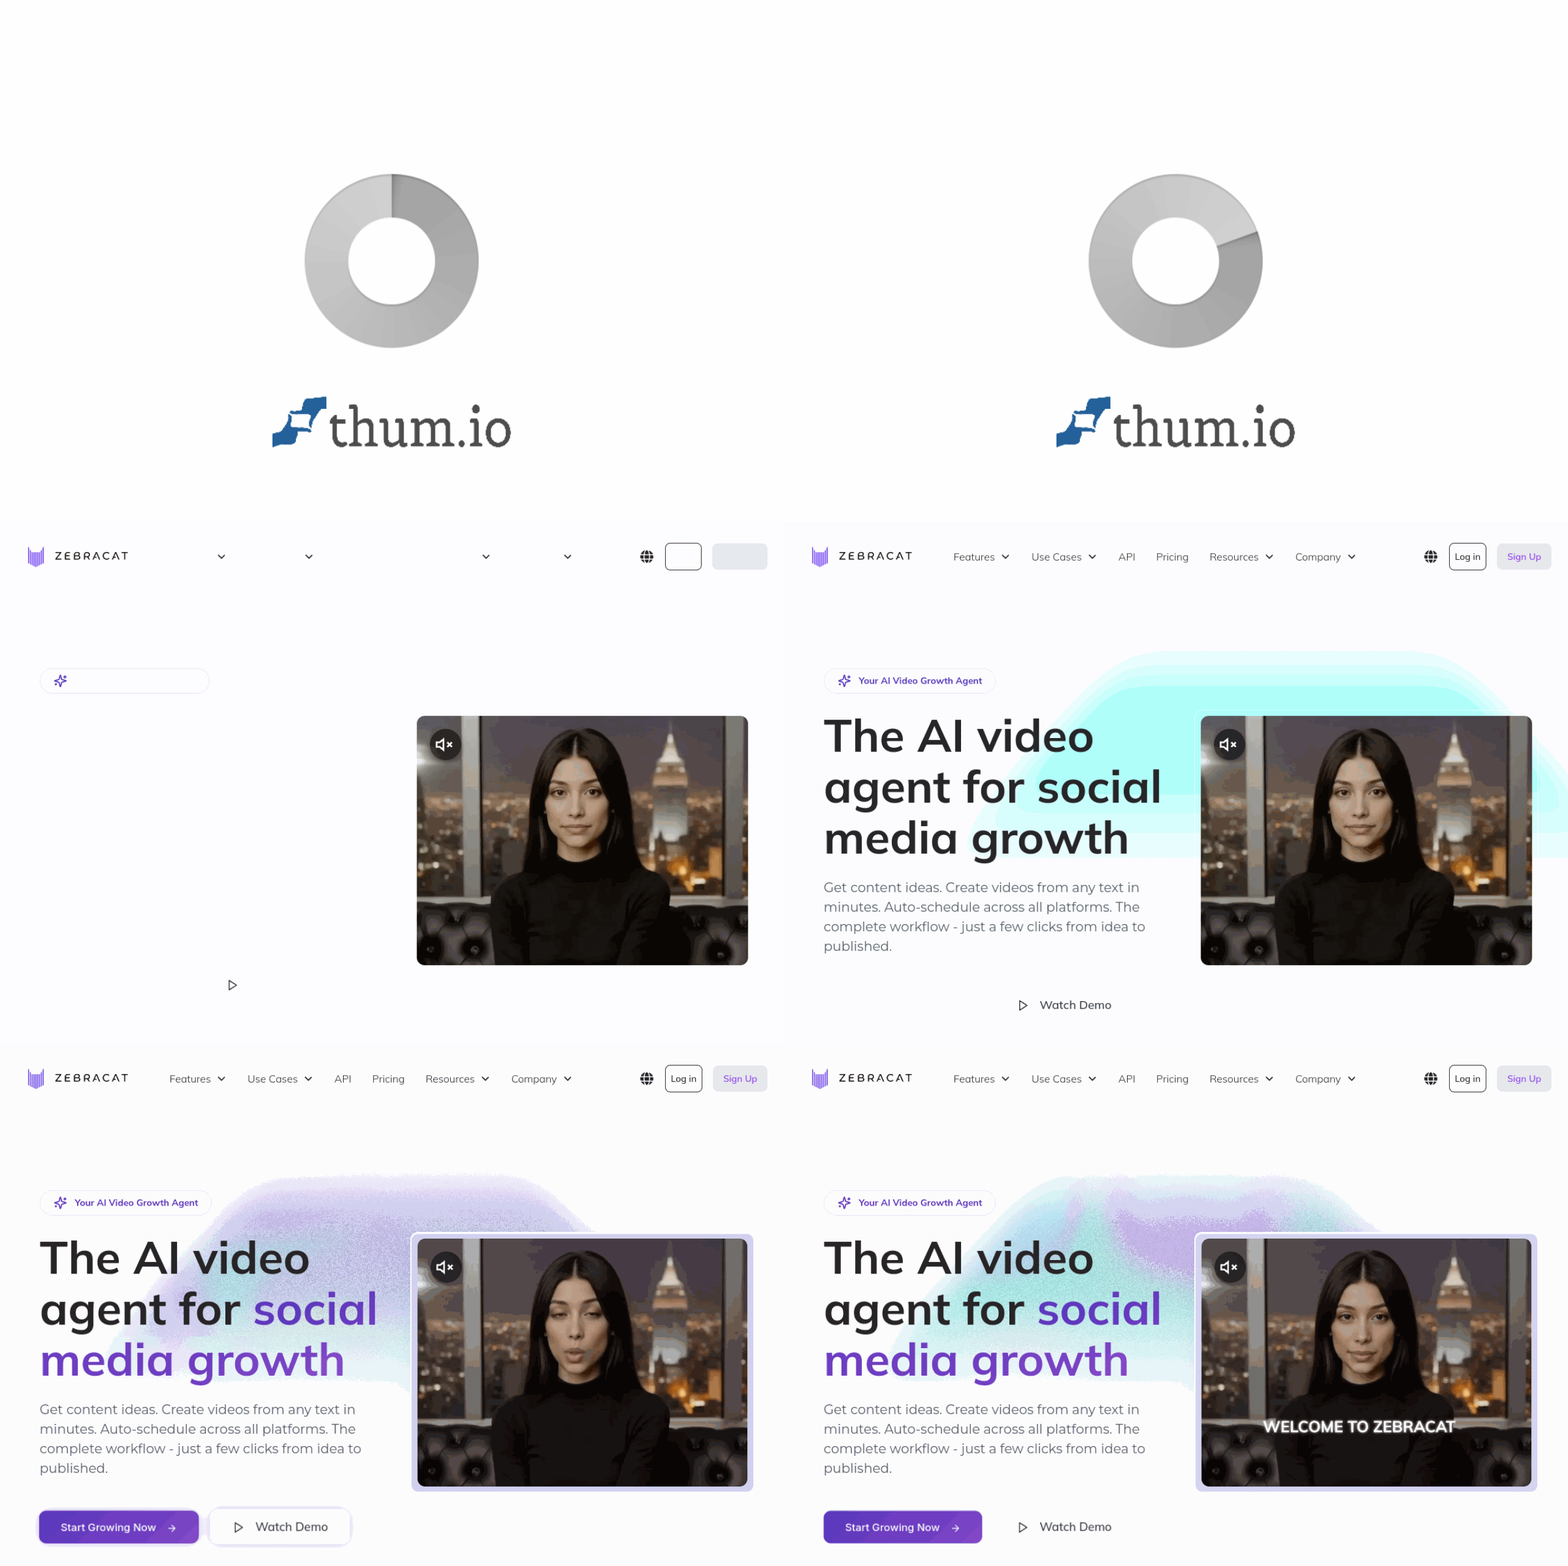
Introduction to Zebracat: Your AI-Powered Video Creation Studio
In today’s fast-paced digital landscape, video content is king. However, producing high-quality videos traditionally requires expensive equipment, specialized software, and significant time investment. This is where Zebracat steps in as a game-changer. Zebracat is an innovative, AI-driven video creation platform that allows you to generate professional-looking videos directly from text prompts or scripts. Whether you are a marketer needing promotional content, a content creator looking to scale your output, or a business owner wanting to engage your audience, Zebracat offers a streamlined solution that promises to be 10X faster than conventional video production methods.
This tutorial is designed to be your comprehensive guide to Zebracat. We will walk you through everything from creating your account to publishing your first AI-generated video. By the end of this guide, you will be equipped with the practical knowledge to leverage Zebracat’s powerful features, including AI avatars, automated voiceovers, and intelligent editing tools. Best of all, Zebracat offers a free plan, making it accessible for everyone to start creating without any upfront investment.
Getting Started with Zebracat
Step 1: Creating Your Account
To begin your journey with Zebracat, navigate to the official website at https://zebracat.ai/. You will find a prominent “Get Started” or “Sign Up” button on the homepage. Clicking this will take you to the registration page. You can sign up using your email address or by connecting your Google account for a quicker process. Once you have filled in the required details and verified your email (if necessary), you will be logged into your new Zebracat dashboard.
Step 2: Understanding the Dashboard
The Zebracat dashboard is designed to be intuitive and clutter-free. Upon your first login, you will see a central interface with a few key elements:
- New Project Button: Usually located prominently, this button (often labeled “Create Video” or “New Video”) is your starting point for every new project.
- Project Library: This section displays all your previously created videos. You can return to edit, download, or duplicate any project here.
- Templates/Examples: Zebracat may offer pre-built templates for common video types like social media ads, explainer videos, or product demos. These are great for beginners.
- Account Settings: Accessible via your profile icon, this is where you manage your subscription plan, billing information, and account preferences.
Step 3: Choosing Your Input Method
Zebracat offers two primary ways to start a video project. The method you choose depends on your existing content and goals:
- From a Text Prompt: Ideal for brainstorming or when you have a general idea. You simply type a sentence or two describing the video you want (e.g., “Create a 30-second ad for a new eco-friendly water bottle”).
- From a Script: Best for when you have specific dialogue or narration ready. You can paste a full script, and Zebracat will automatically generate visuals and voiceover to match your text.
For this tutorial, we will focus on the Script method, as it gives you the most control over the final output.
Key Features of Zebracat
Before diving into the “how-to,” it is essential to understand the core tools that make Zebracat powerful. Familiarizing yourself with these features will help you make informed choices during the creation process.
AI Video Generation from Text
This is the heart of Zebracat. The platform uses advanced natural language processing (NLP) to understand your text or script and then automatically generates a sequence of relevant visuals. You do not need to search for stock footage manually; the AI does the heavy lifting, matching scenes to your narrative. This feature dramatically reduces production time from hours or days to mere minutes.
AI Avatars and Voiceovers
Zebracat provides a library of photorealistic AI avatars that can speak your script. These avatars are not just static images; they have realistic lip-syncing and facial expressions. This is perfect for creating presenter-style videos without needing a camera or a human actor. Additionally, you can choose from a wide range of AI voiceovers with different accents, tones, and languages. This flexibility allows you to tailor the narration to your target audience.
Automated Video Editing
Once the AI generates your initial video draft, you are not locked in. Zebracat provides an automated editing suite that simplifies customization. You can easily swap out scenes, adjust the timing of text overlays, change background music, and reposition elements. The interface is designed for drag-and-drop simplicity, meaning you don’t need any prior video editing experience.
10X Faster Production
This is a core promise of the platform. By automating the most time-consuming parts of video creation—script-to-visual matching, voice recording, and basic editing—Zebracat allows you to produce a finished video in a fraction of the time it would take using traditional software like Adobe Premiere or Final Cut Pro.
Free Plan Availability
Zebracat offers a generous free plan that allows you to test the platform’s capabilities. This plan typically includes a limited number of video minutes, access to a selection of avatars and voiceovers, and standard video quality. It is an excellent way to learn the ropes and produce your first few videos without any financial commitment.
How to Use Zebracat: A Step-by-Step Guide
Now, let’s walk through the process of creating a complete video using the Script method. We will assume you have already logged into your account.
Step 1: Create a New Project
Click on the “Create Video” or “New Project” button. You will be presented with options for your input method. Select “From Script”.
Step 2: Input Your Script
A text box will appear. Paste your script into this box. For best results, keep your script concise and break it into short paragraphs or sentences. Each segment will typically become a separate scene in your video. For example:
- “Welcome to the future of hydration.”
- “Meet the Eco-Bottle, made from 100% recycled materials.”
- “Its double-wall insulation keeps your drinks cold for 24 hours.”
- “Order yours today and save the planet, one sip at a time.”
Once pasted, click the “Generate” or “Next” button.
Step 3: Choose Your Visual Style and Avatar
Zebracat will now analyze your script. You will be prompted to choose a visual style (e.g., modern, corporate, playful, cinematic) and an AI avatar if you want a presenter. If you do not wish to use an avatar, you can select a “voiceover only” option. Browse the avatar library and select one that fits your brand’s personality. You can also preview the avatar’s voice by clicking on the play icon next to their name.
Step 4: Select a Voiceover
If you did not choose an avatar, or even if you did, you can customize the voiceover. Zebracat offers a variety of voices. You can filter by gender, language, and accent (e.g., American English, British English, Spanish). Listen to a few samples and select the voice that best matches your script’s tone. You can also adjust the speed of the voiceover here.
Step 5: Generate the Draft Video
After making your selections, click the “Create Video” or “Generate” button. The AI will now process your request. This usually takes between 30 seconds to a few minutes, depending on the length of your script. You will see a progress bar. Once complete, your video draft will appear in the preview window.
Step 6: Review and Edit Your Video
This is where the automated editing tools come into play. Watch your video draft carefully. You will notice that each sentence from your script is now a separate “scene” on a timeline at the bottom of the screen. You can perform the following edits:
- Swap Scenes: If the AI chose a visual you don’t like, click on that scene. A library of stock footage, images, or video clips will appear. You can search for a better alternative (e.g., search “nature,” “technology,” “office”).
- Adjust Text: You can edit the on-screen text that appears with your voiceover. Change the font, size, color, and animation style.
- Change Background Music: Zebracat automatically adds background music. You can mute it, change the track, or adjust the volume level between the music and the voiceover.
- Add Branding: You can upload your company logo and place it in a corner of the video. You can also set brand colors to be used in text overlays.
- Trim or Reorder: You can drag and drop scenes to reorder them or trim the start and end points of individual clips.
Step 7: Finalize and Export
Once you are satisfied with your edits, it is time to export. Look for the “Export” or “Download” button. You will typically be asked to choose a video resolution (e.g., 720p for standard quality, 1080p for HD). Depending on your plan, higher resolutions may require a paid subscription. Click the export button and wait for the rendering process to finish. Your video will then be downloaded to your computer as an MP4 file, ready to be uploaded to social media, your website, or any other platform.
Practical Tips for Getting the Best Results from Zebracat
To truly master Zebracat and create videos that stand out, keep these practical tips in mind.
Tip 1: Write for the AI, Not for a Human Reader
While your script should be grammatically correct, it should also be optimized for visual generation. Use descriptive language that paints a picture. Instead of saying “Our product is good,” say “Our sleek, stainless steel product glides effortlessly across the countertop.” This gives the AI clearer cues for generating relevant visuals.
Tip 2: Keep Scripts Short and Punchy
Zebracat works best with concise scripts. Aim for videos between 15 and 60 seconds for social media. Longer scripts are possible, but they require more careful editing to maintain viewer engagement. Break your script into very short sentences (5-10 words each) to allow for more dynamic scene changes.
Tip 3: Experiment with Different Avatars and Voices
Do not settle for the first avatar or voice you see. The personality of your presenter can dramatically affect how your message is received. Test a few different options with the same script to see which combination feels most authentic and engaging for your brand. A friendly, casual voice might work for a lifestyle brand, while a professional, authoritative voice suits a corporate explainer.
Tip 4: Use Custom Visuals When Possible
While Zebracat’s stock library is excellent, your video will look more unique if you upload your own images or short video clips. For example, if you are promoting a physical product, upload a high-quality video of the product in use. You can mix your own media with the AI-generated suggestions to create a more personalized result.
Tip 5: Leverage the Free Plan for Learning
Do not rush to upgrade to a paid plan immediately. Use the free plan to create several test videos. Experiment with different styles, scripts, and features. Learn the platform’s limitations and strengths. Once you are confident in your workflow and know exactly what features you need (e.g., 4K export, more voice options), then consider upgrading.
Tip 6: Add a Strong Call to Action (CTA)
Every marketing video should end with a clear CTA. Whether it is “Visit our website,” “Subscribe to our channel,” or “Buy now,” make sure your final scene clearly states what you want the viewer to do. Zebracat makes it easy to add a strong, animated text overlay for your CTA.
Tip 7: Review the Auto-Generated Captions
Many people watch videos without sound. Zebracat often auto-generates captions. Always review these for accuracy. A small typo in a caption can make your brand look unprofessional. You can usually edit the caption text and its styling directly in the editing timeline.
Conclusion
Zebracat is a powerful ally in the world of content creation, democratizing video production for everyone. By automating the complex and time-consuming aspects of video making, it allows you to focus on what truly matters: your message. Whether you are creating a quick social media post or a detailed product explainer, the steps outlined in this tutorial will help you produce professional results in record time. Start with the free plan, apply these tips, and you will be amazed at how quickly you can scale your video output. Visit https://zebracat.ai/ today and transform your text into captivating video content.
